How We Shoot HDR Real Estate Photography (And Why It Matters)
High-quality real estate photography isn’t about pressing a button—it’s about control, consistency, and knowing how to adapt to each environment. At Higley’s Media Group, we use a structured HDR workflow that allows us to deliver clean, natural-looking images across every listing, no matter the lighting conditions.
Our process is intentionally different for interior and exterior photography, because light behaves very differently inside a home than it does outdoors.
Interior HDR Photography: Precision & Balance
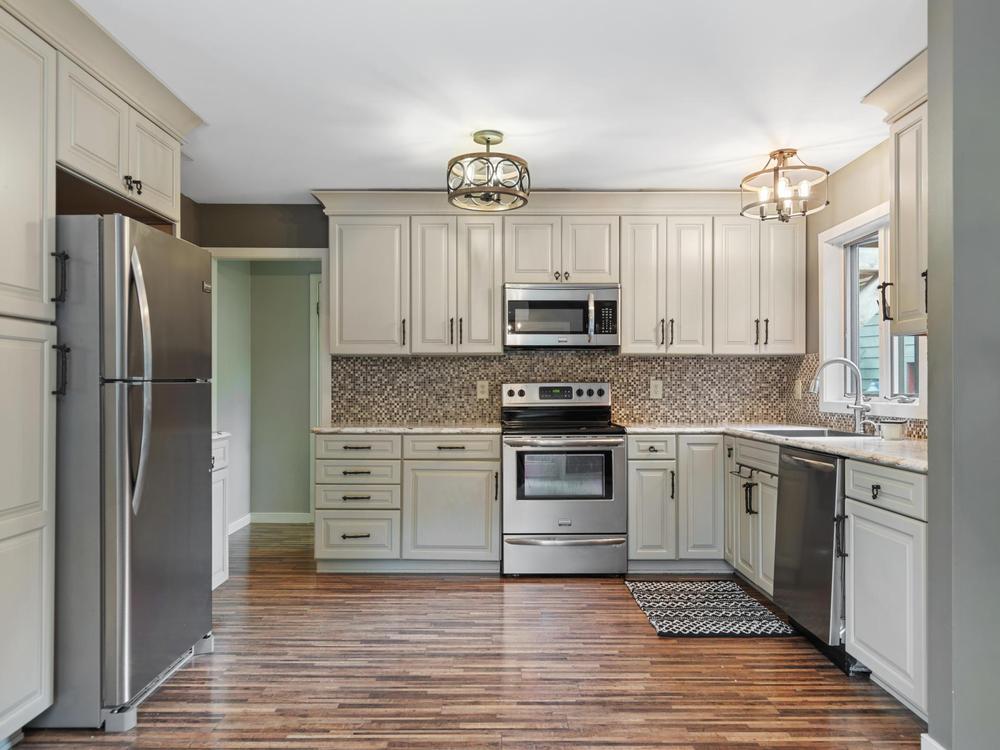
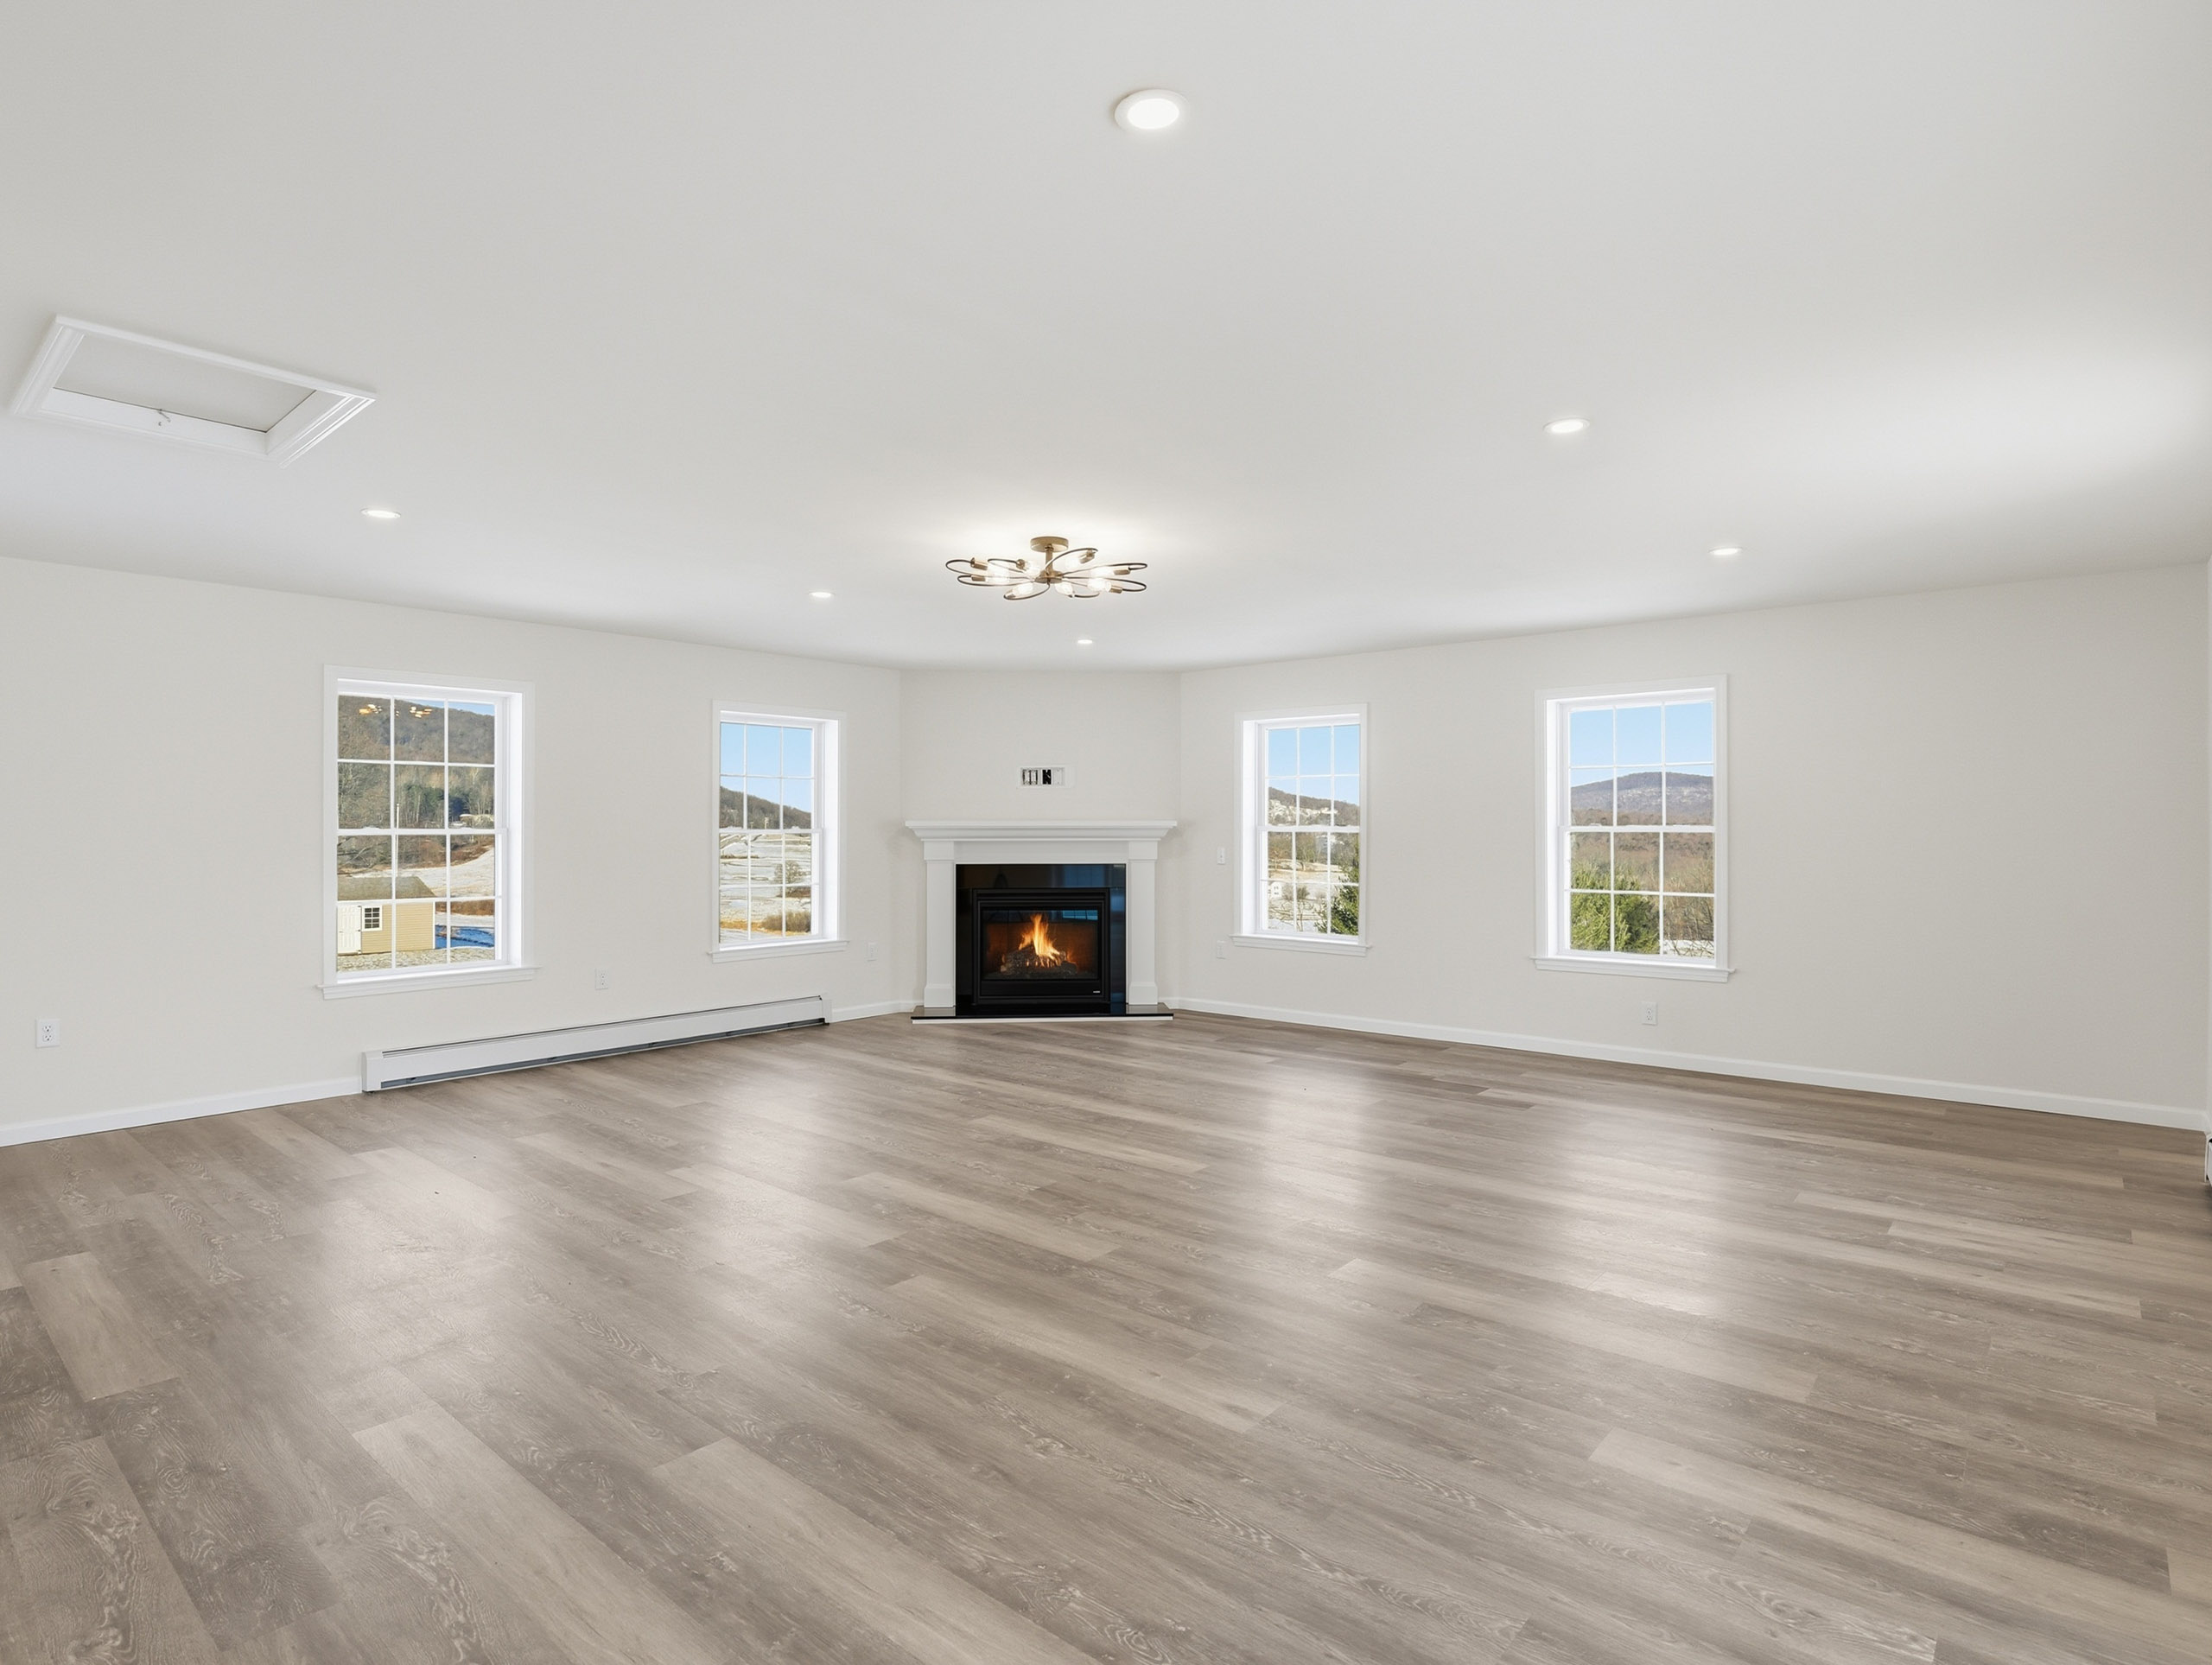
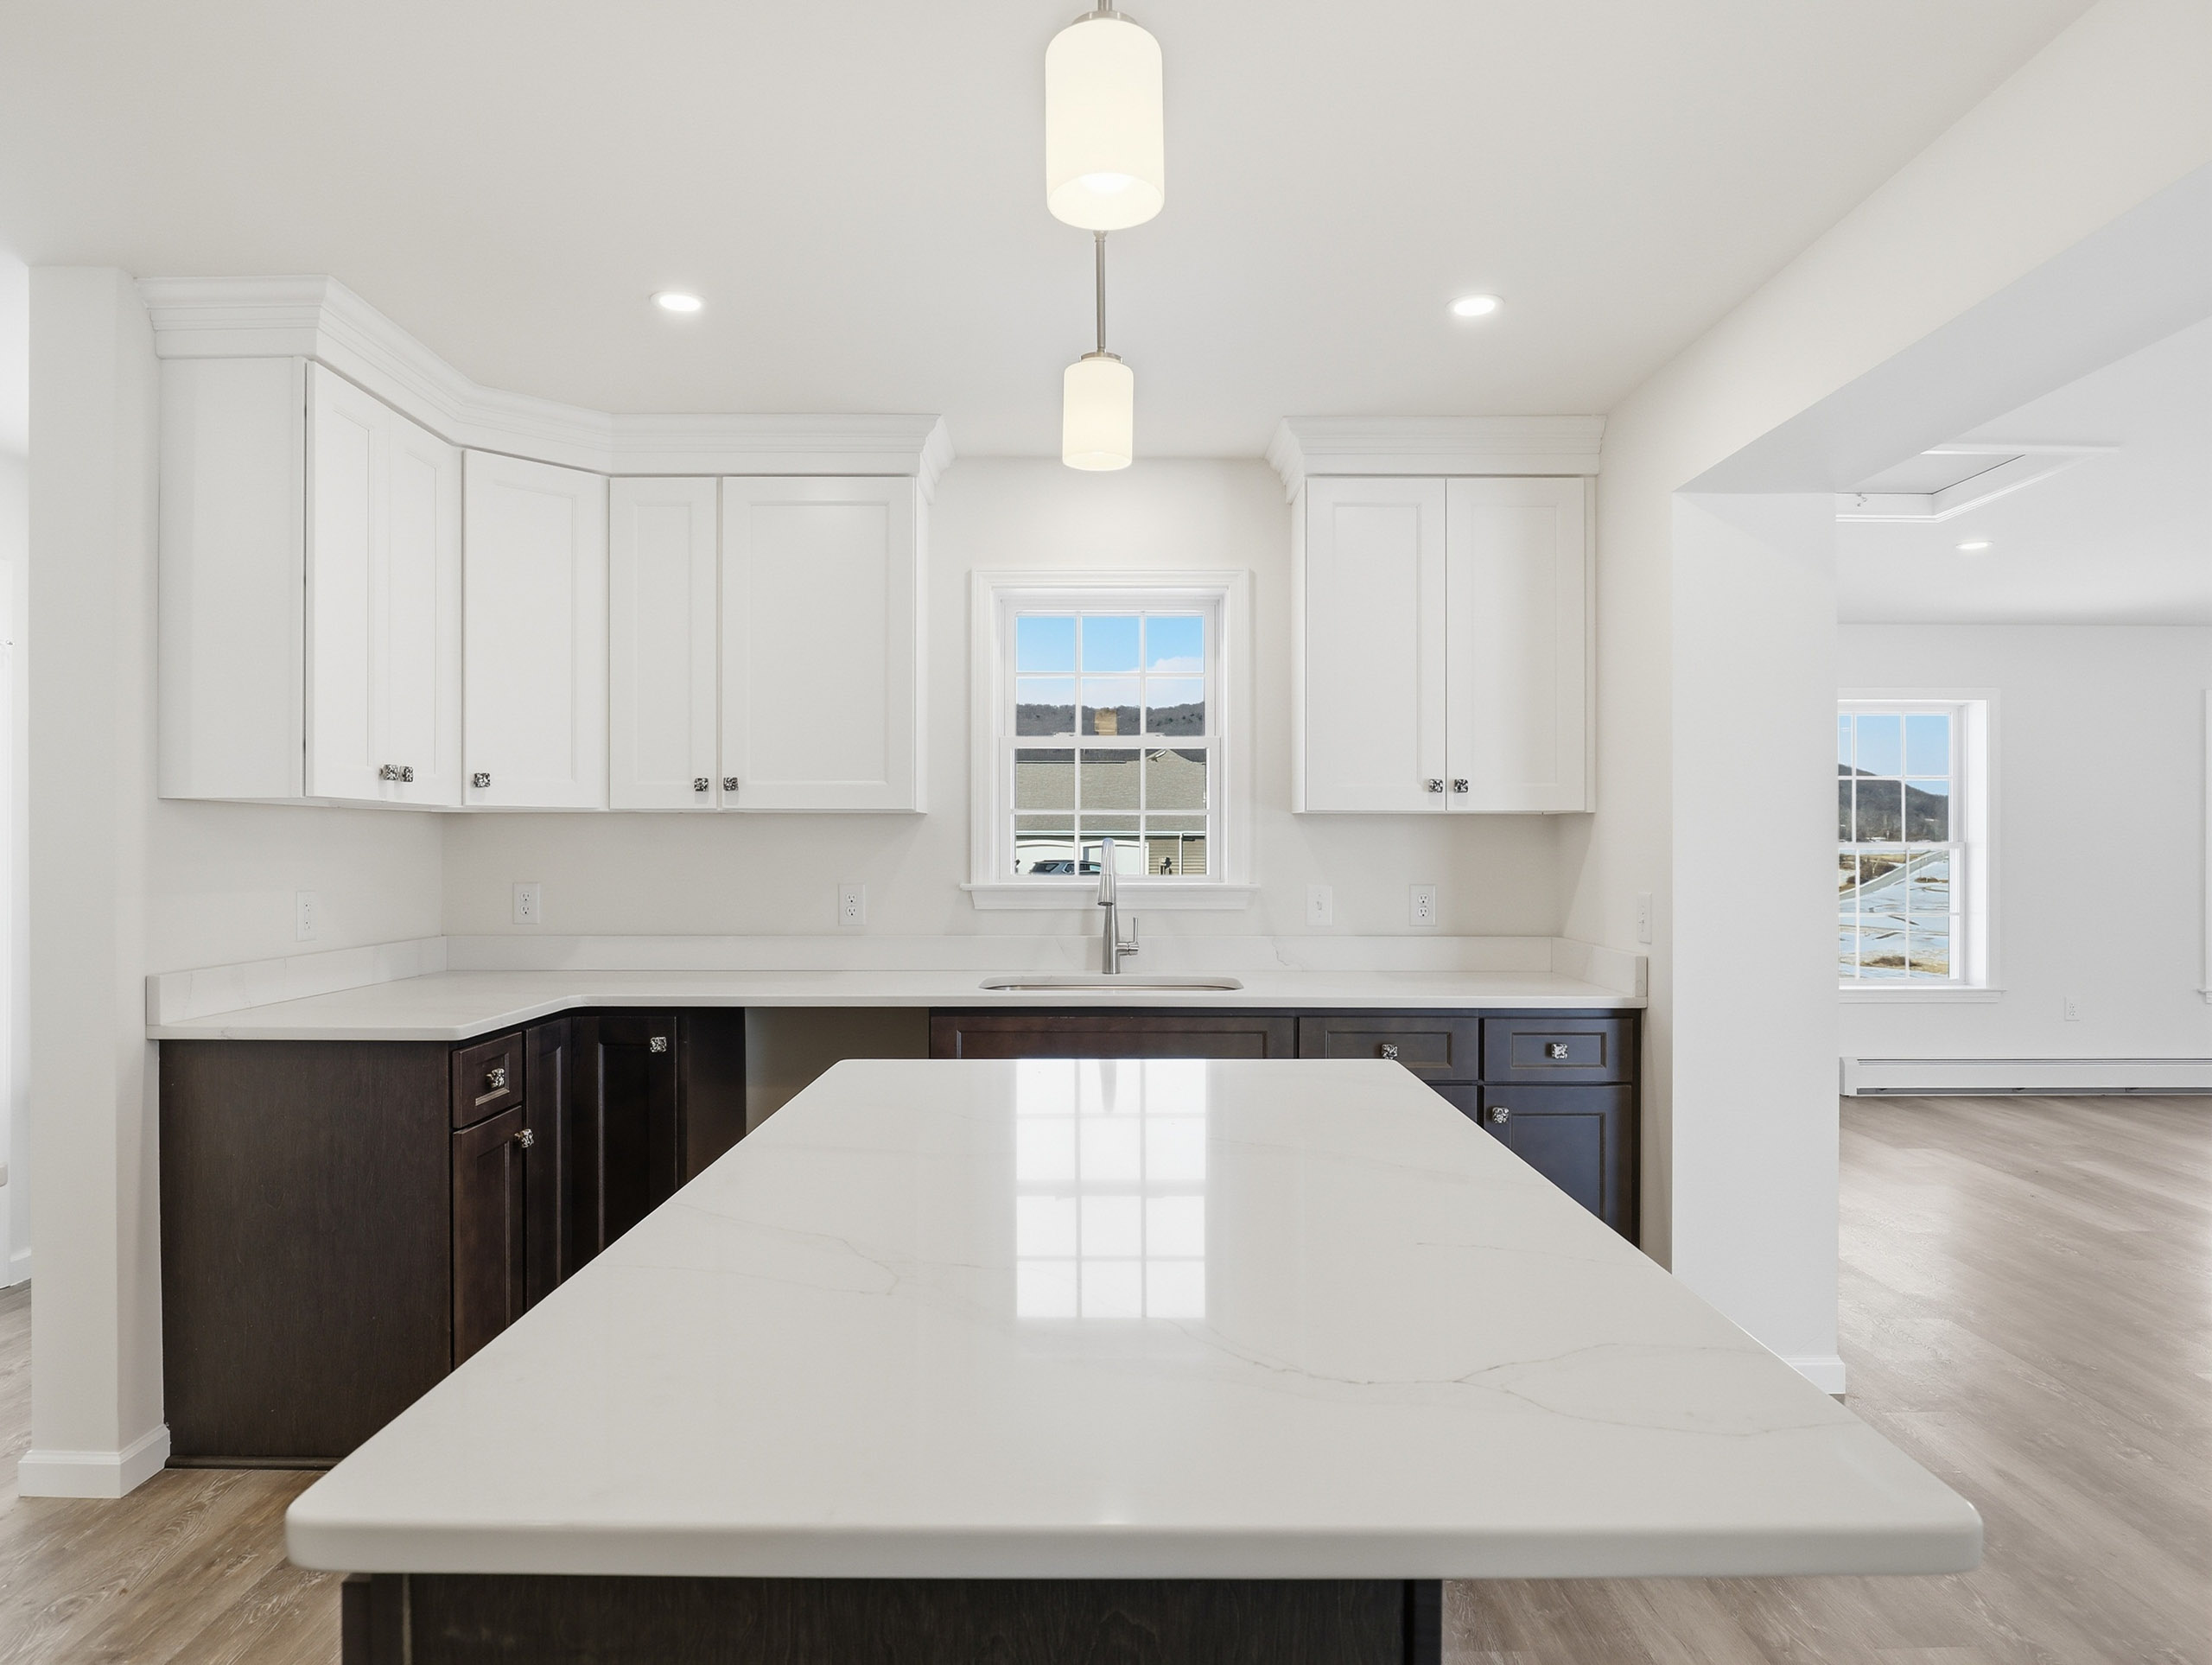
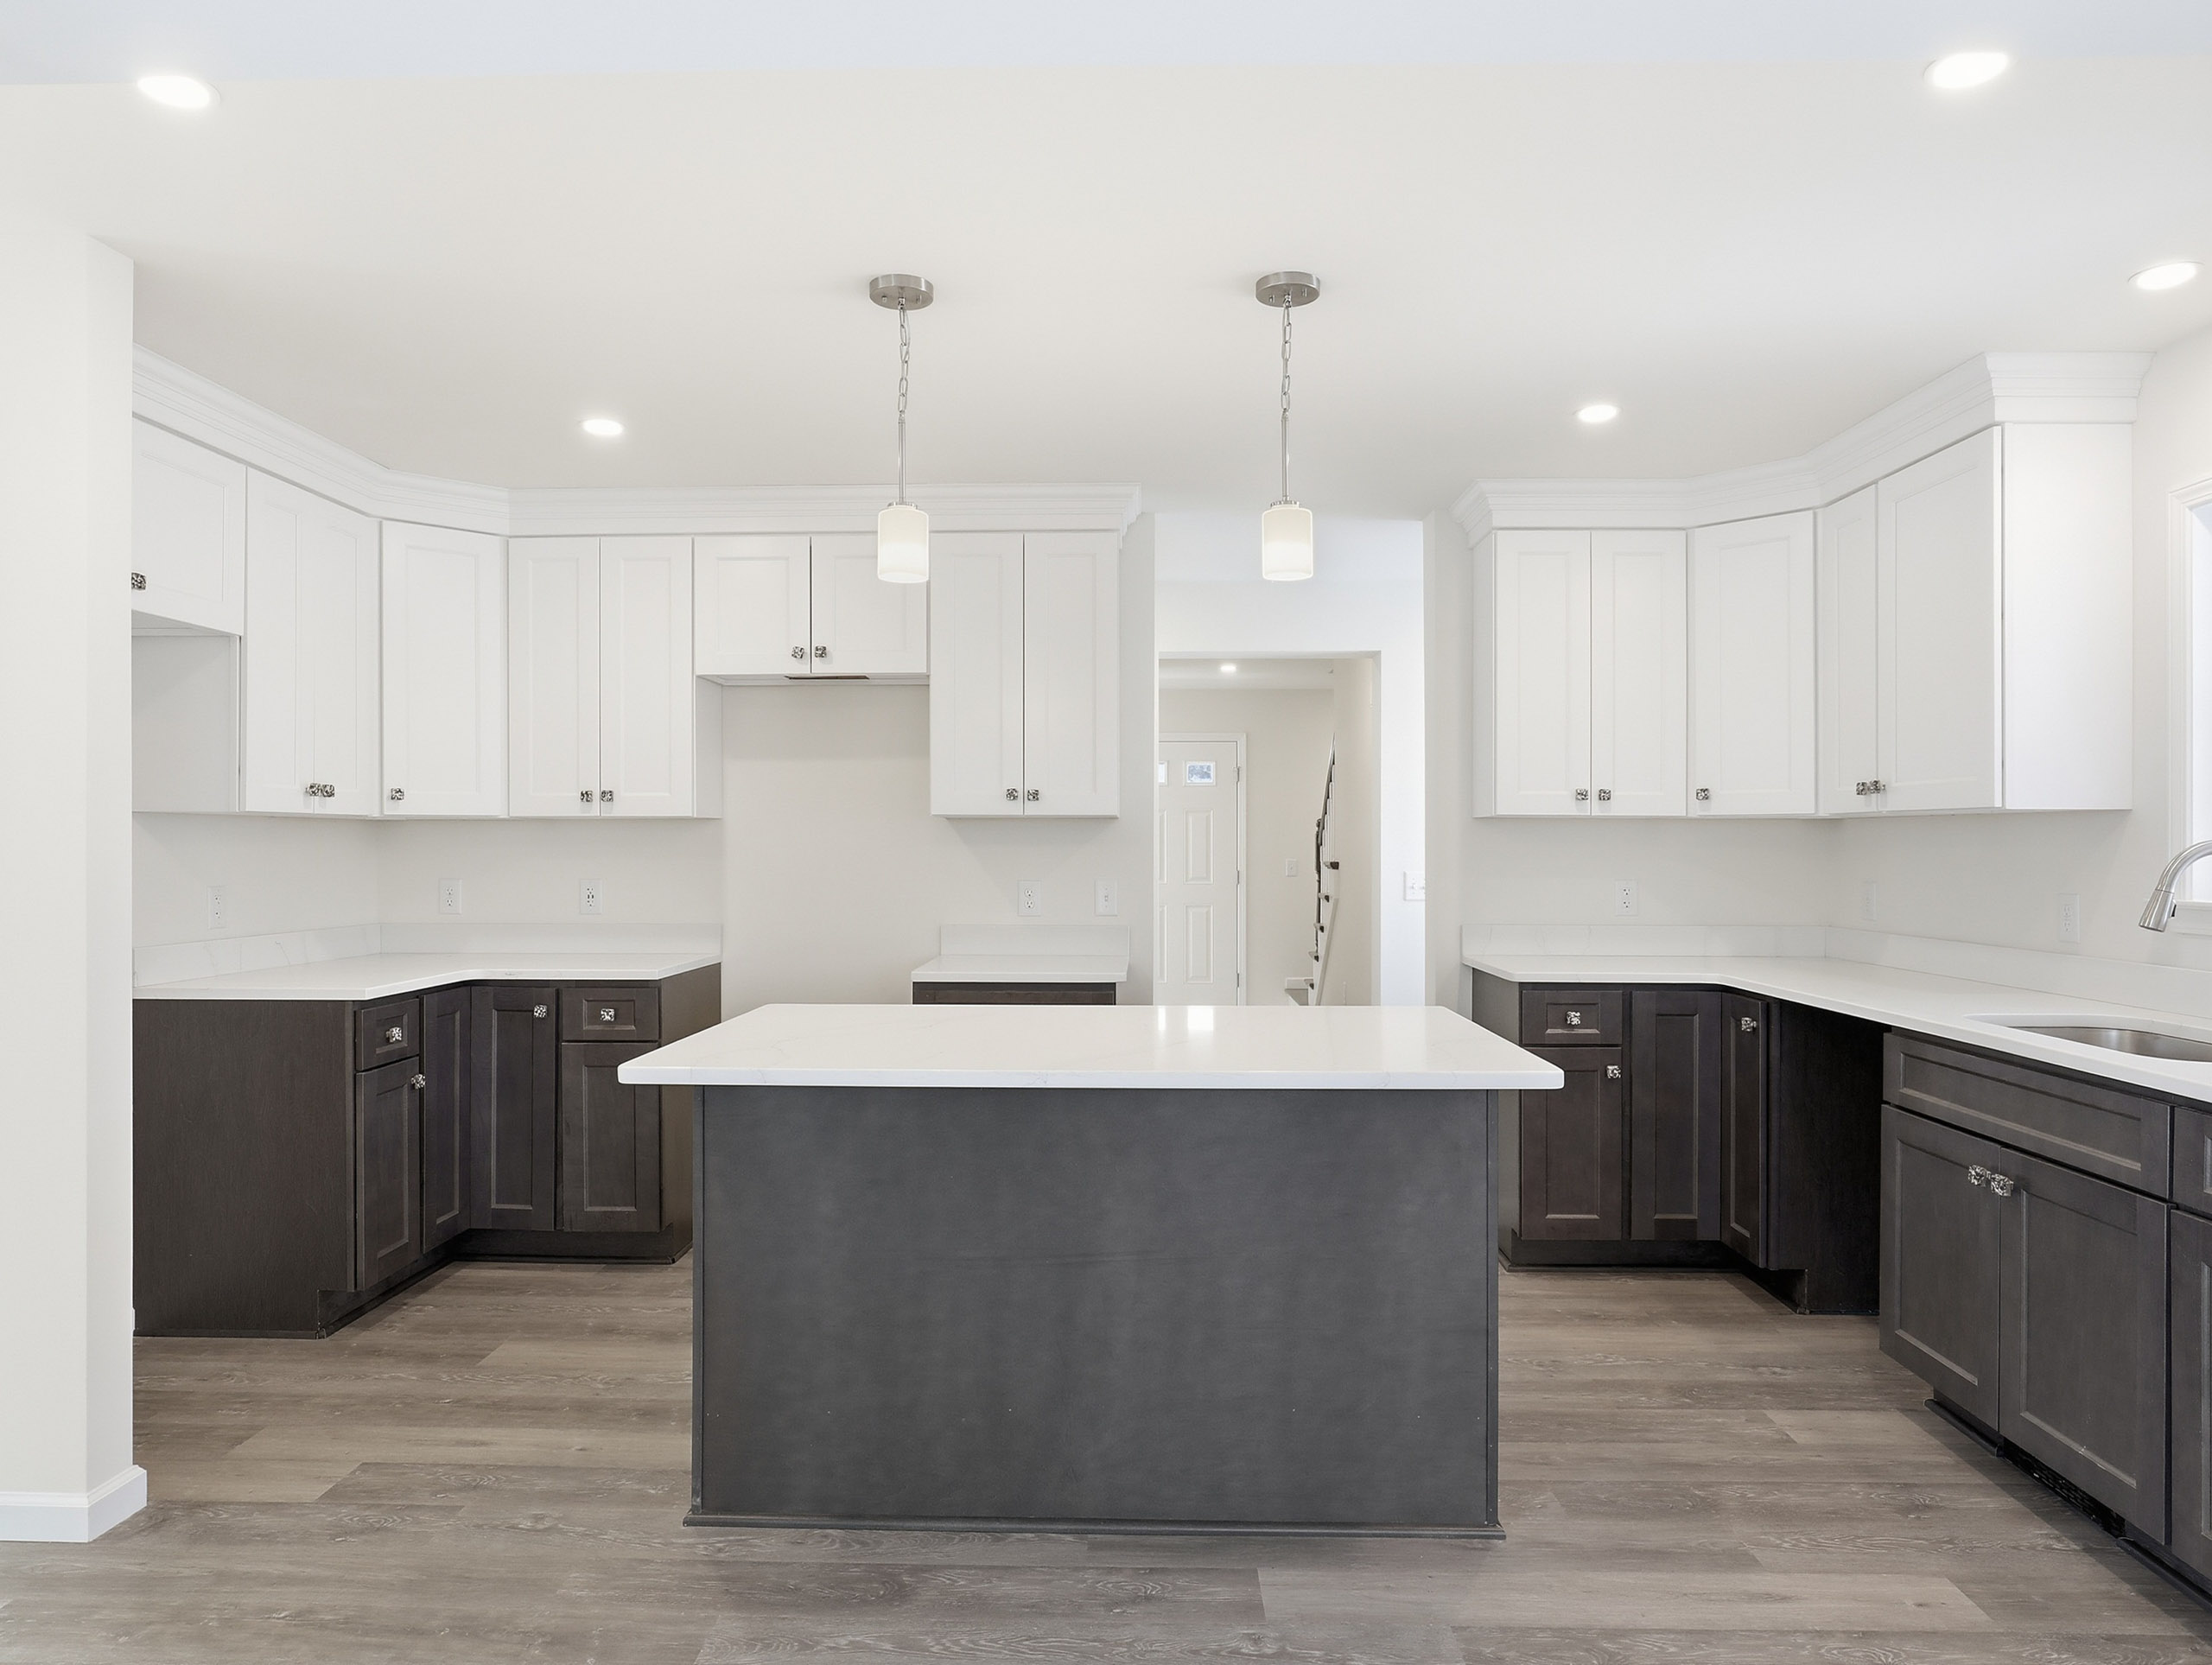
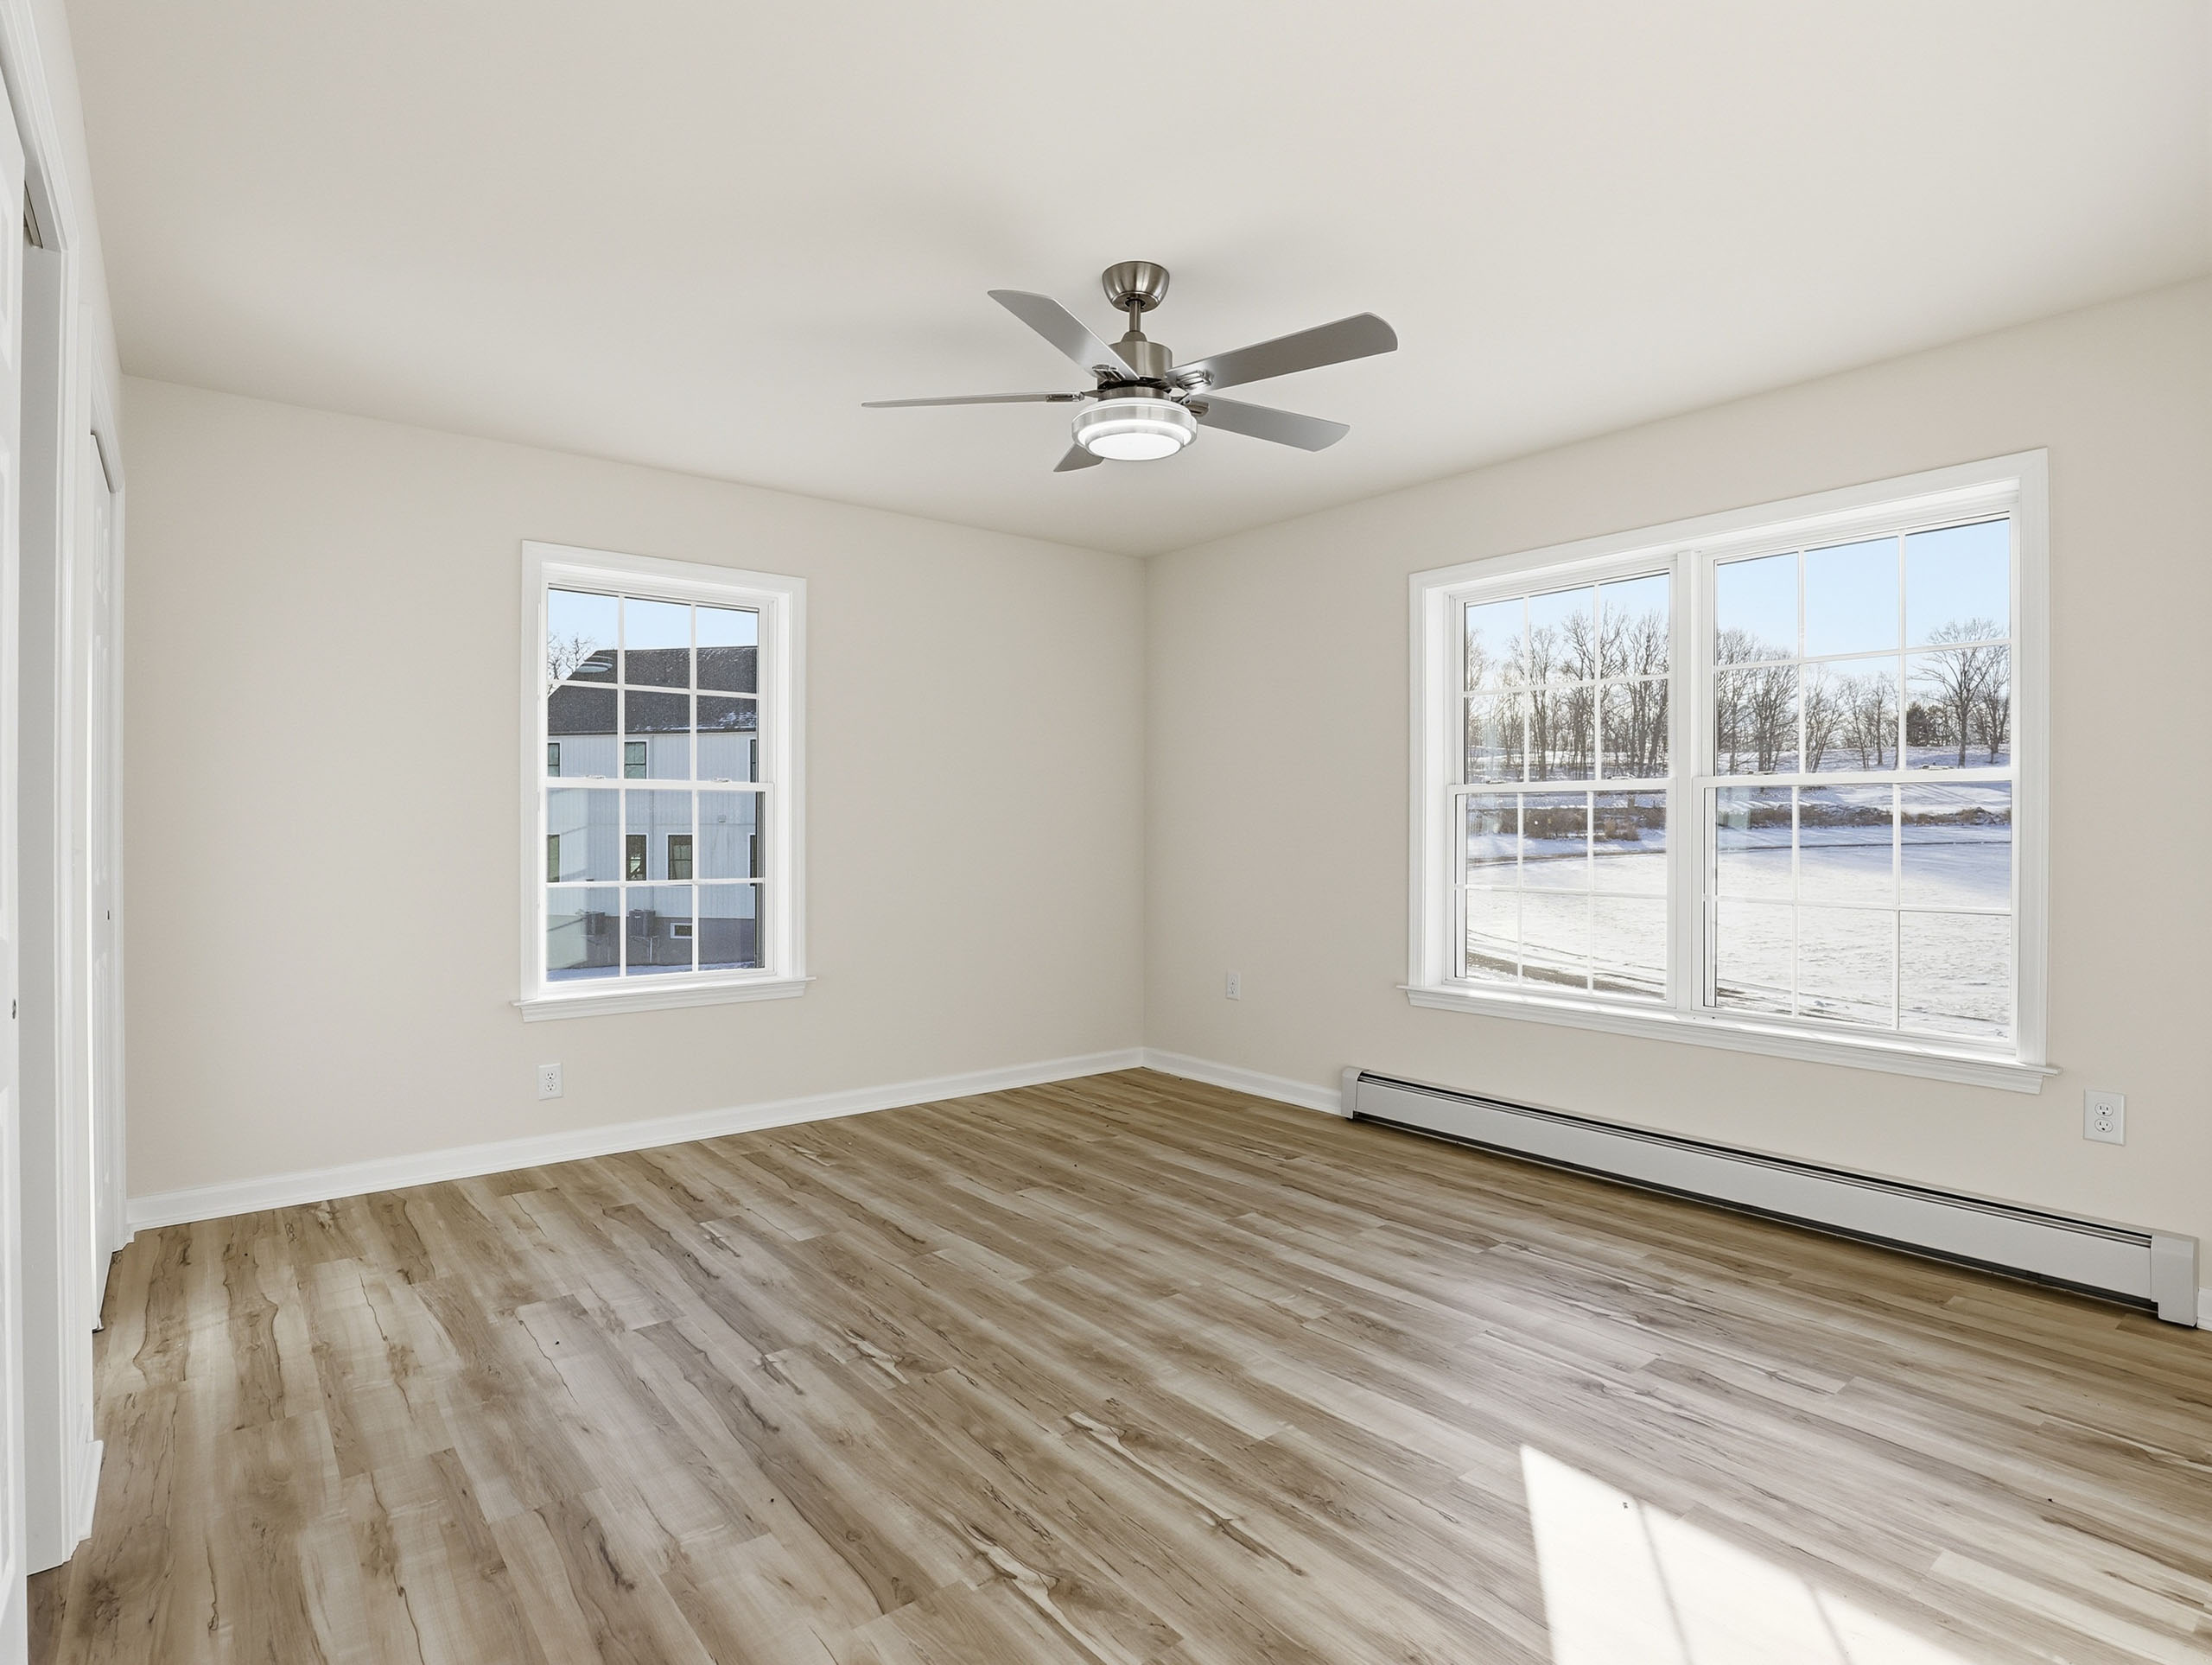
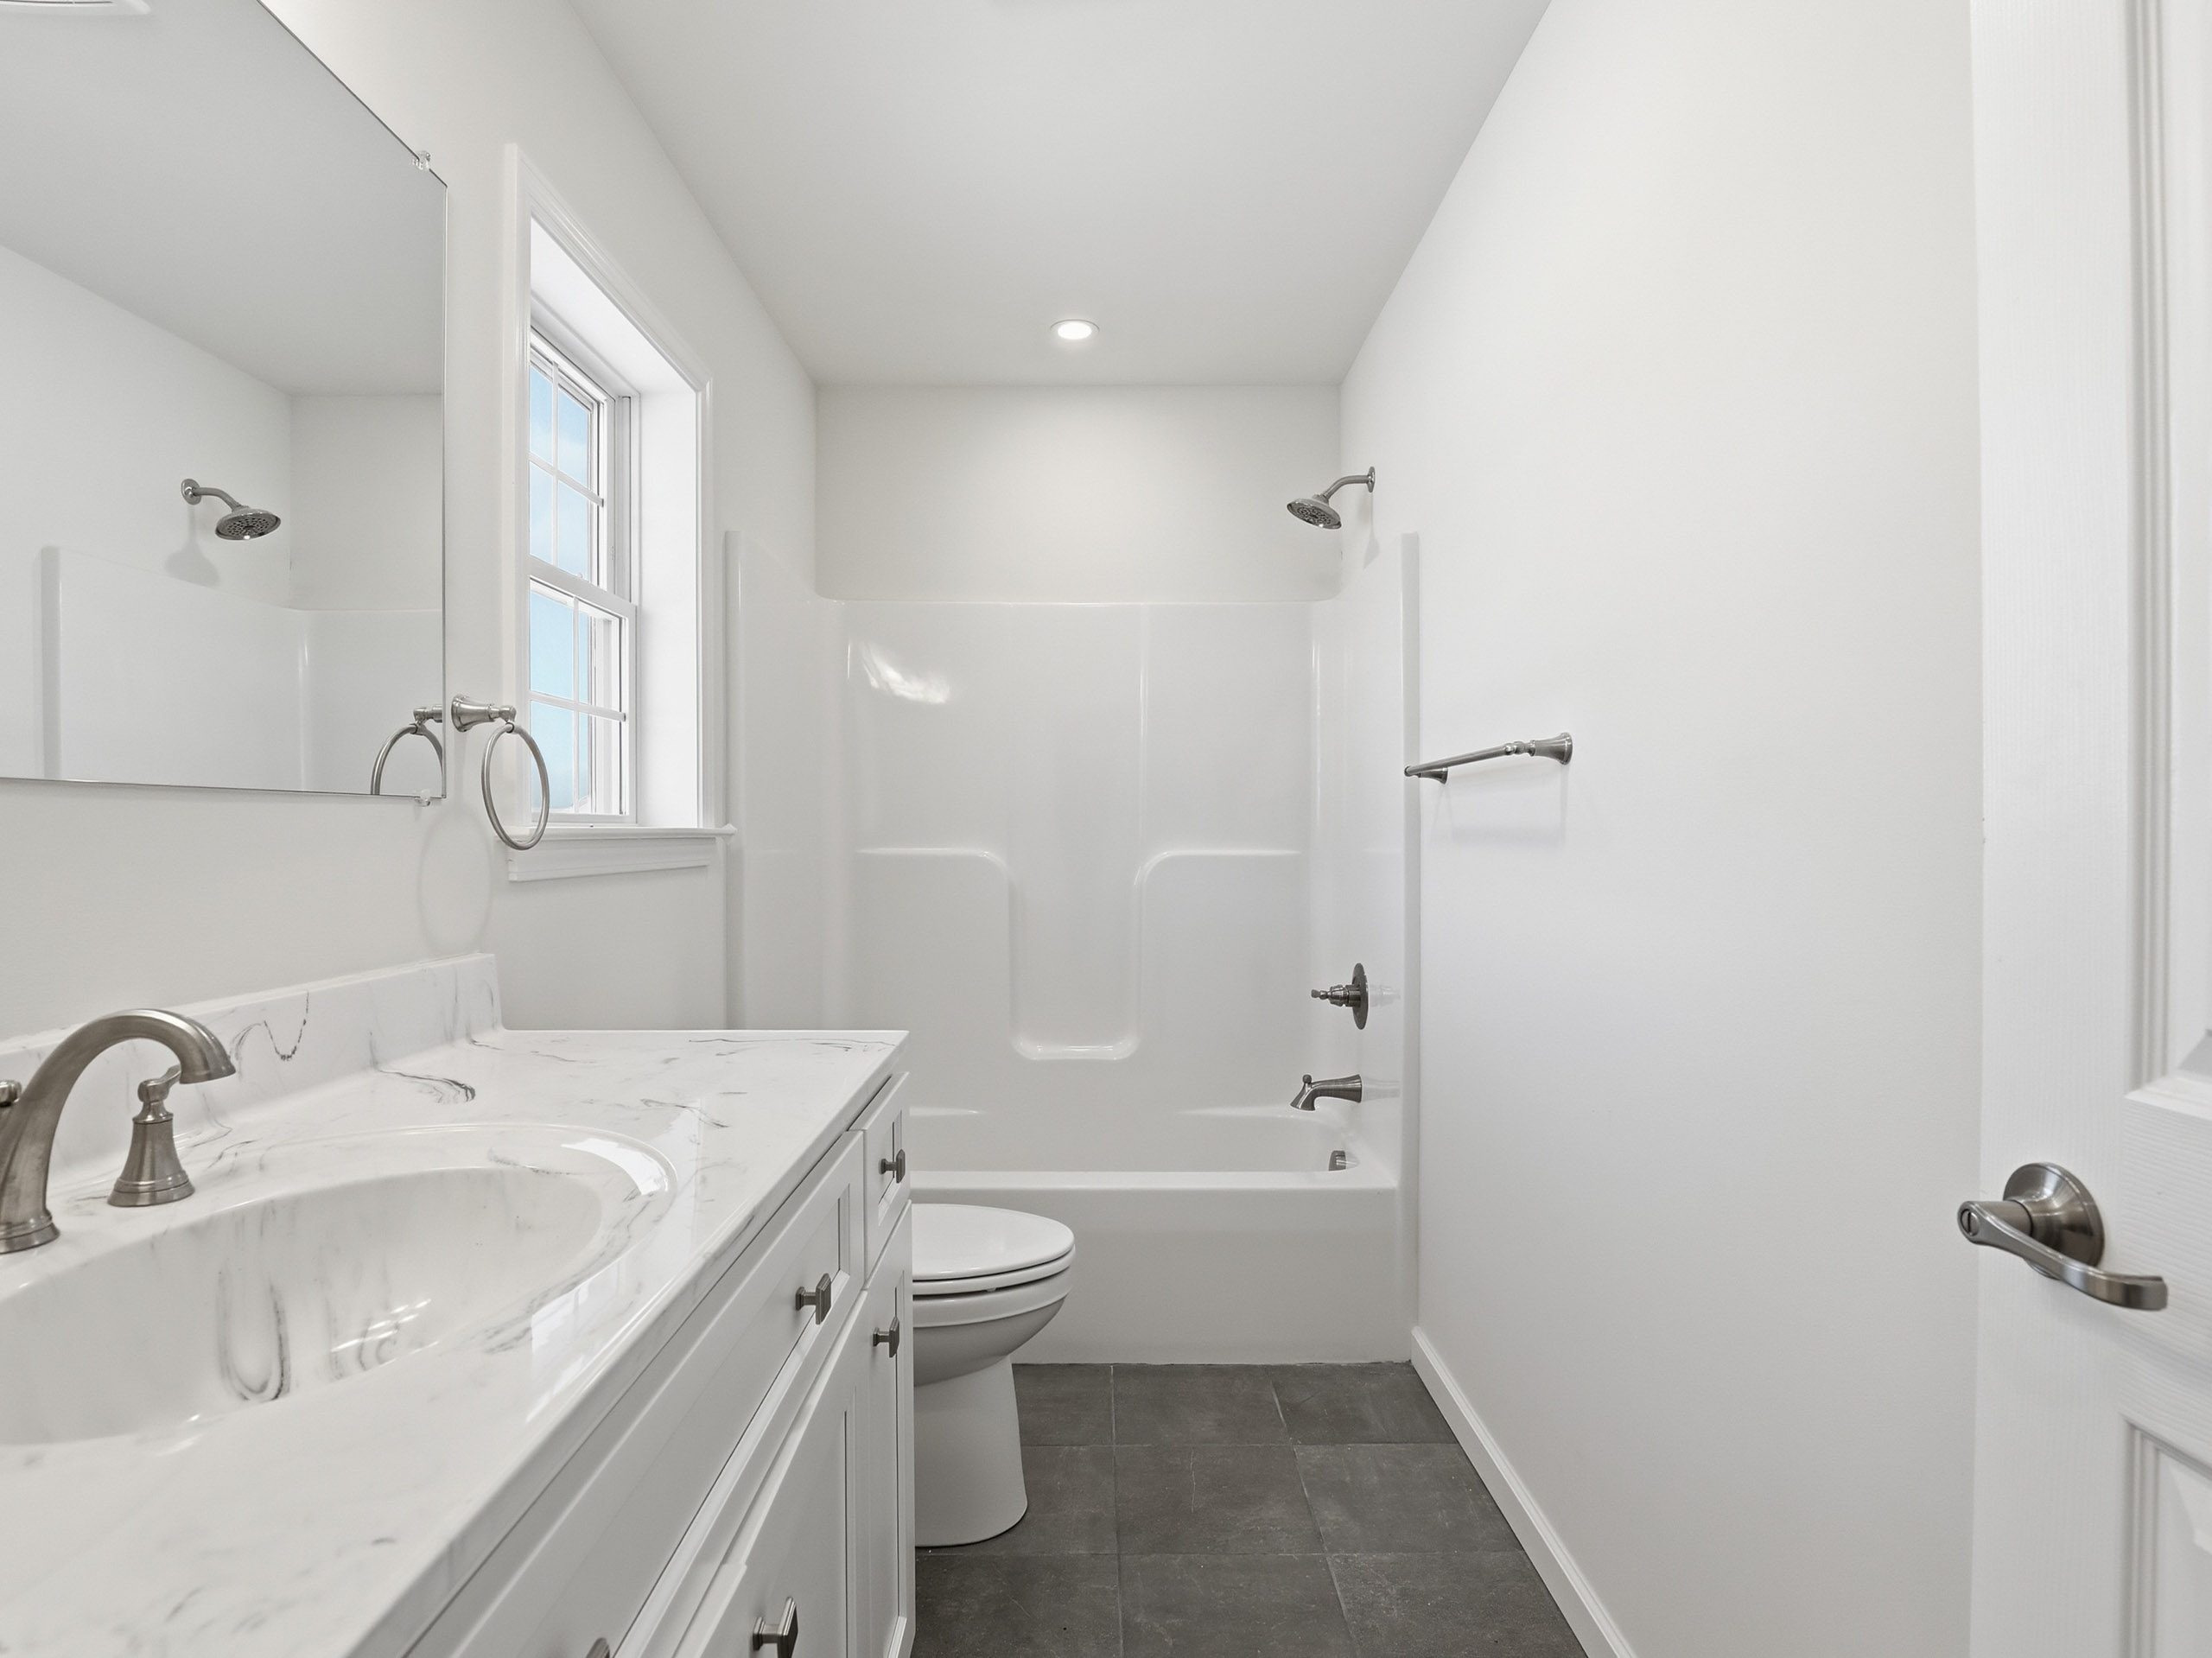
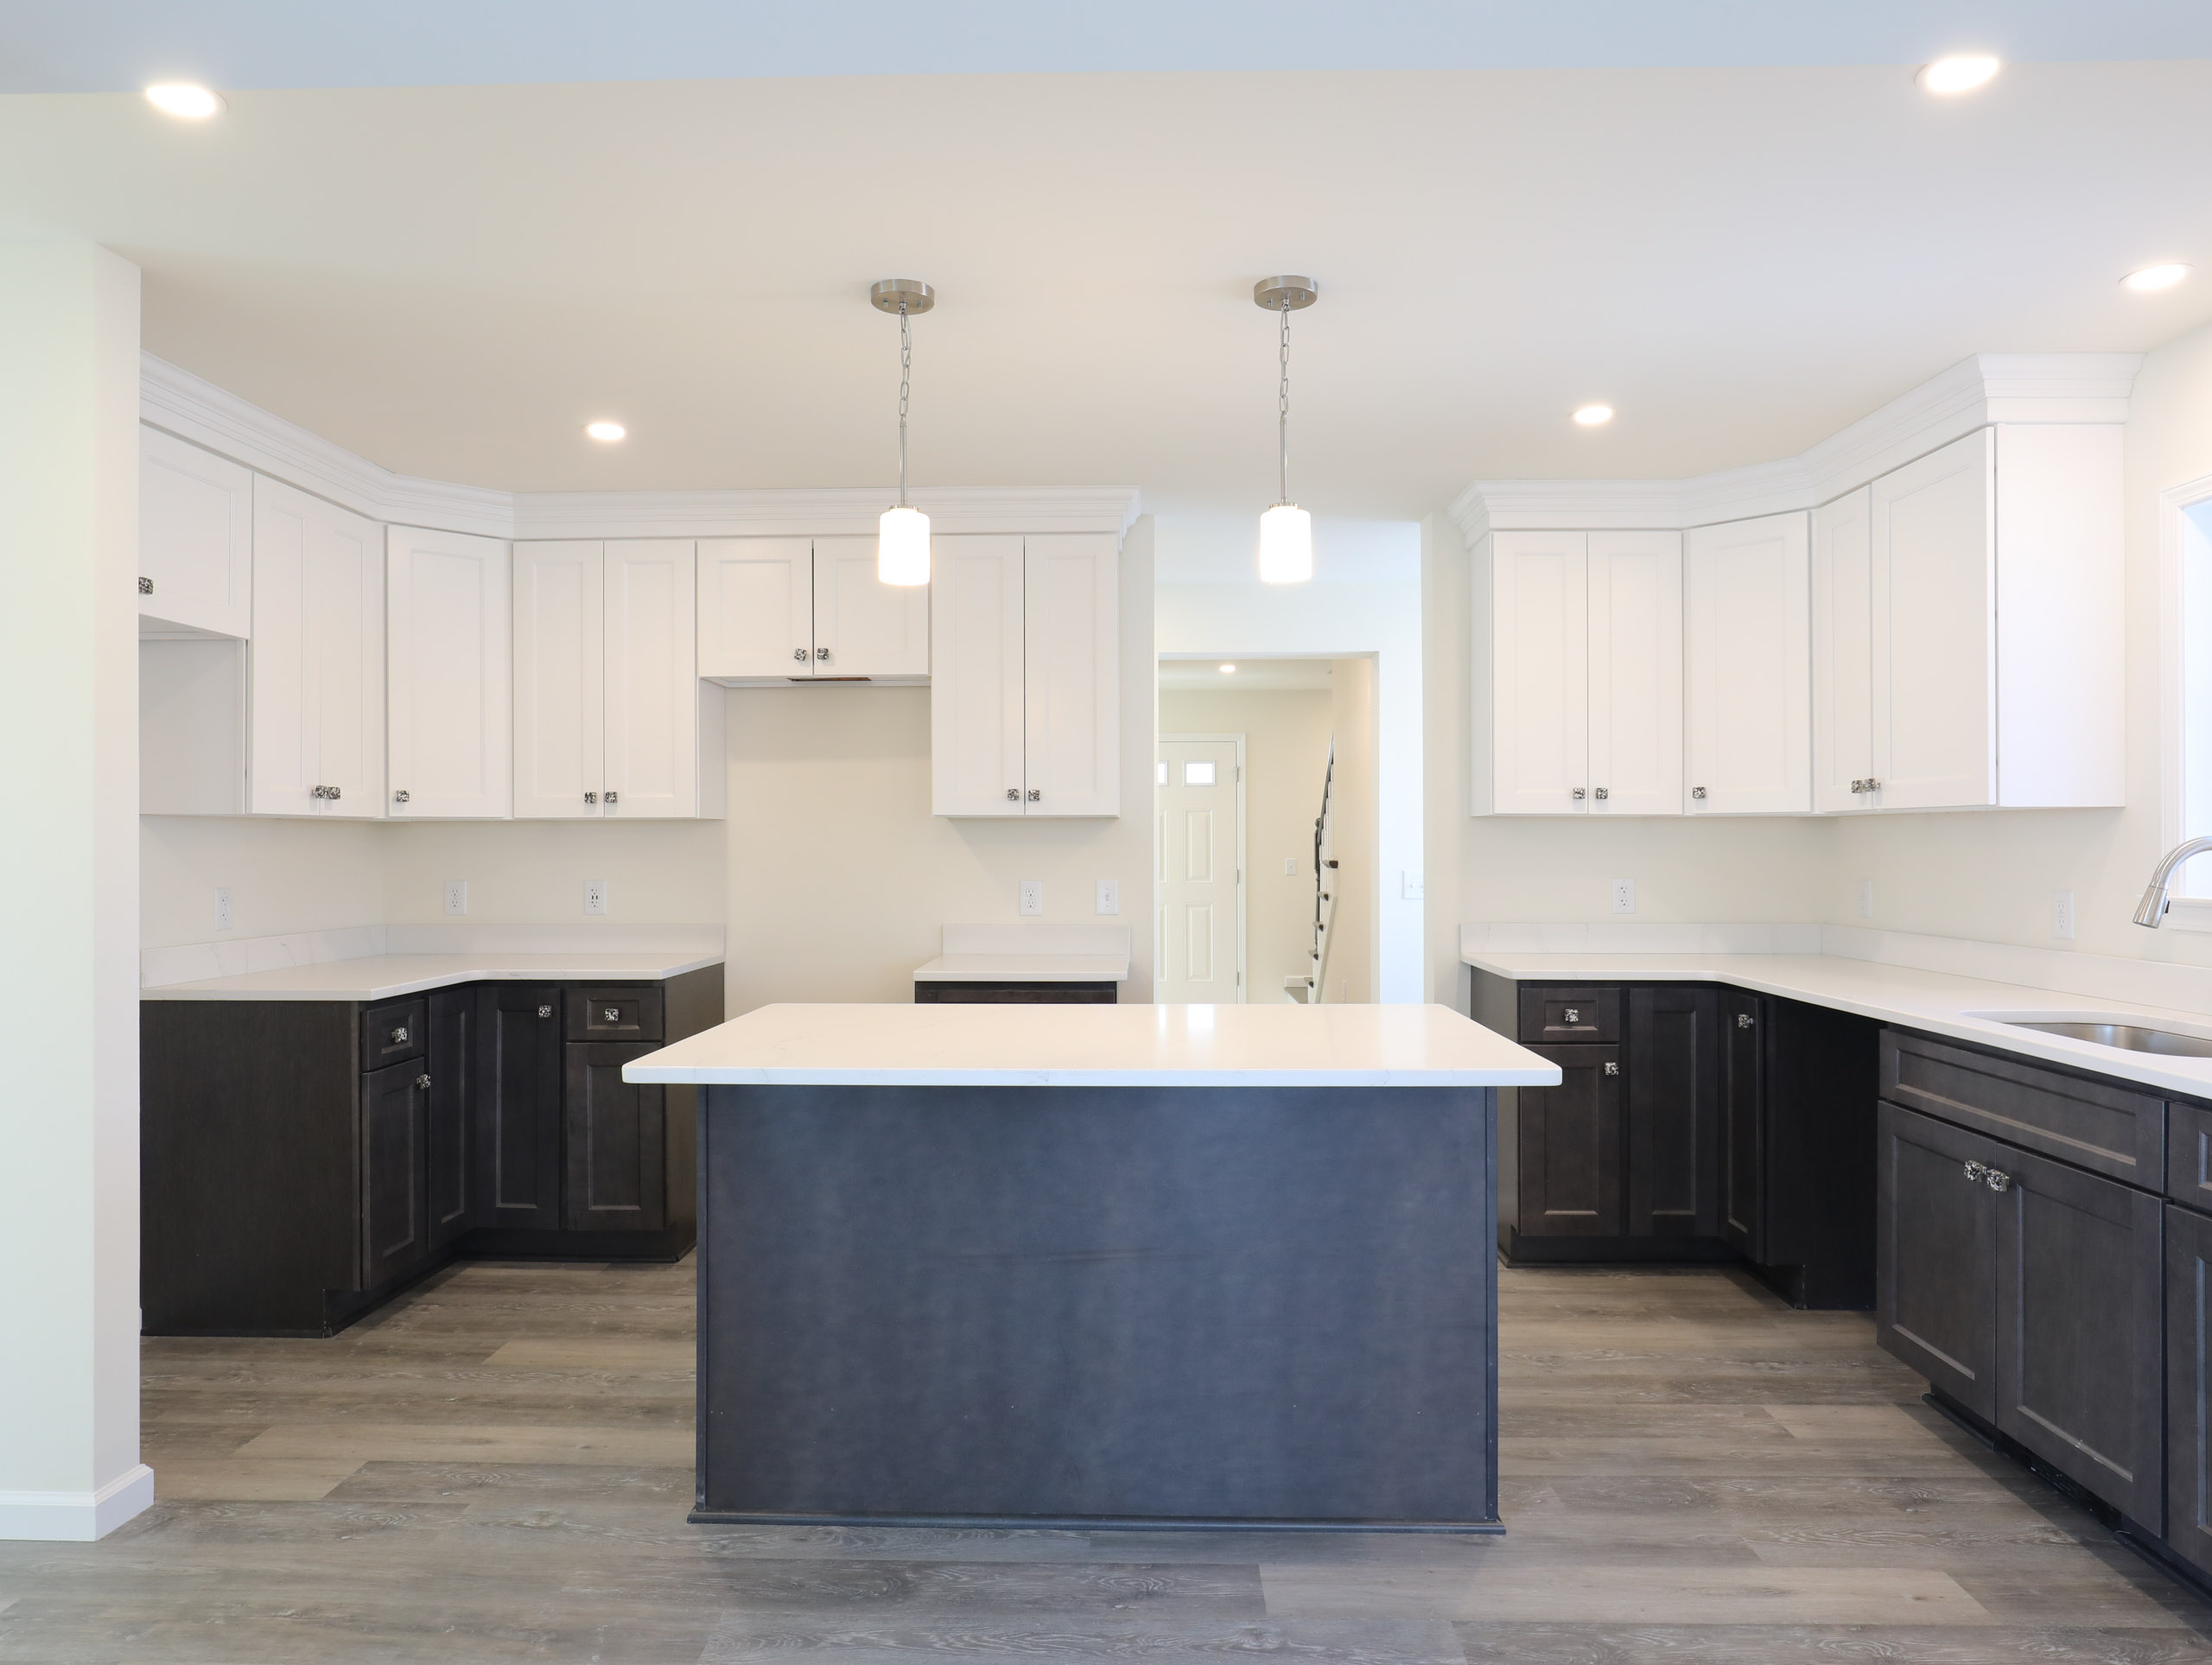
Interiors are where HDR truly shines. Mixed lighting, bright windows, and darker corners require a methodical approach to preserve detail without making images feel artificial.
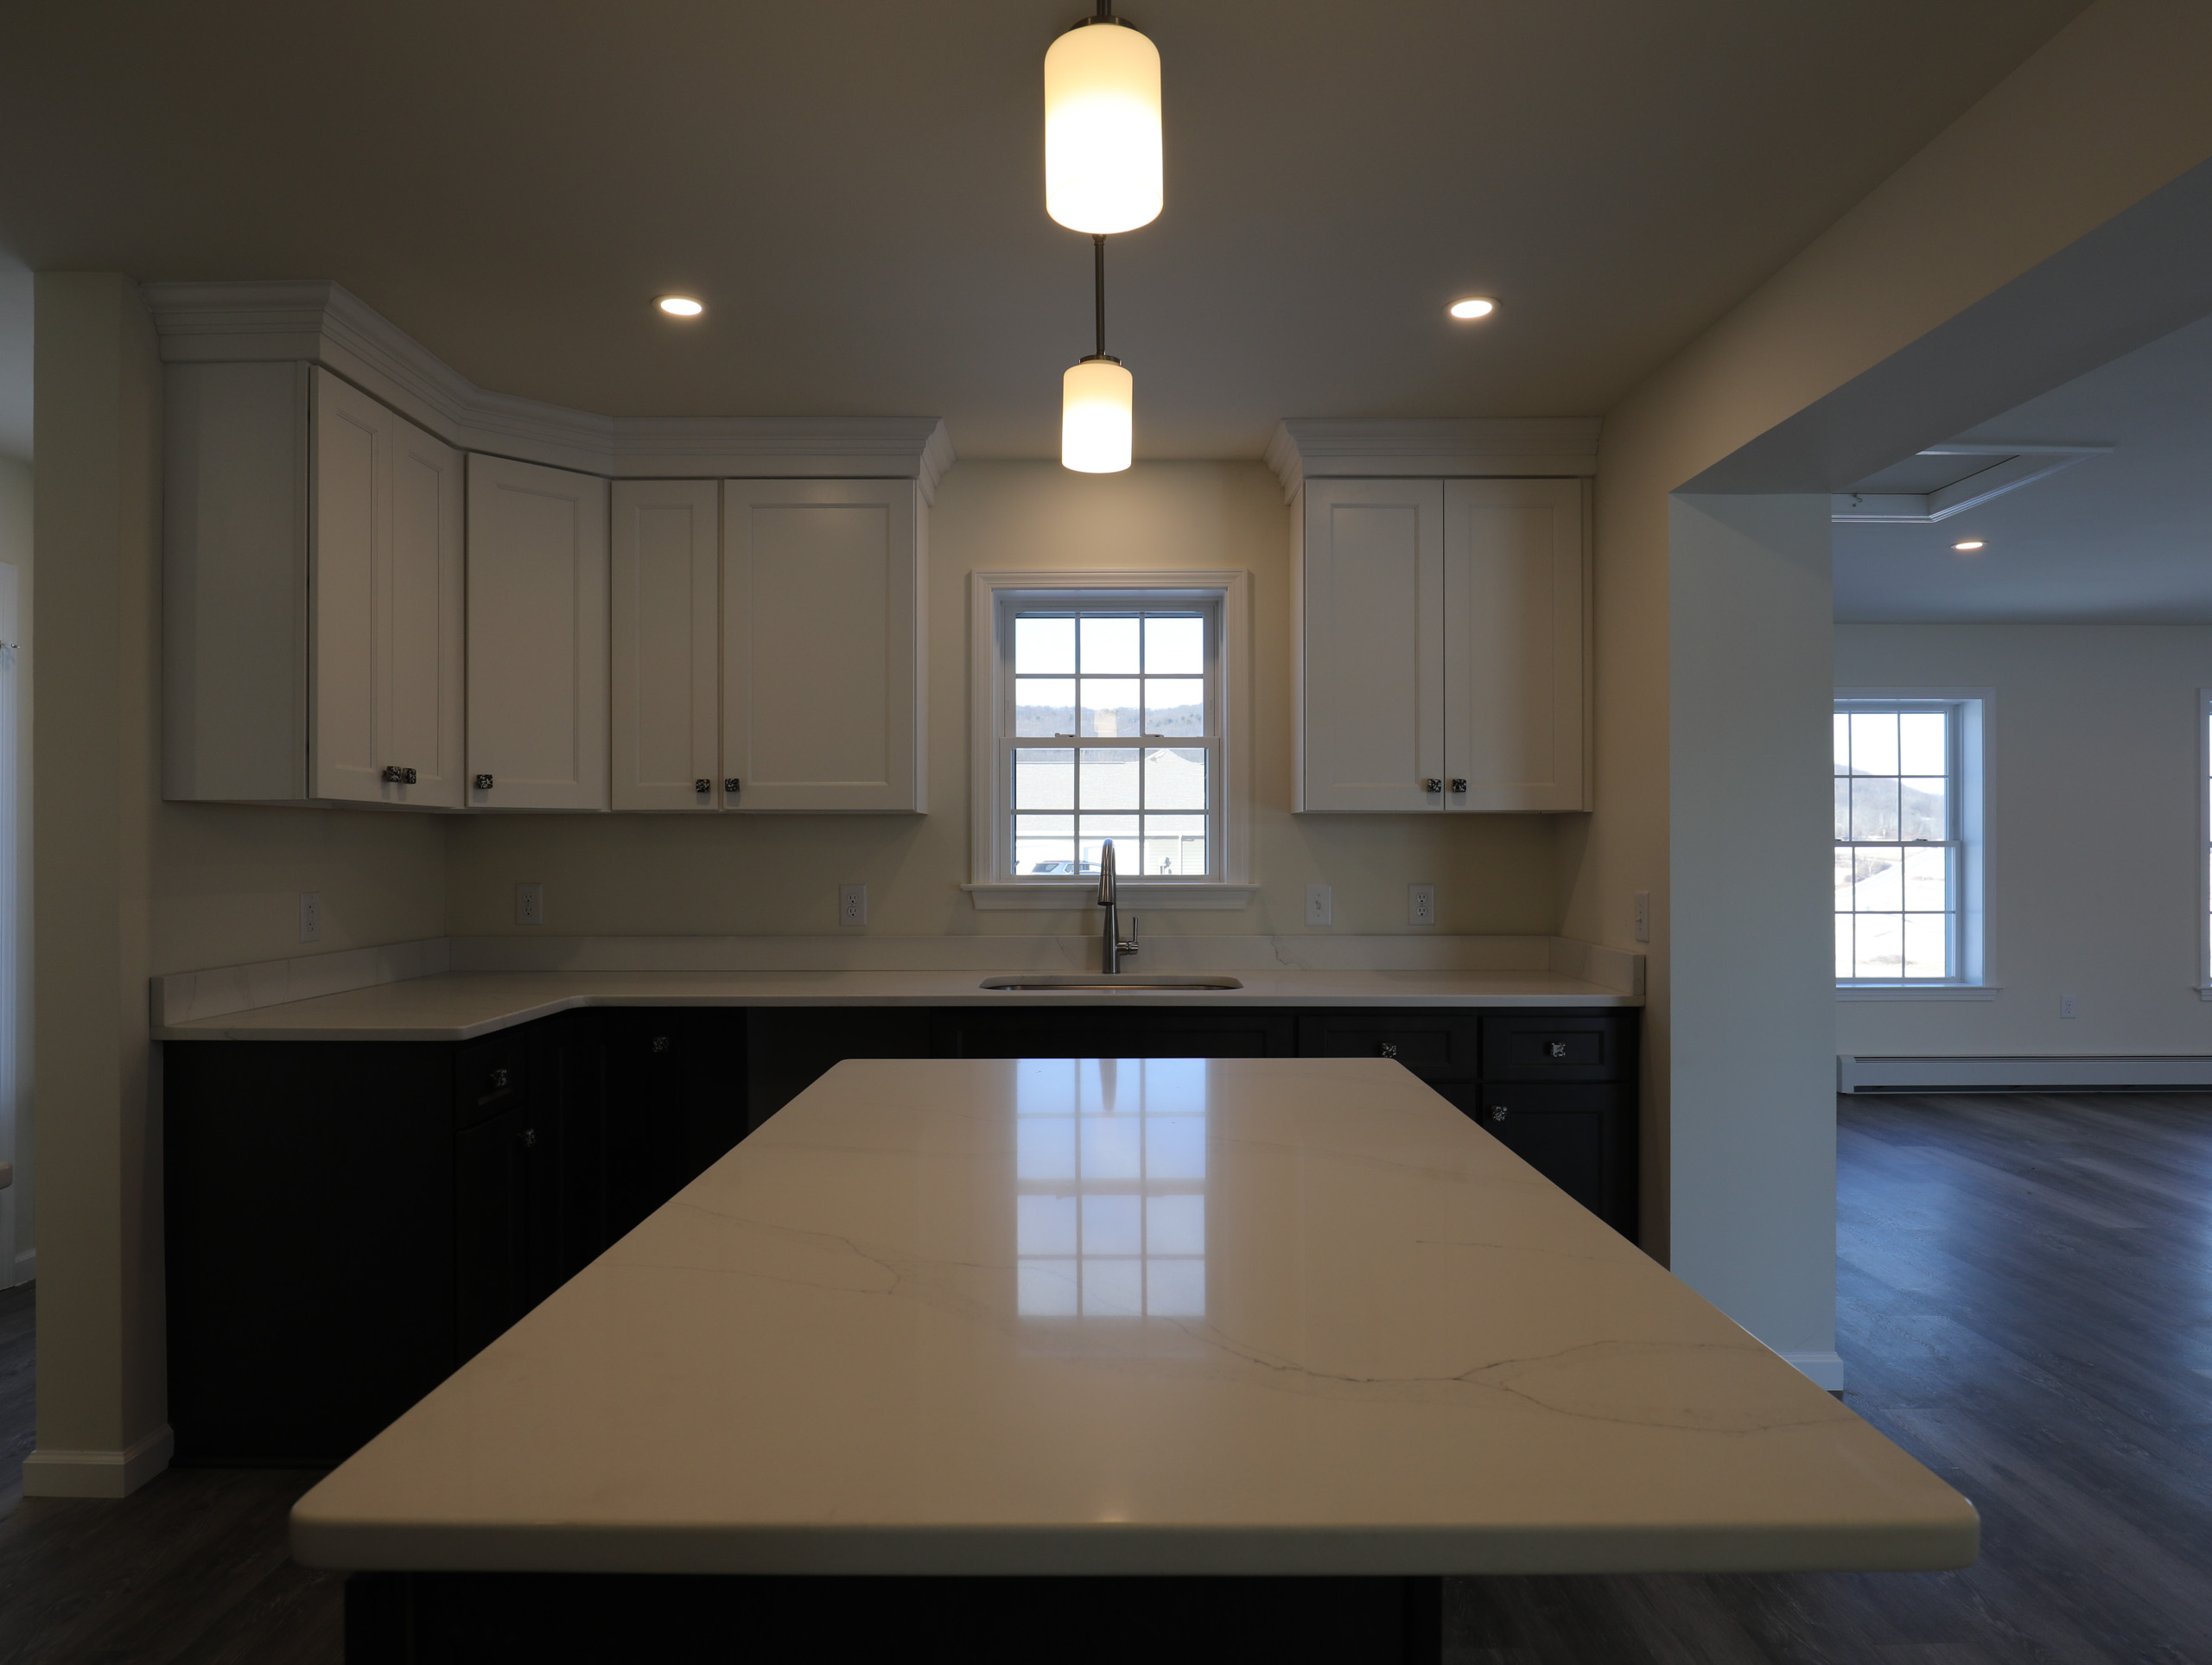
Our Interior Setup
Tripod-Based Shooting
We always utilize a tripod indoors to:
- Keep the camera perfectly level
- Eliminate camera shake
- Maintain consistent framing across brackets
This is critical for clean blends and straight vertical lines—especially in kitchens, living rooms, and bathrooms.
Lens Choice Awareness
We understand when to shoot wide and when not to. Overusing wide angles can distort spaces and misrepresent room proportions, so we adjust focal length based on room size and layout.
Interior Camera Settings
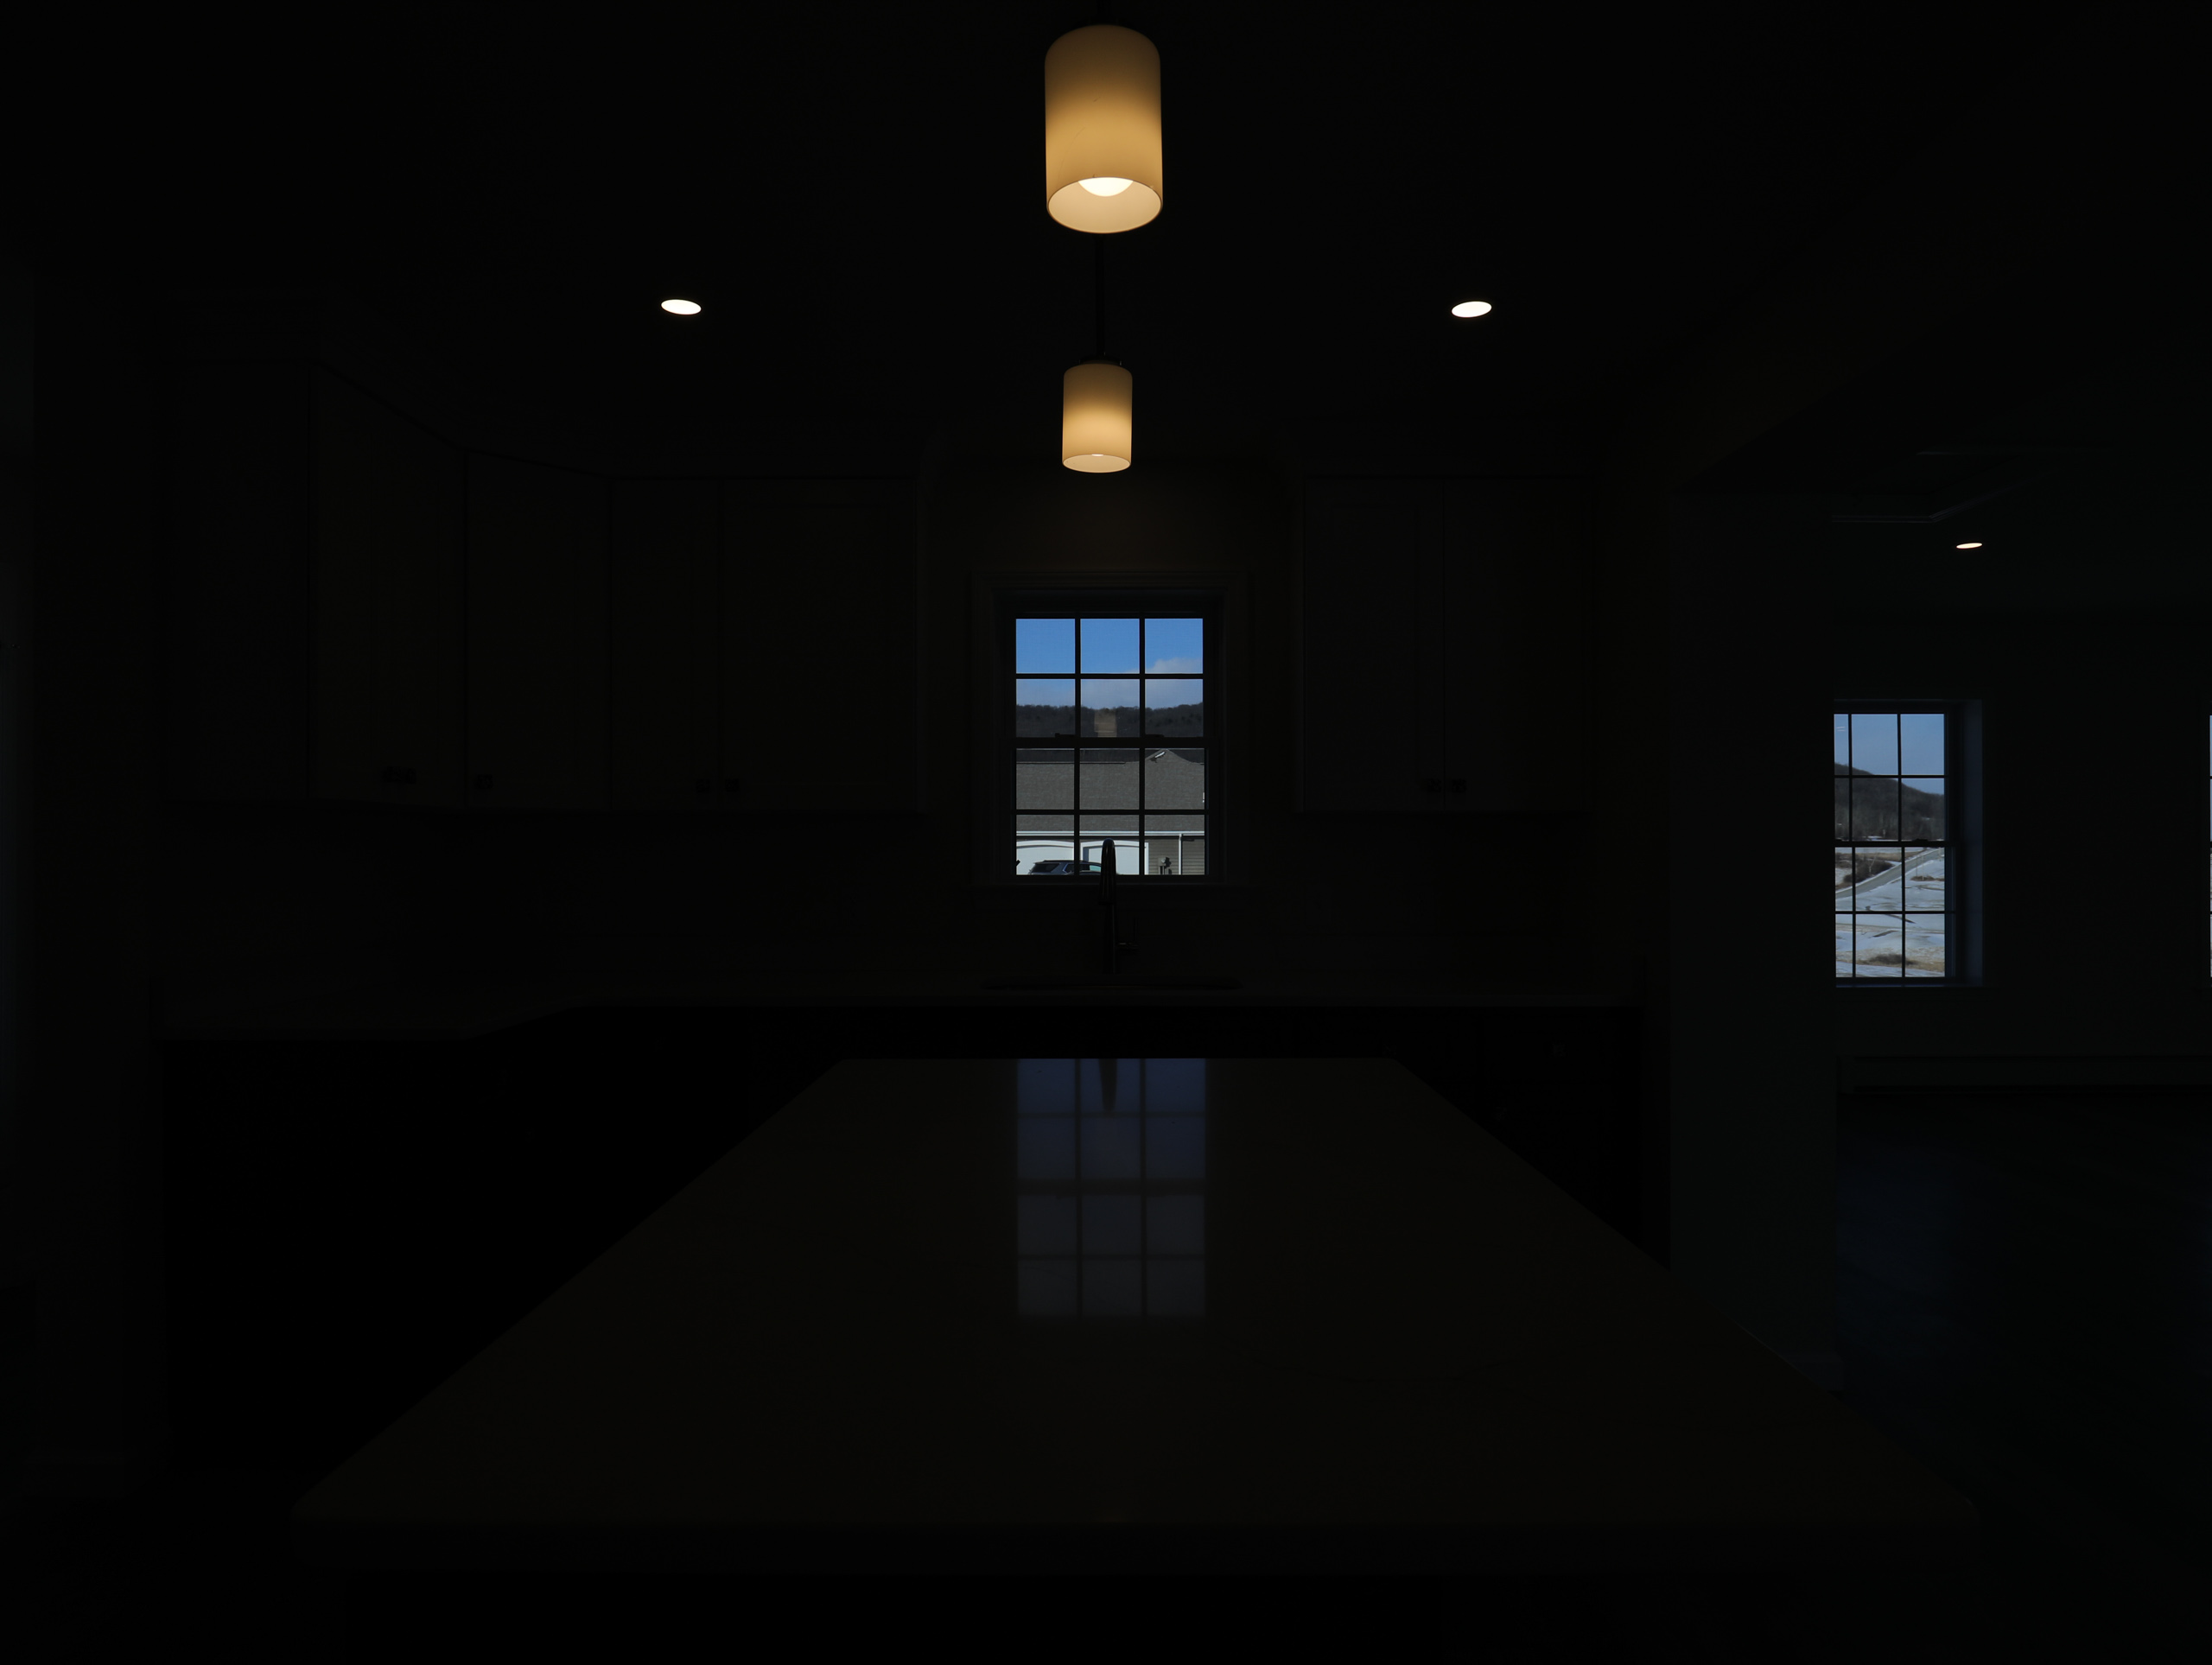
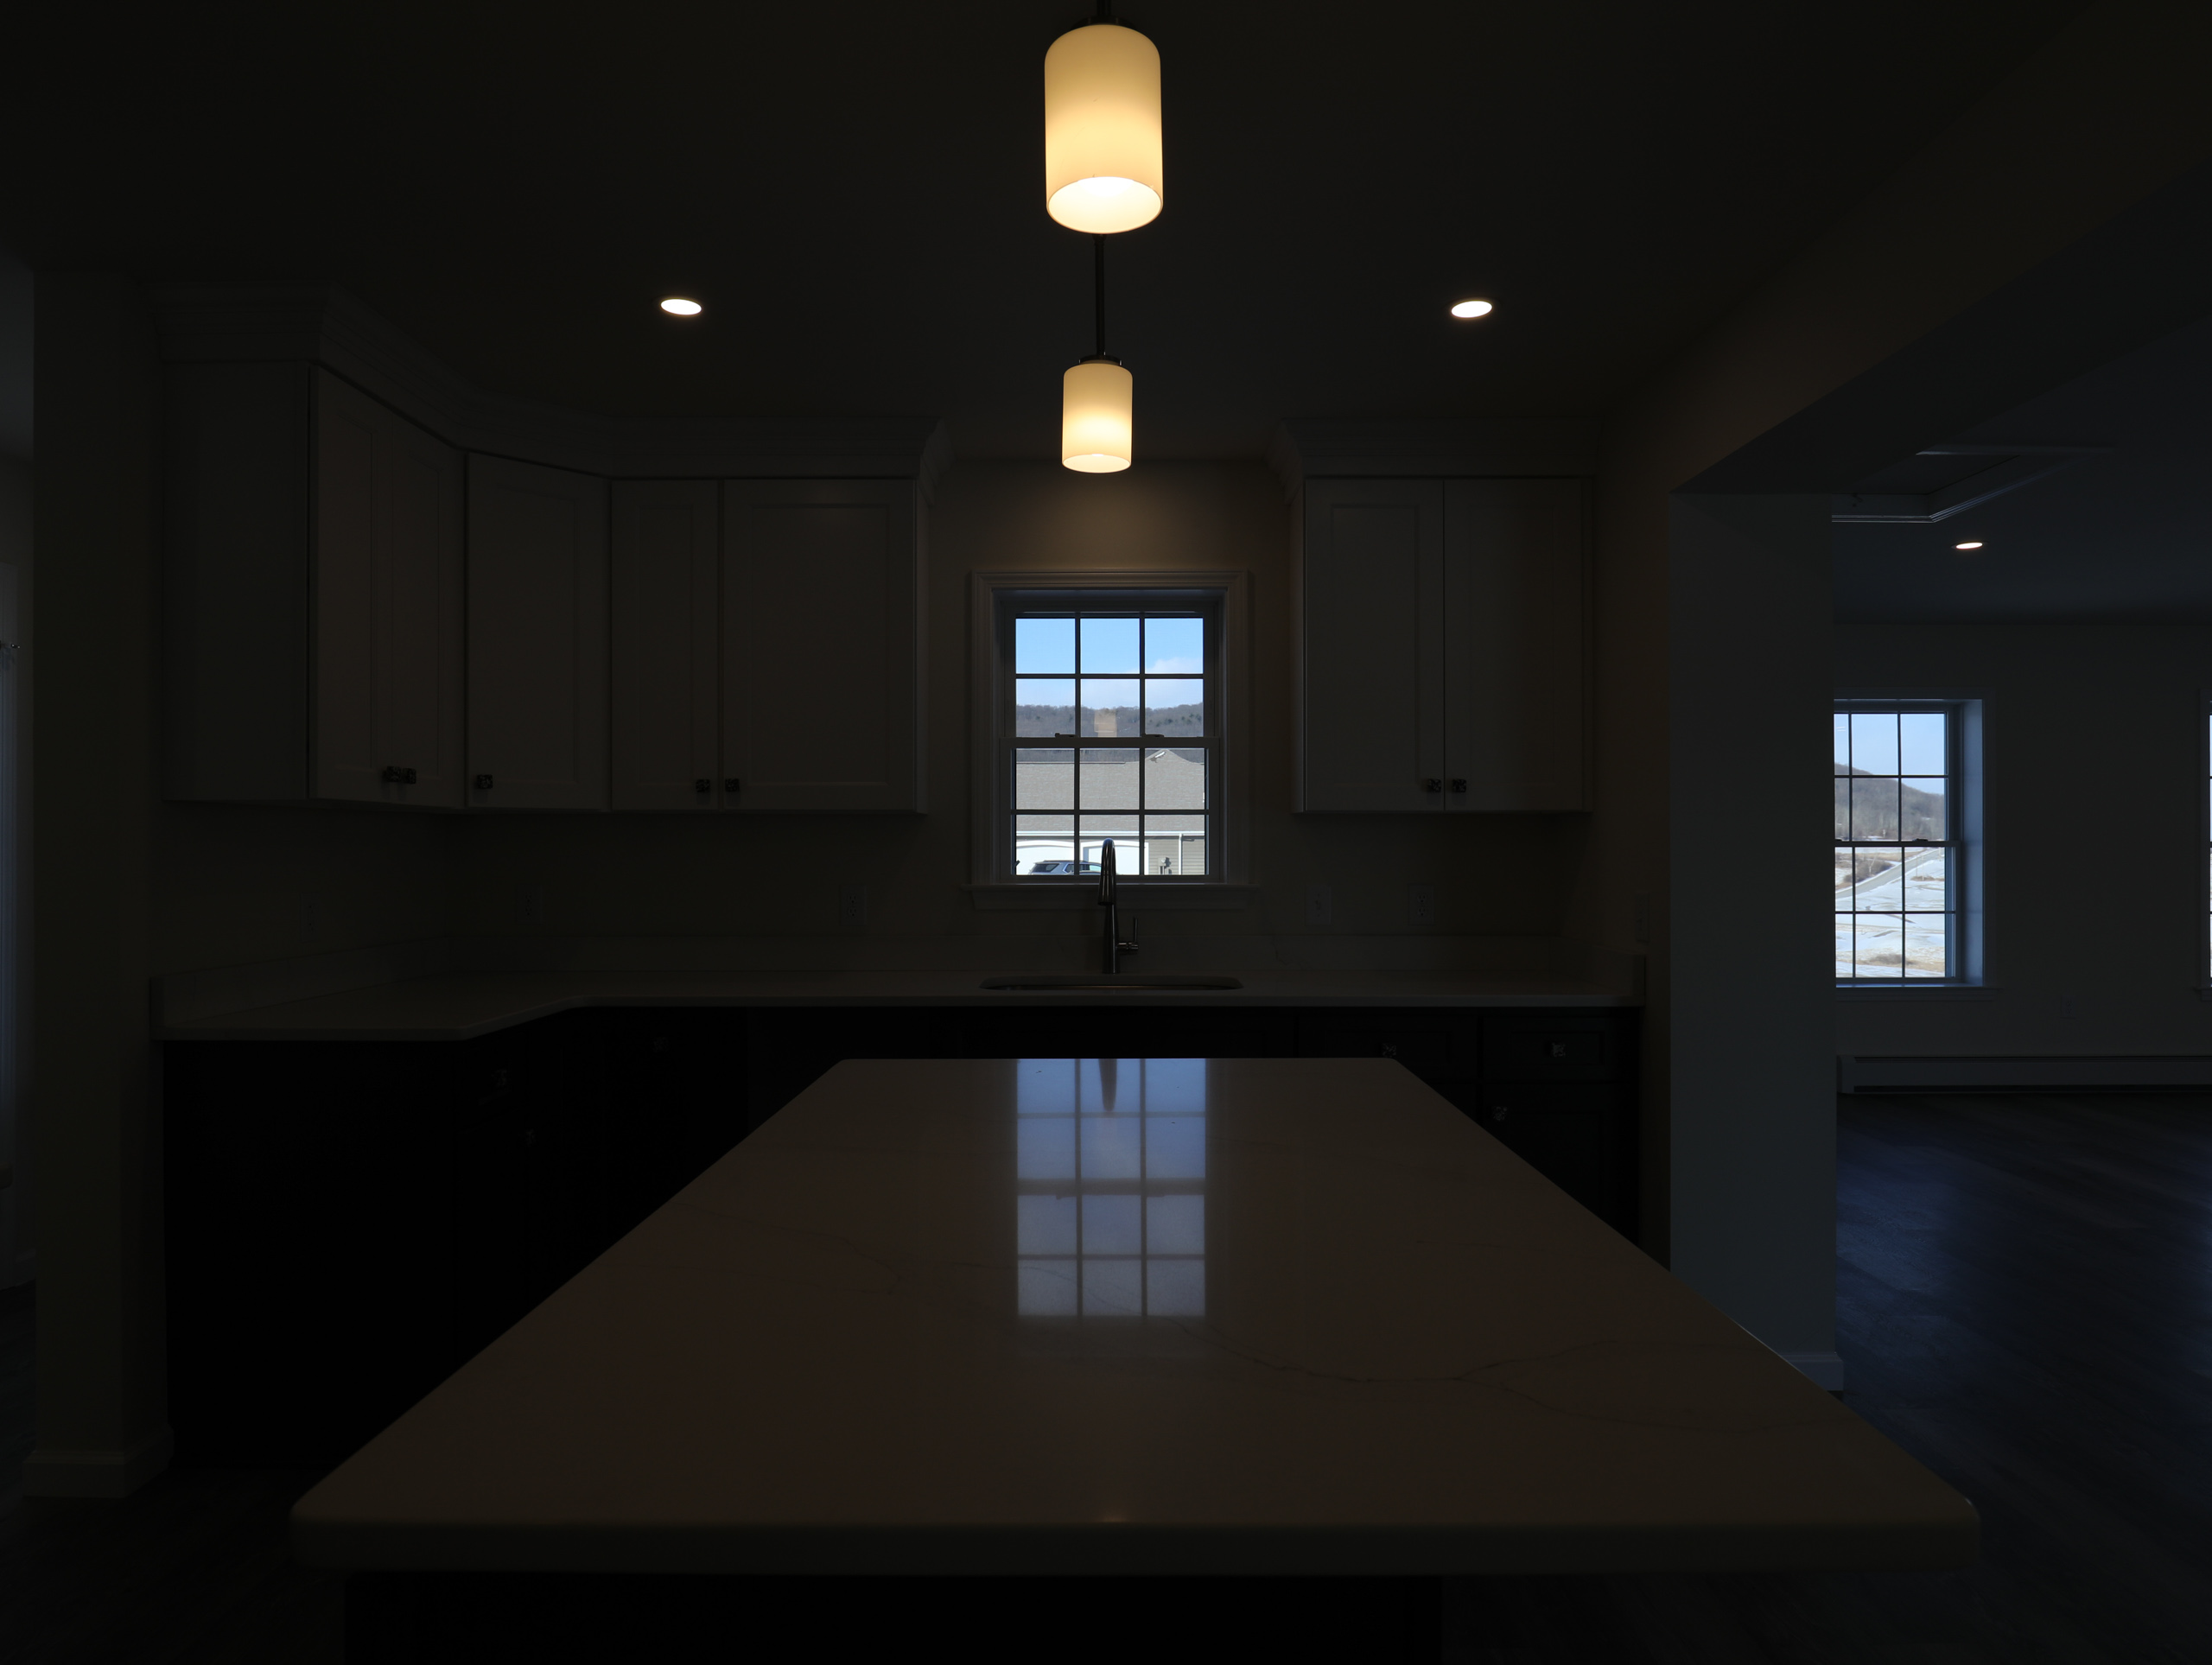
- 5 exposure brackets, spaced 2 EV apart
- Auto White Balance
- White Priority (to keep interiors neutral and inviting)
- 2-second timer (to eliminate vibration)
- f/9 for sharpness and depth
- Auto ISO, capped at ISO 800
Our Shooting Order:
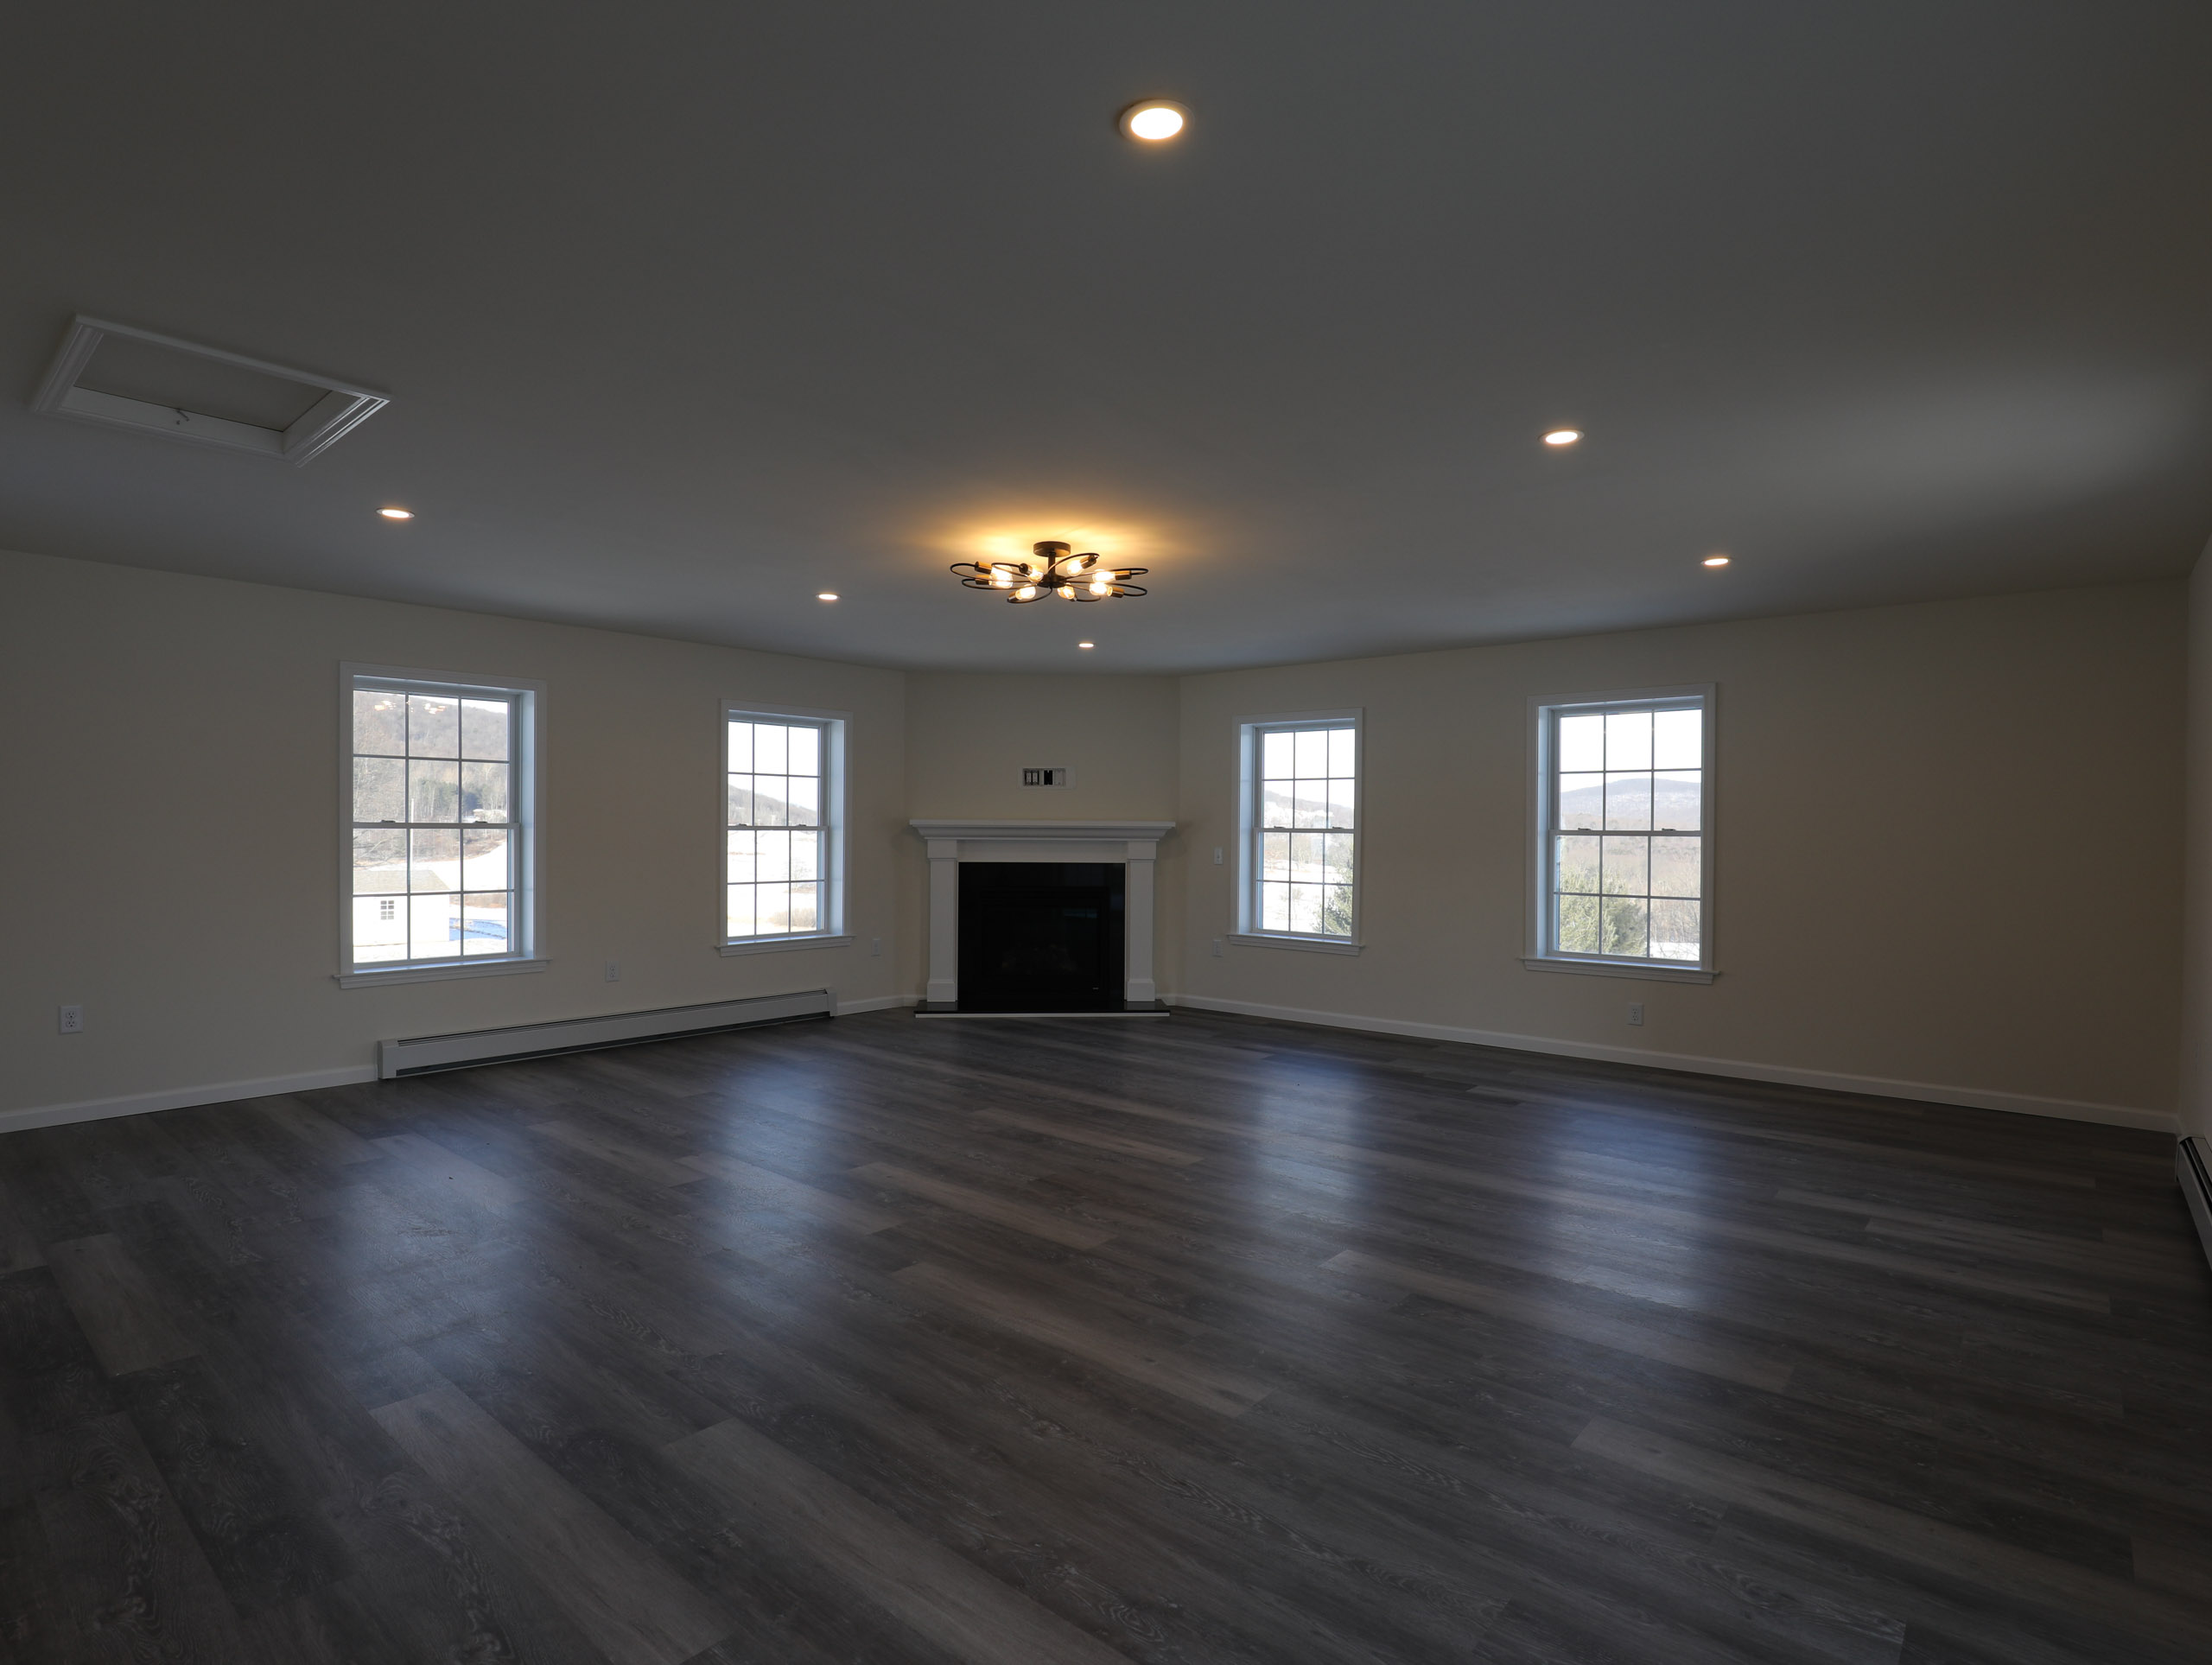
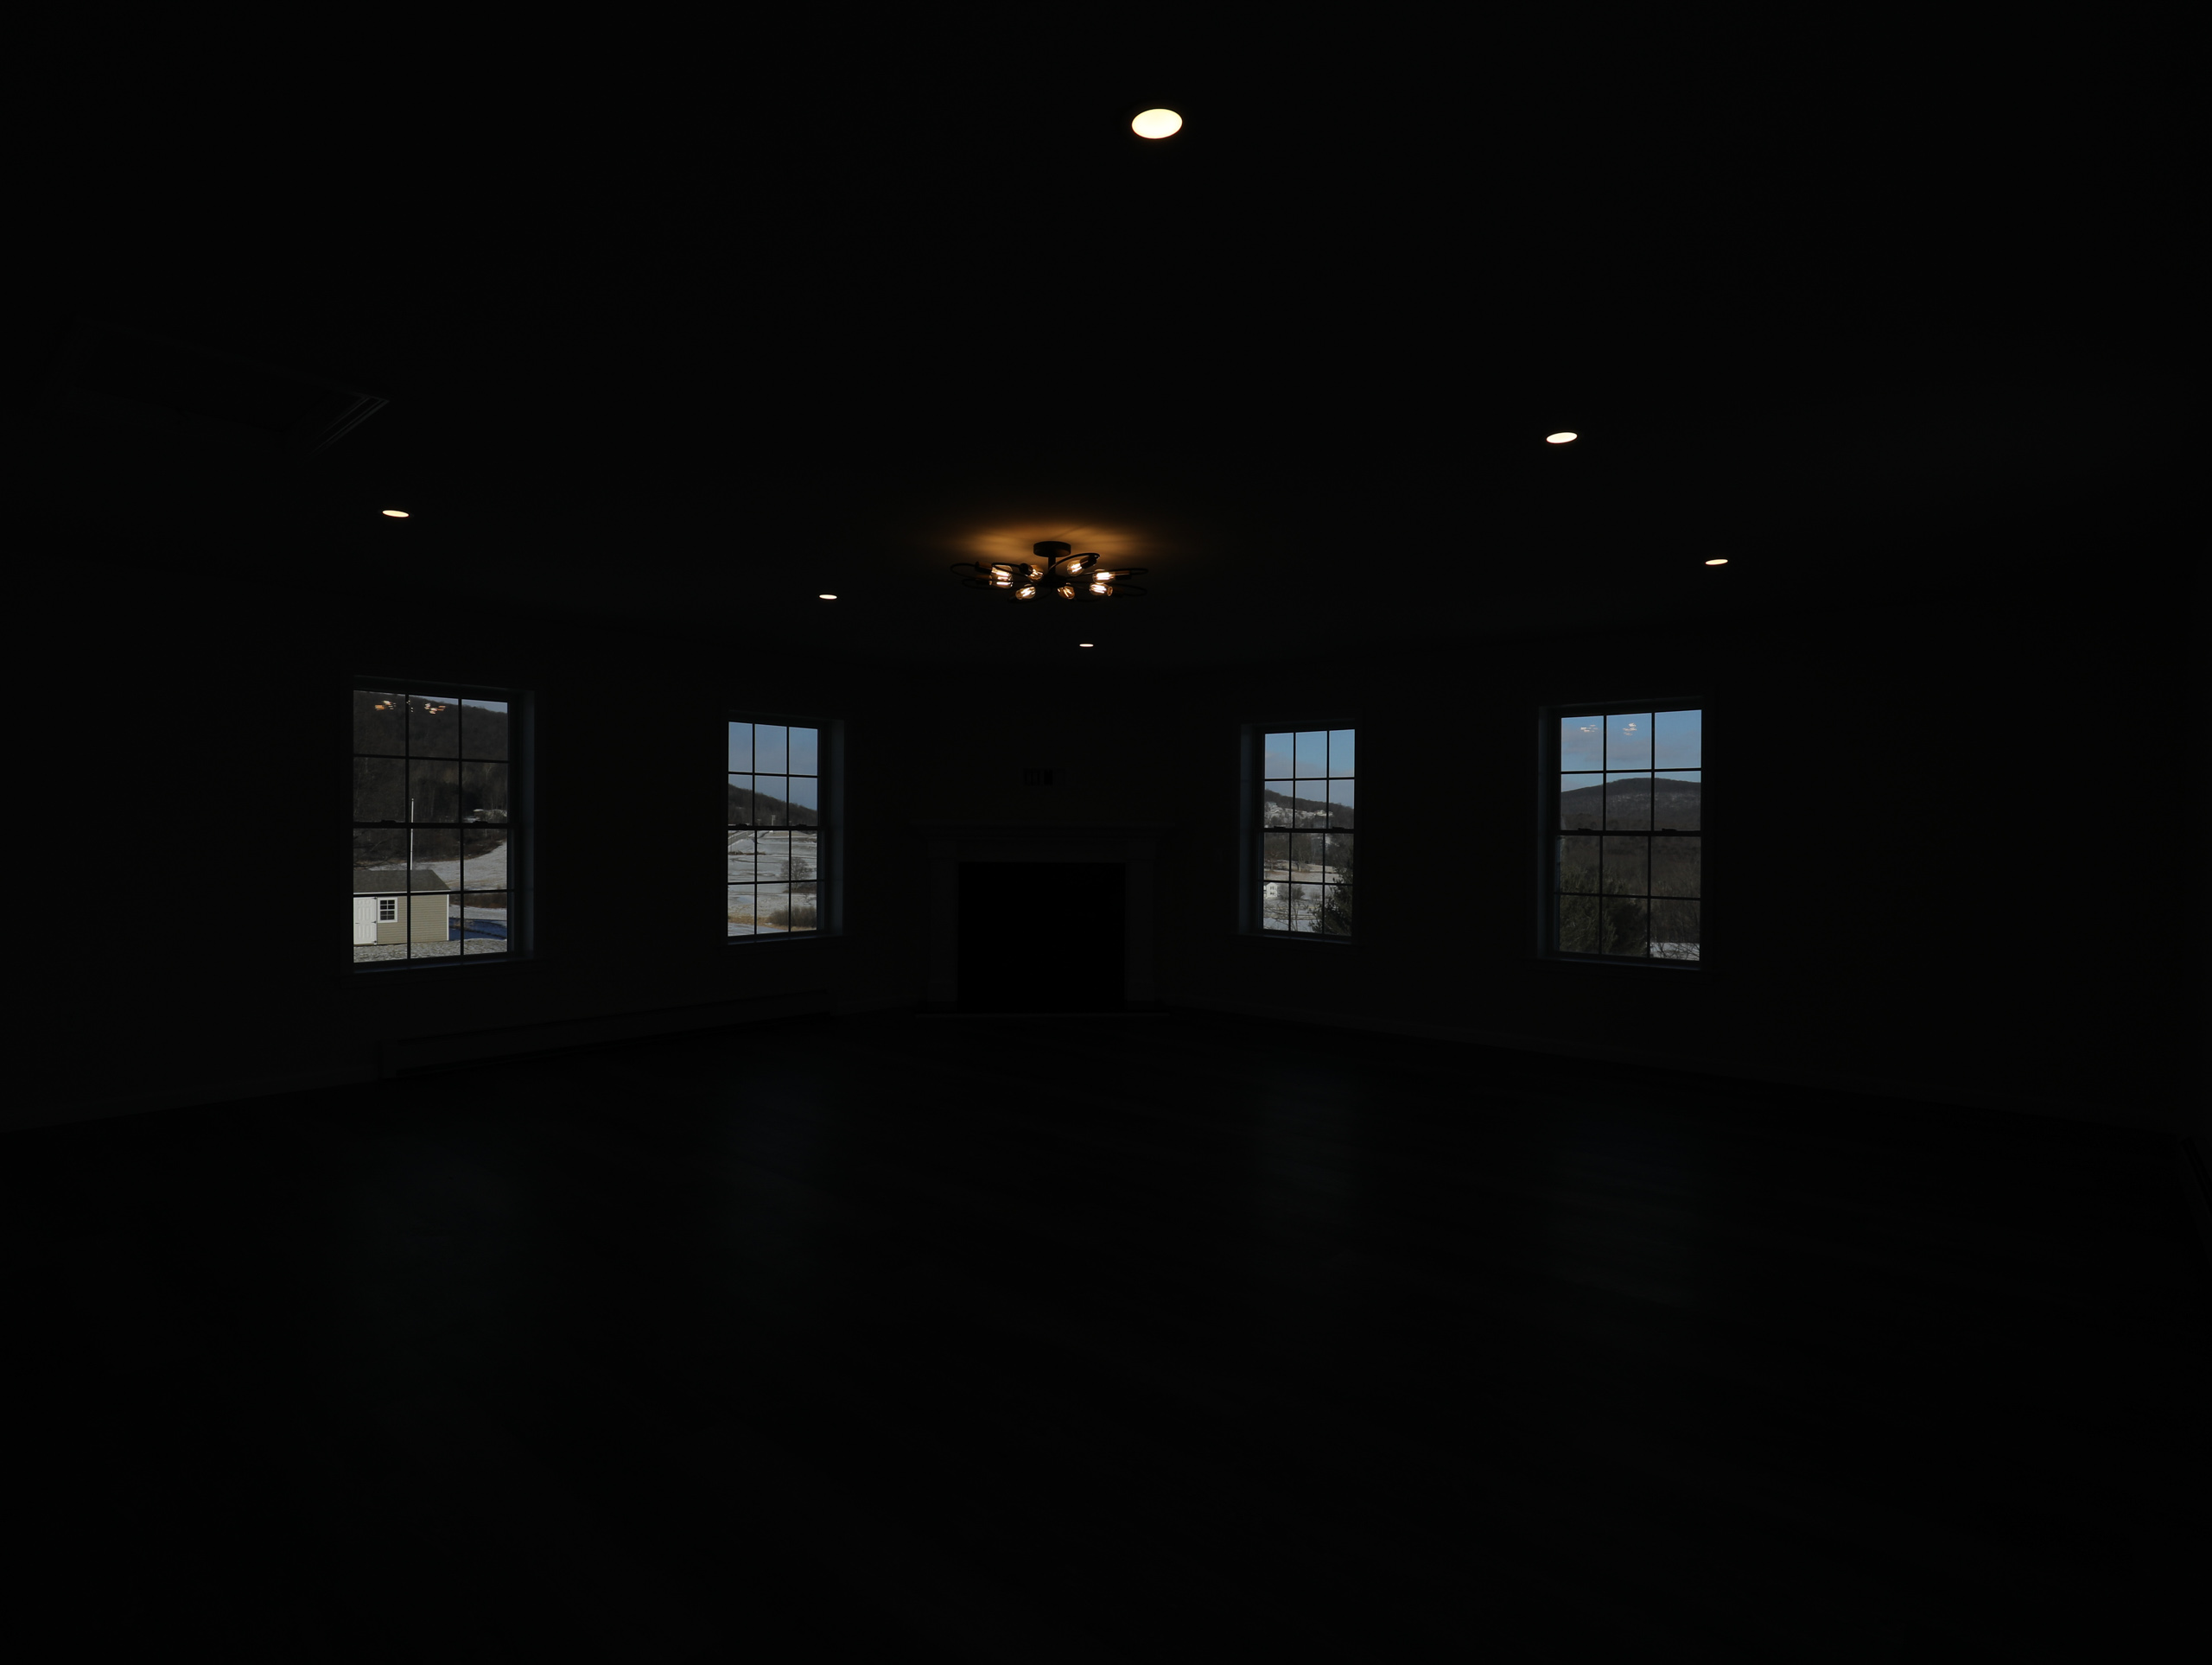
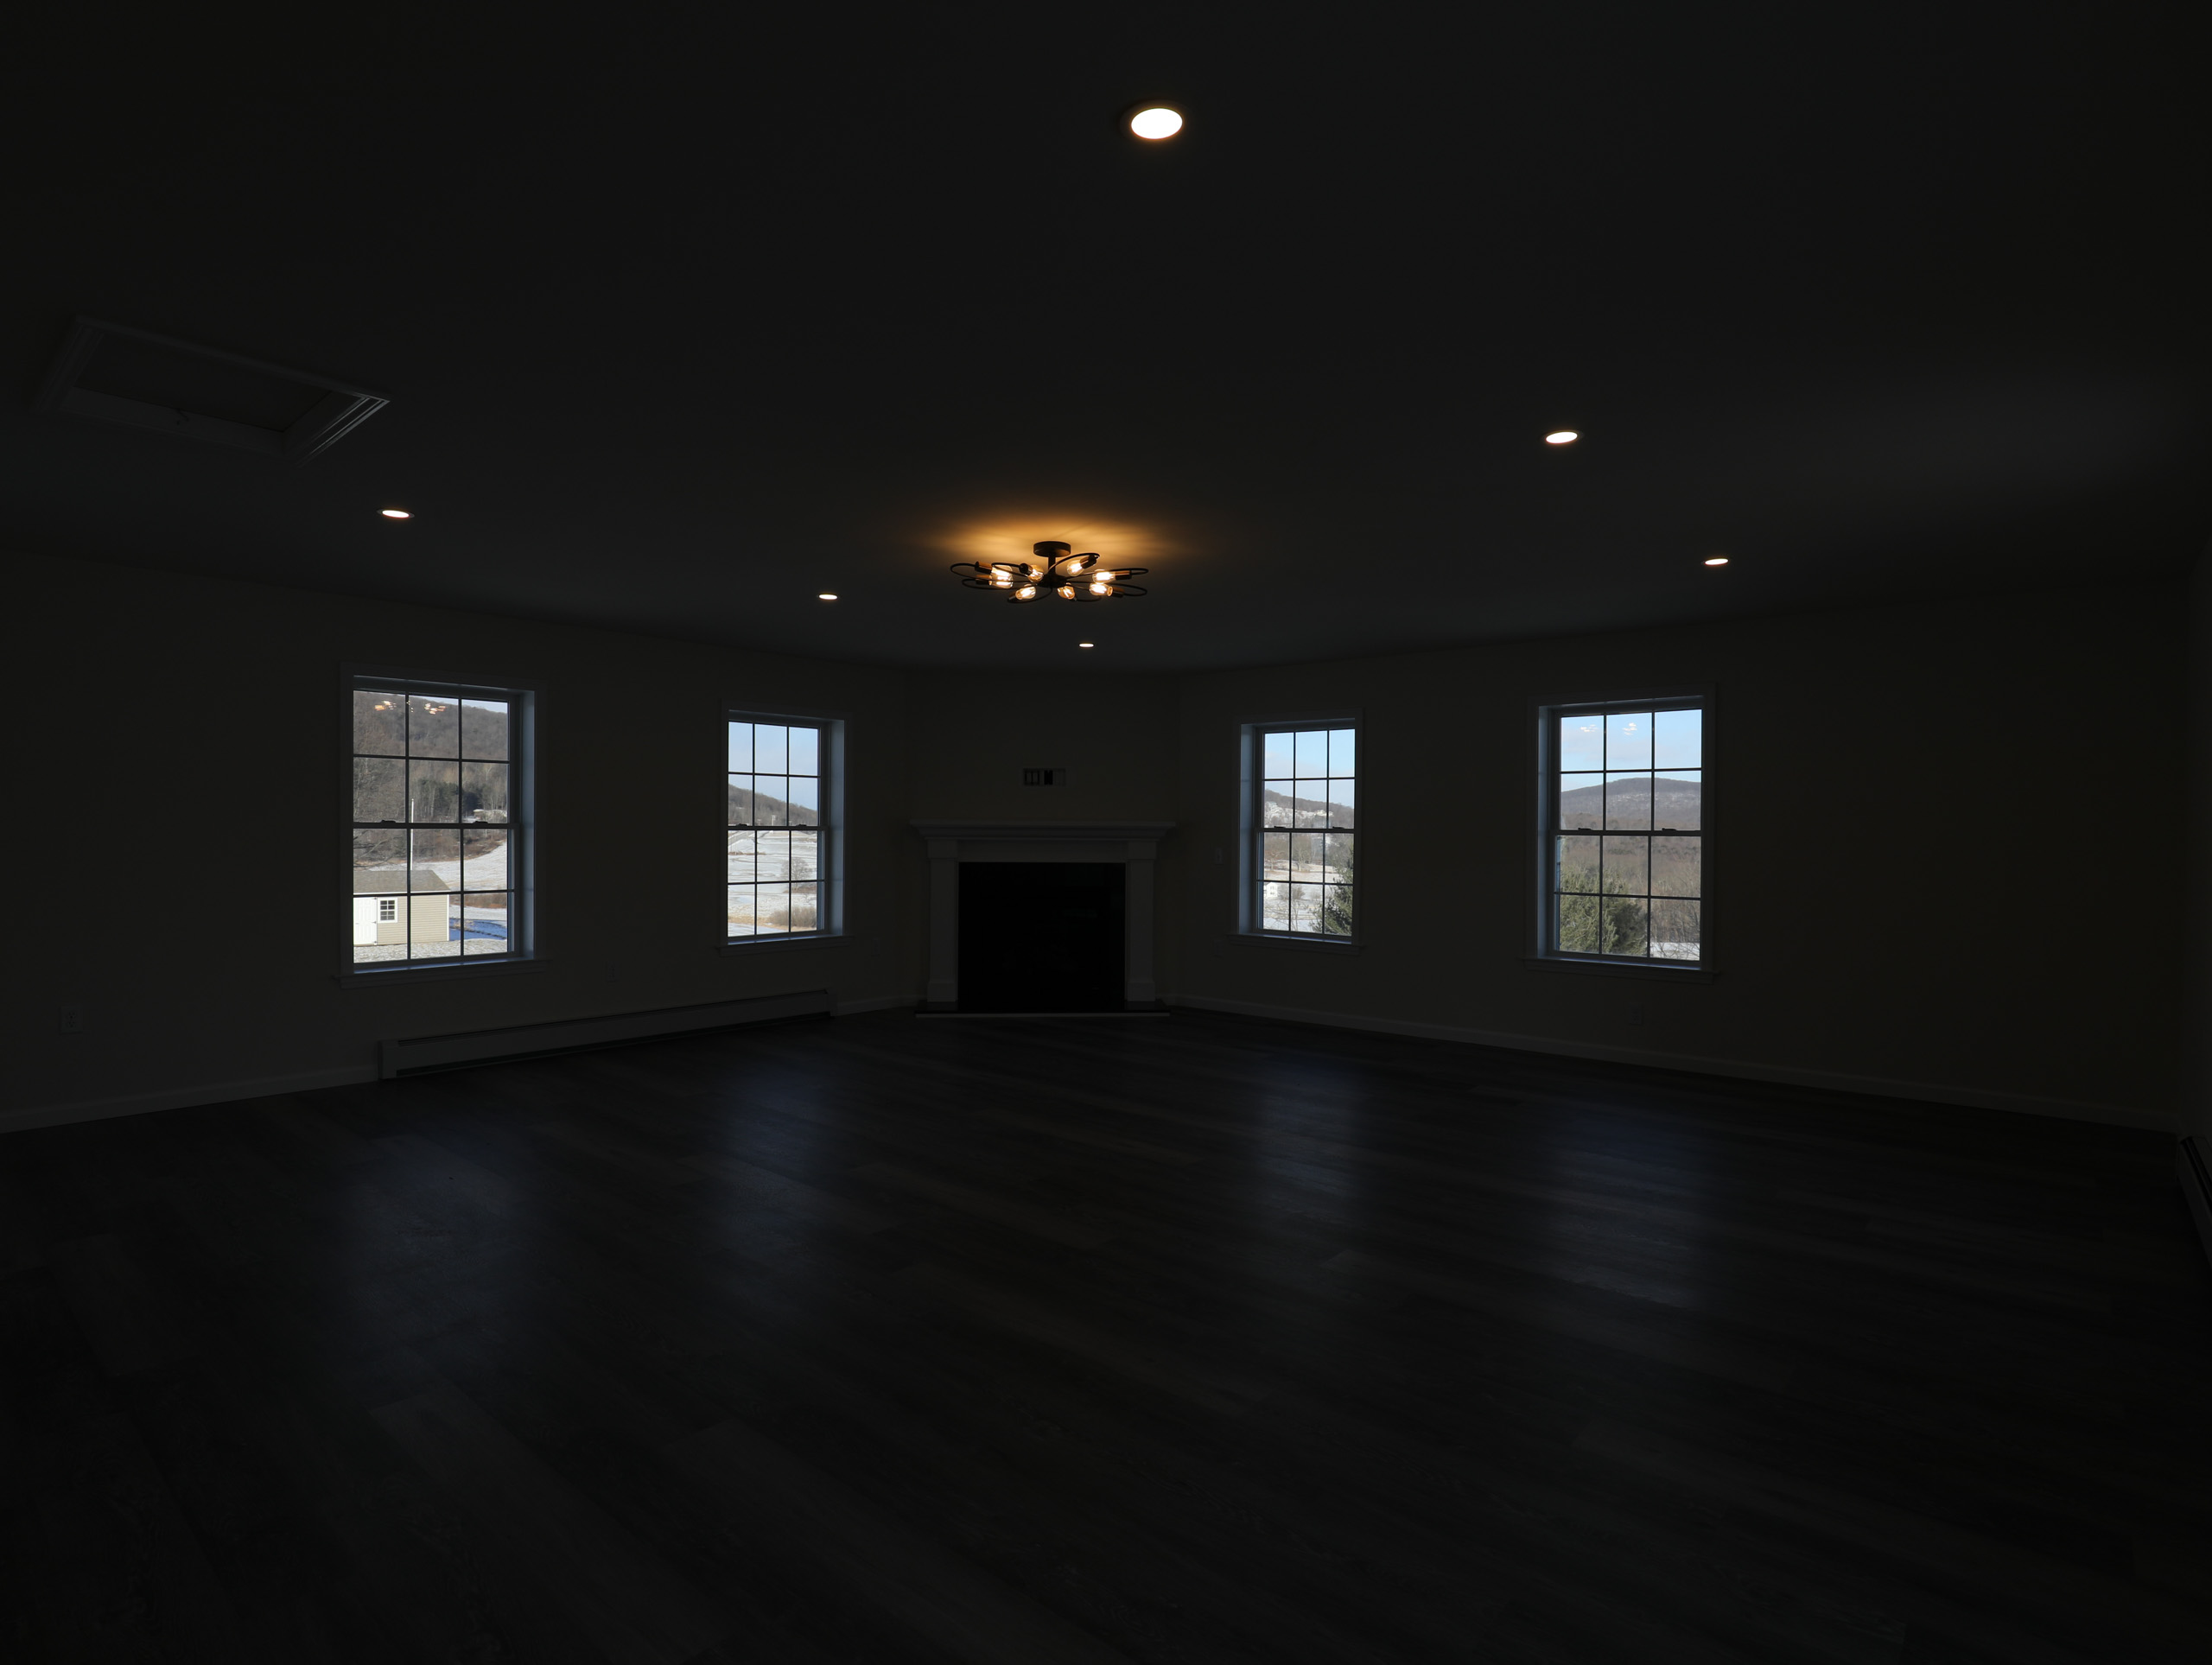
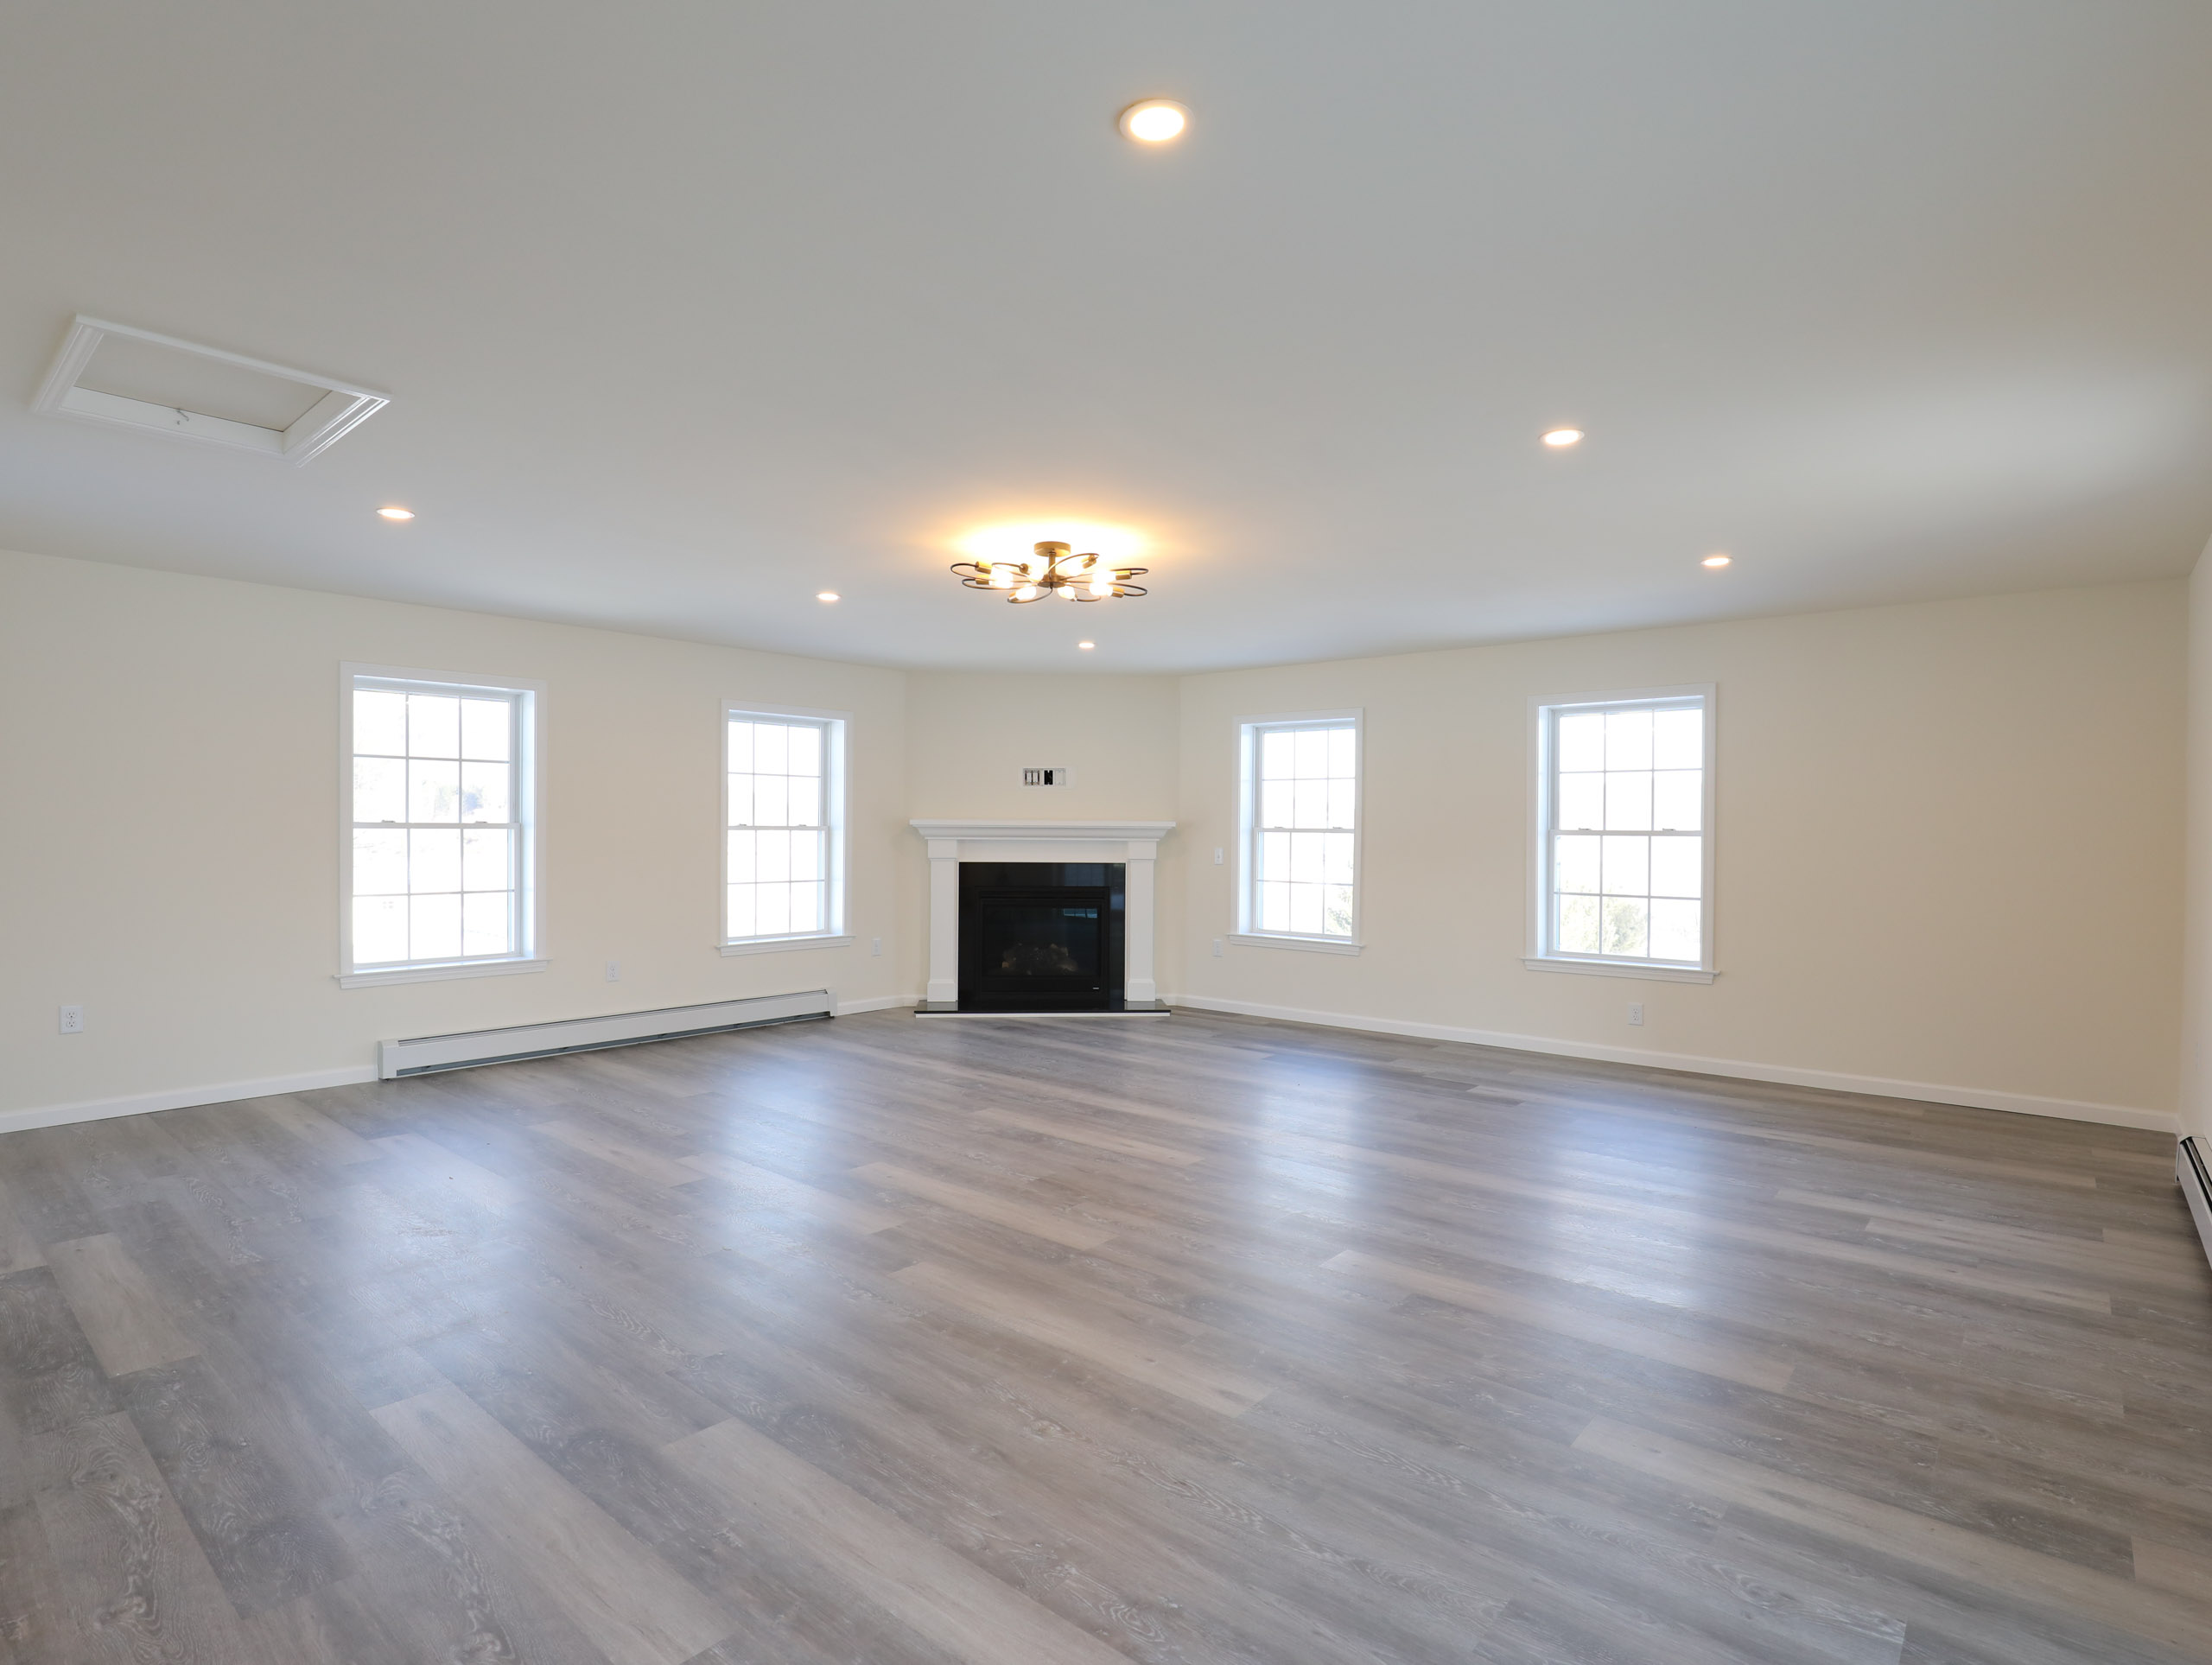
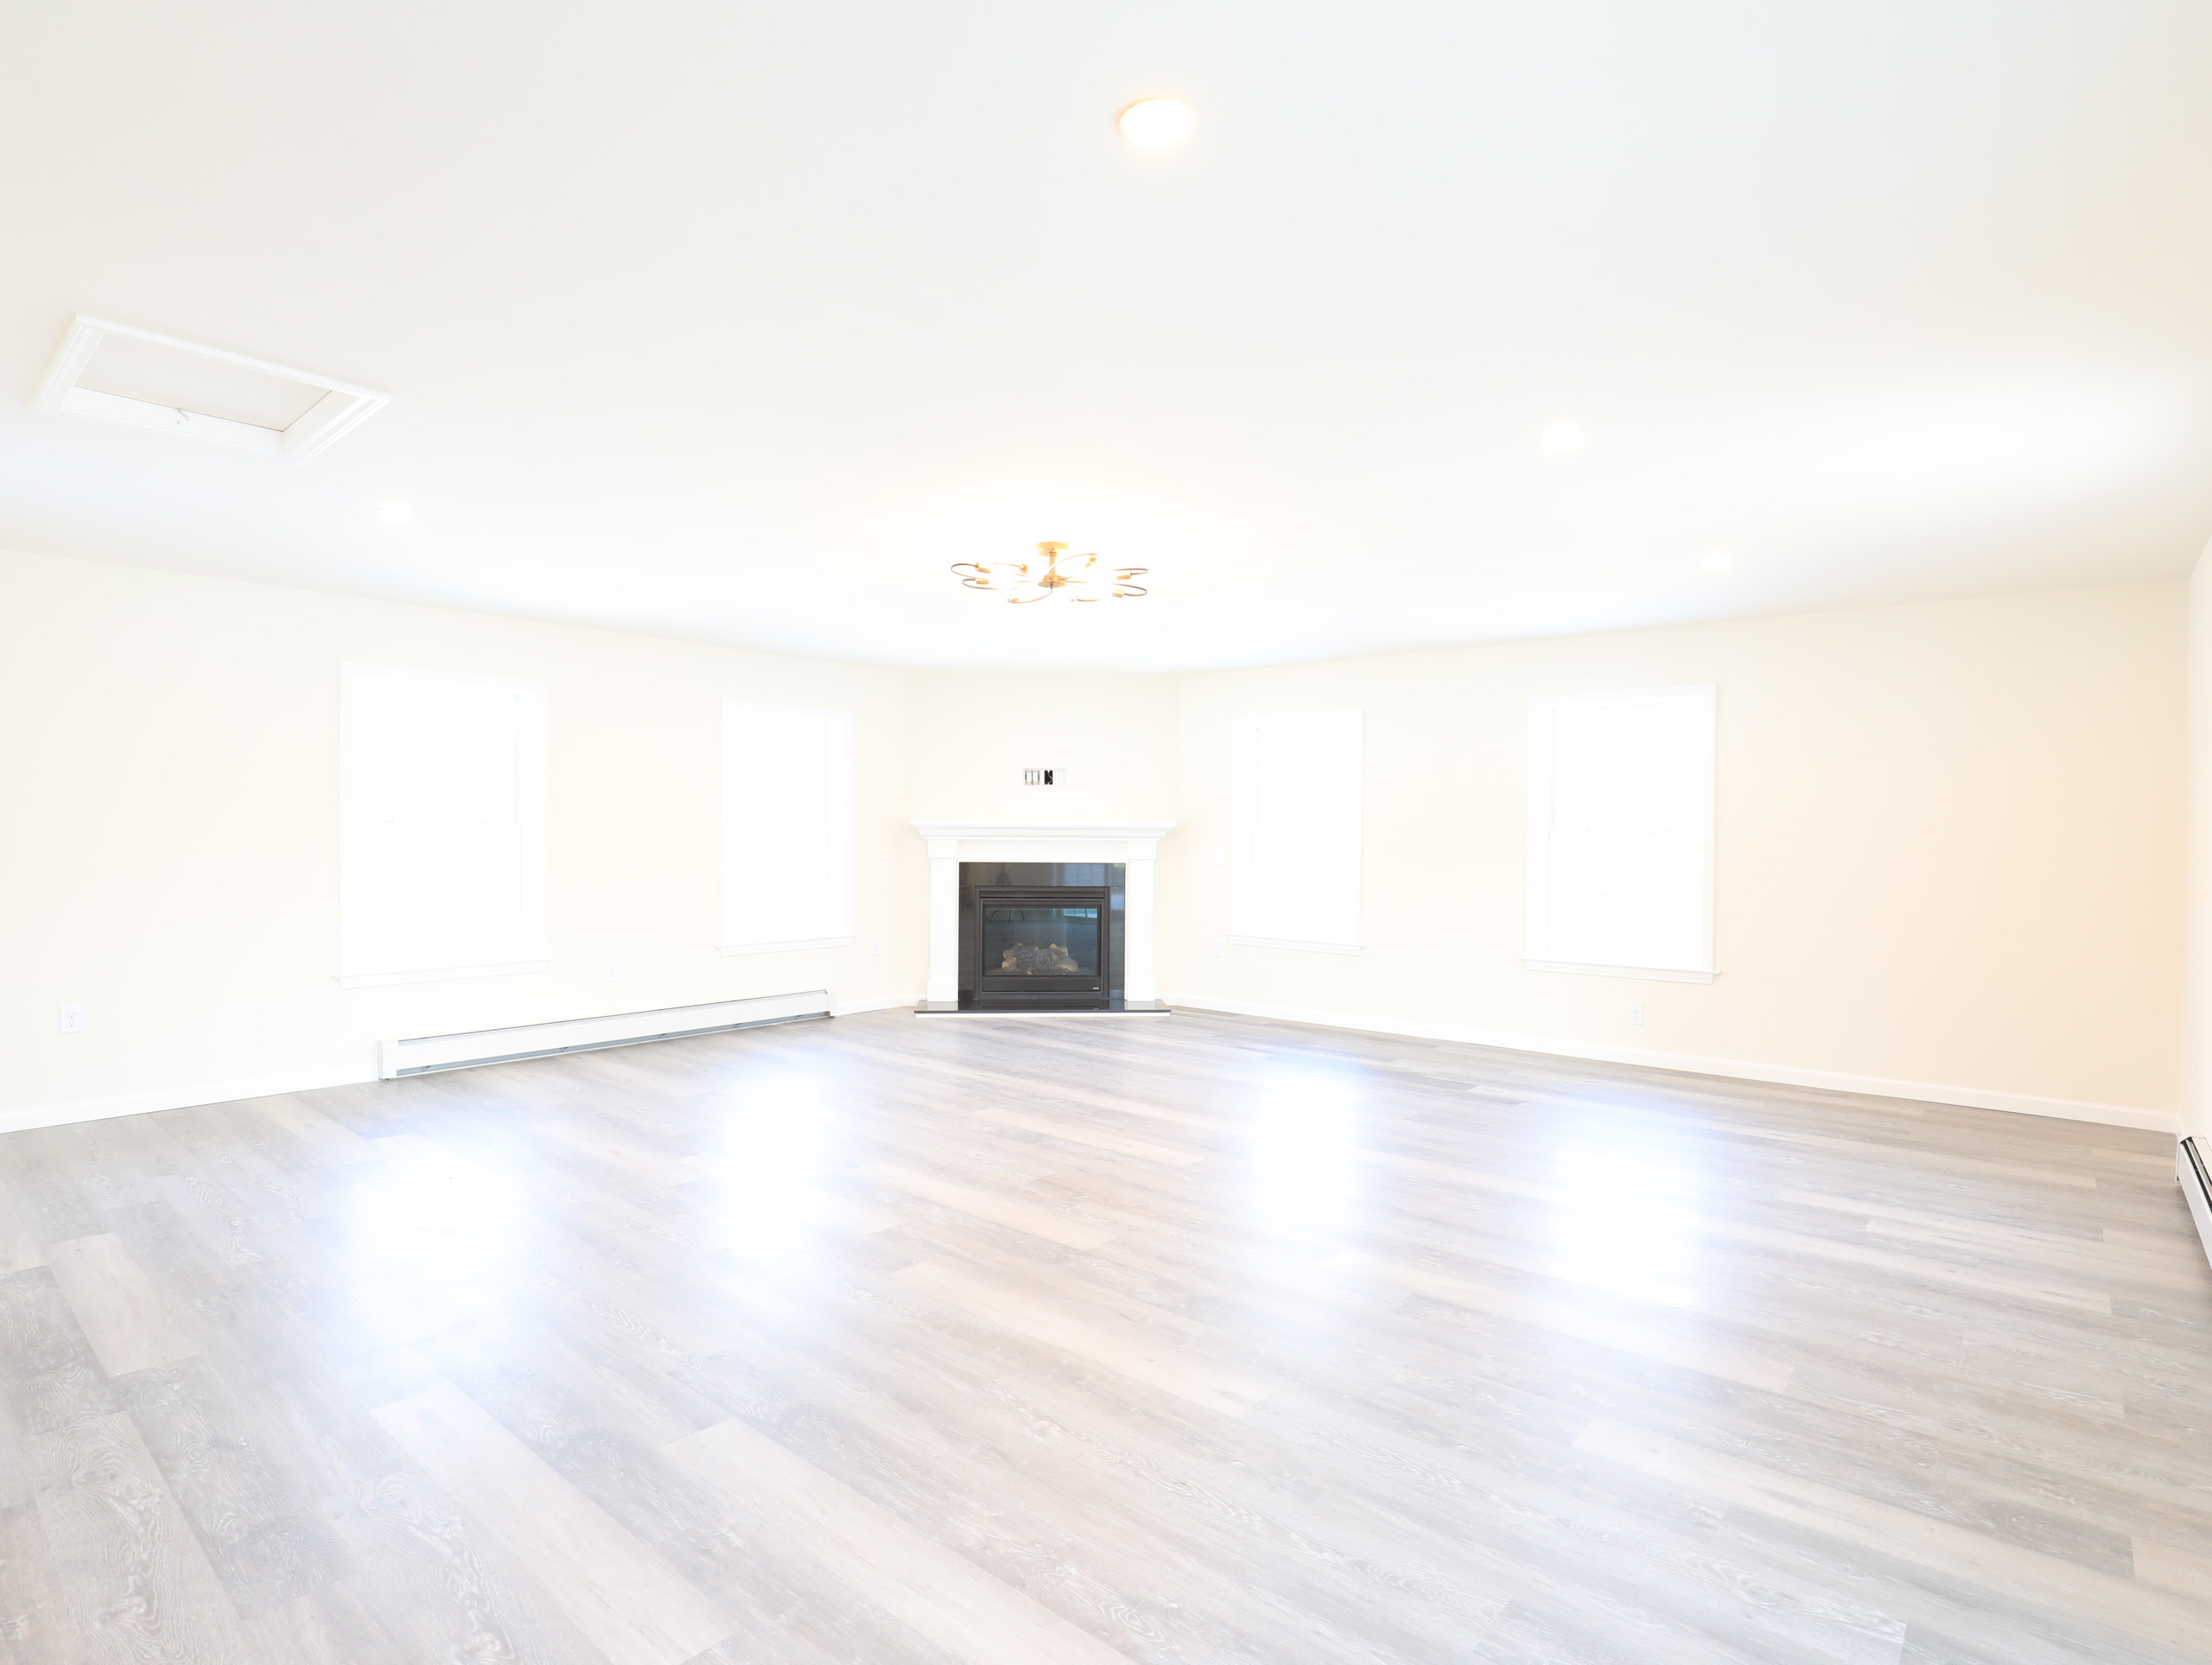
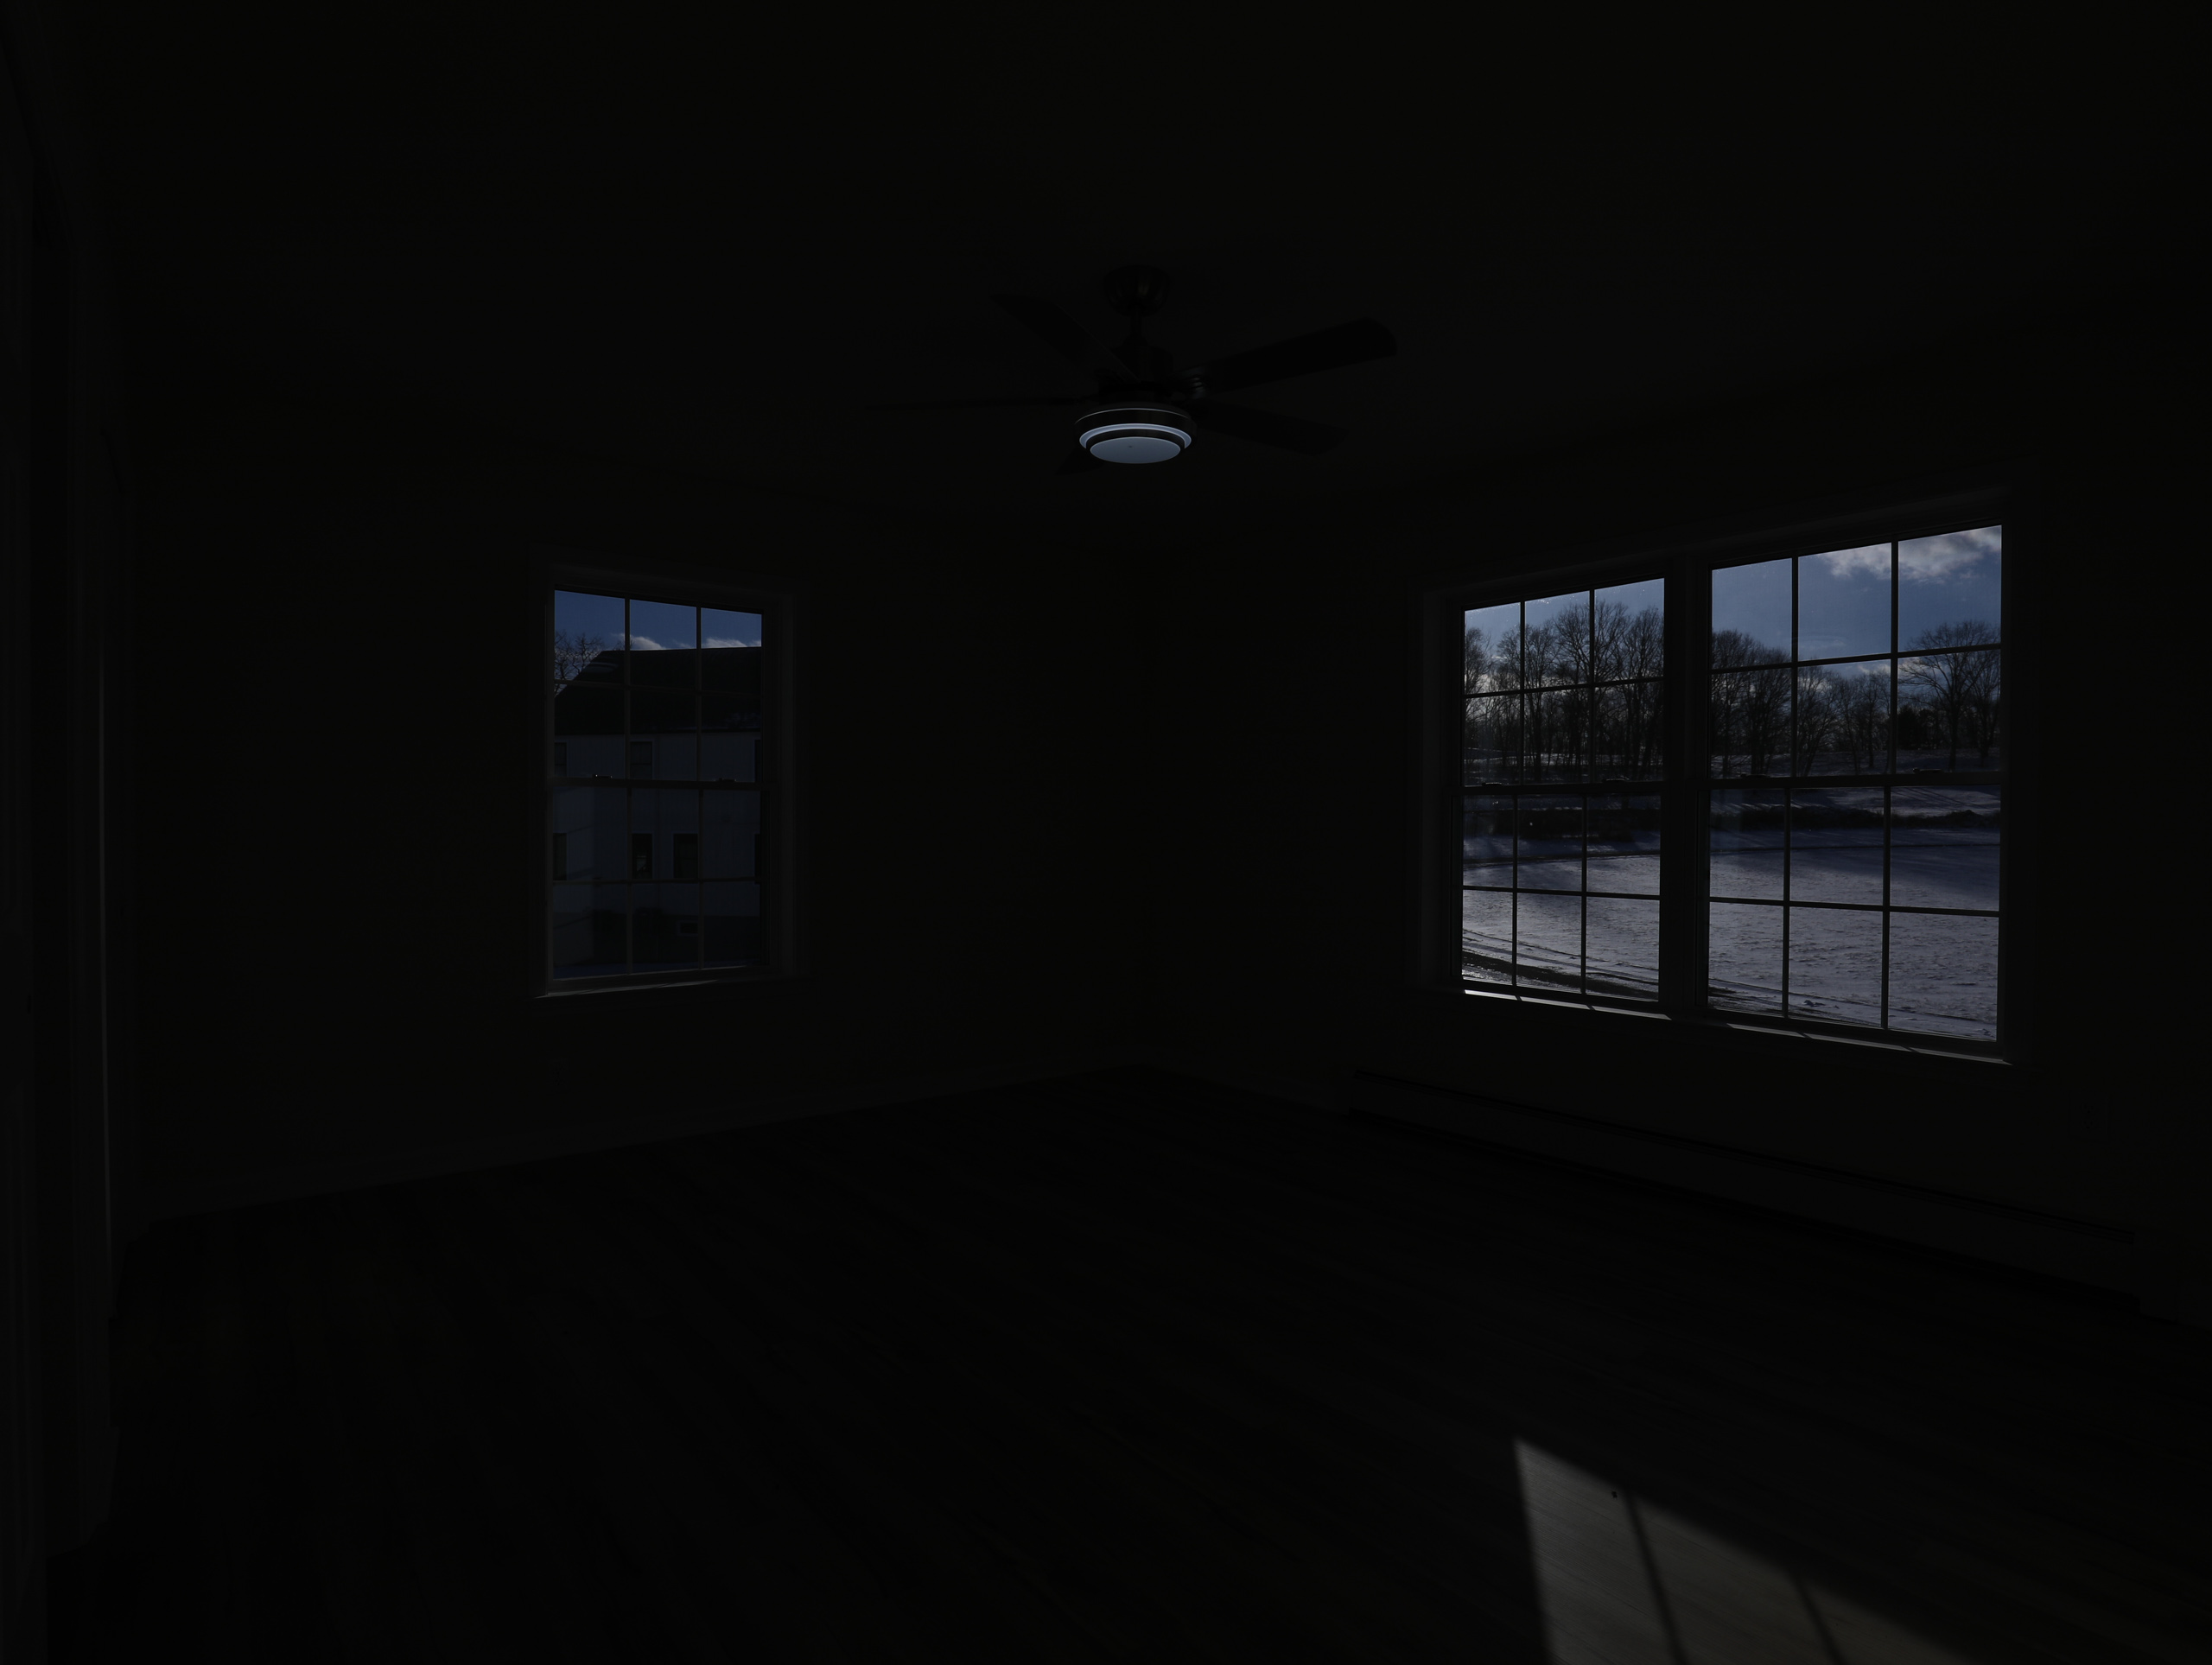
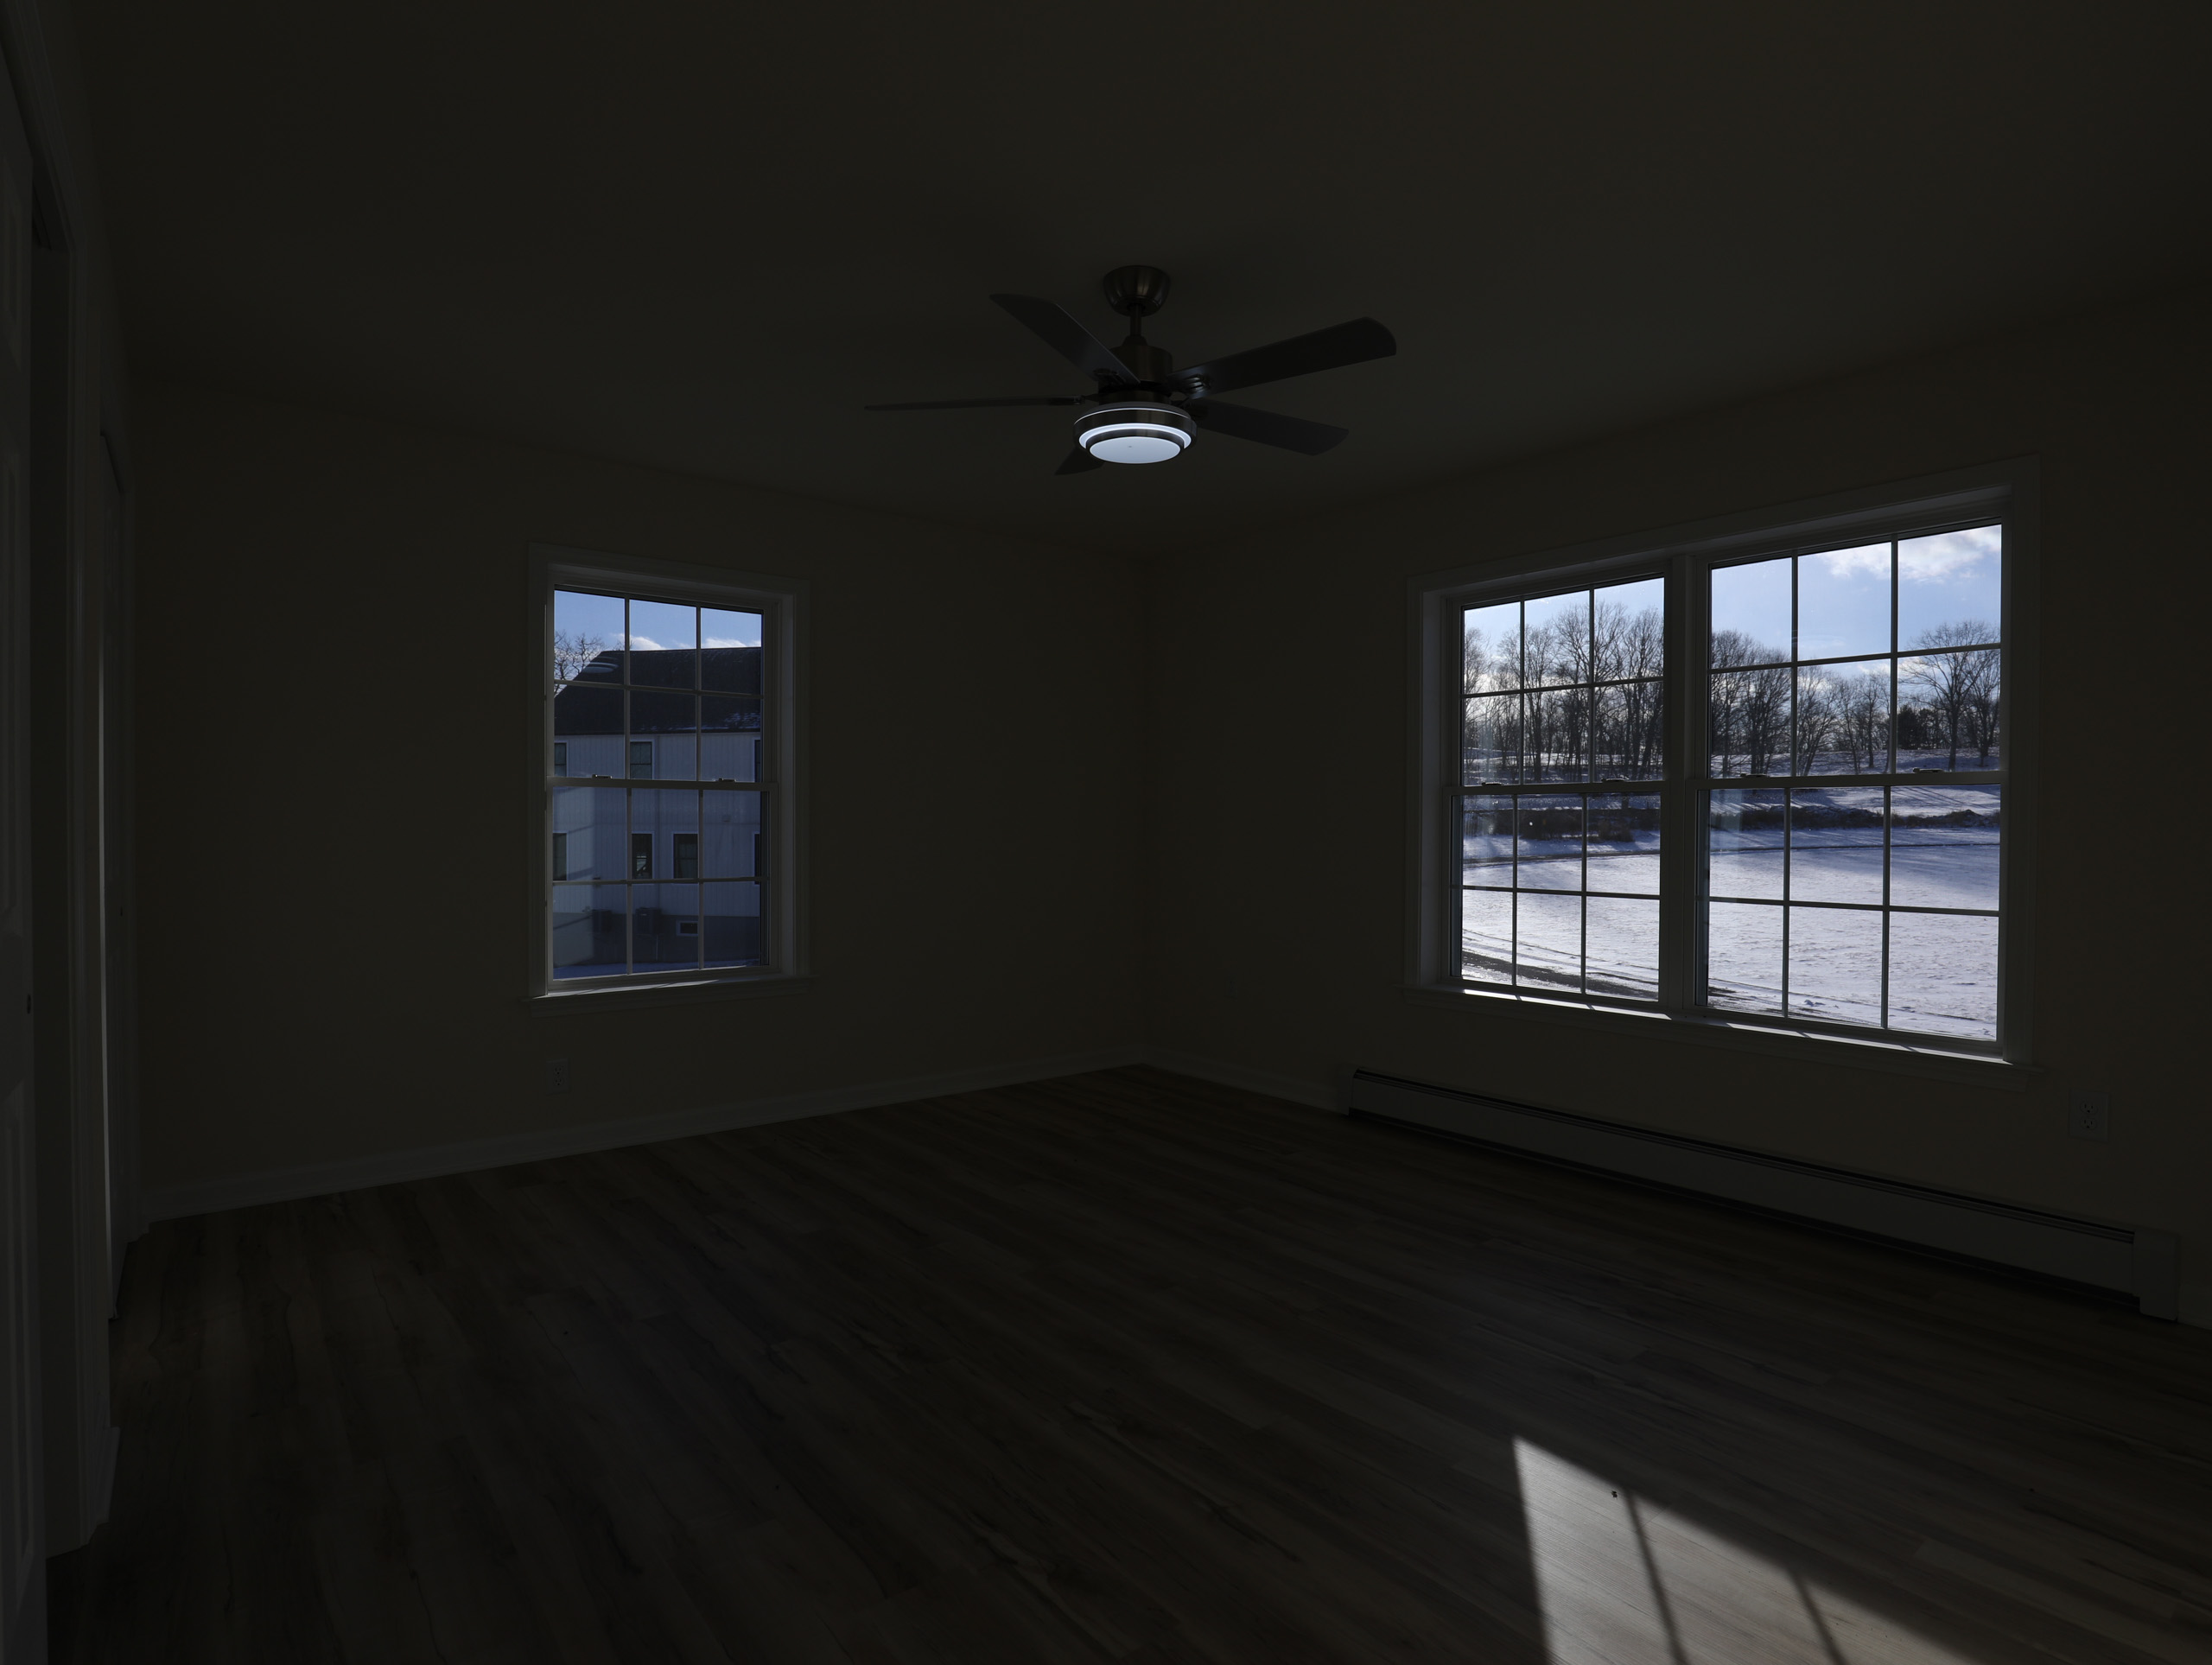
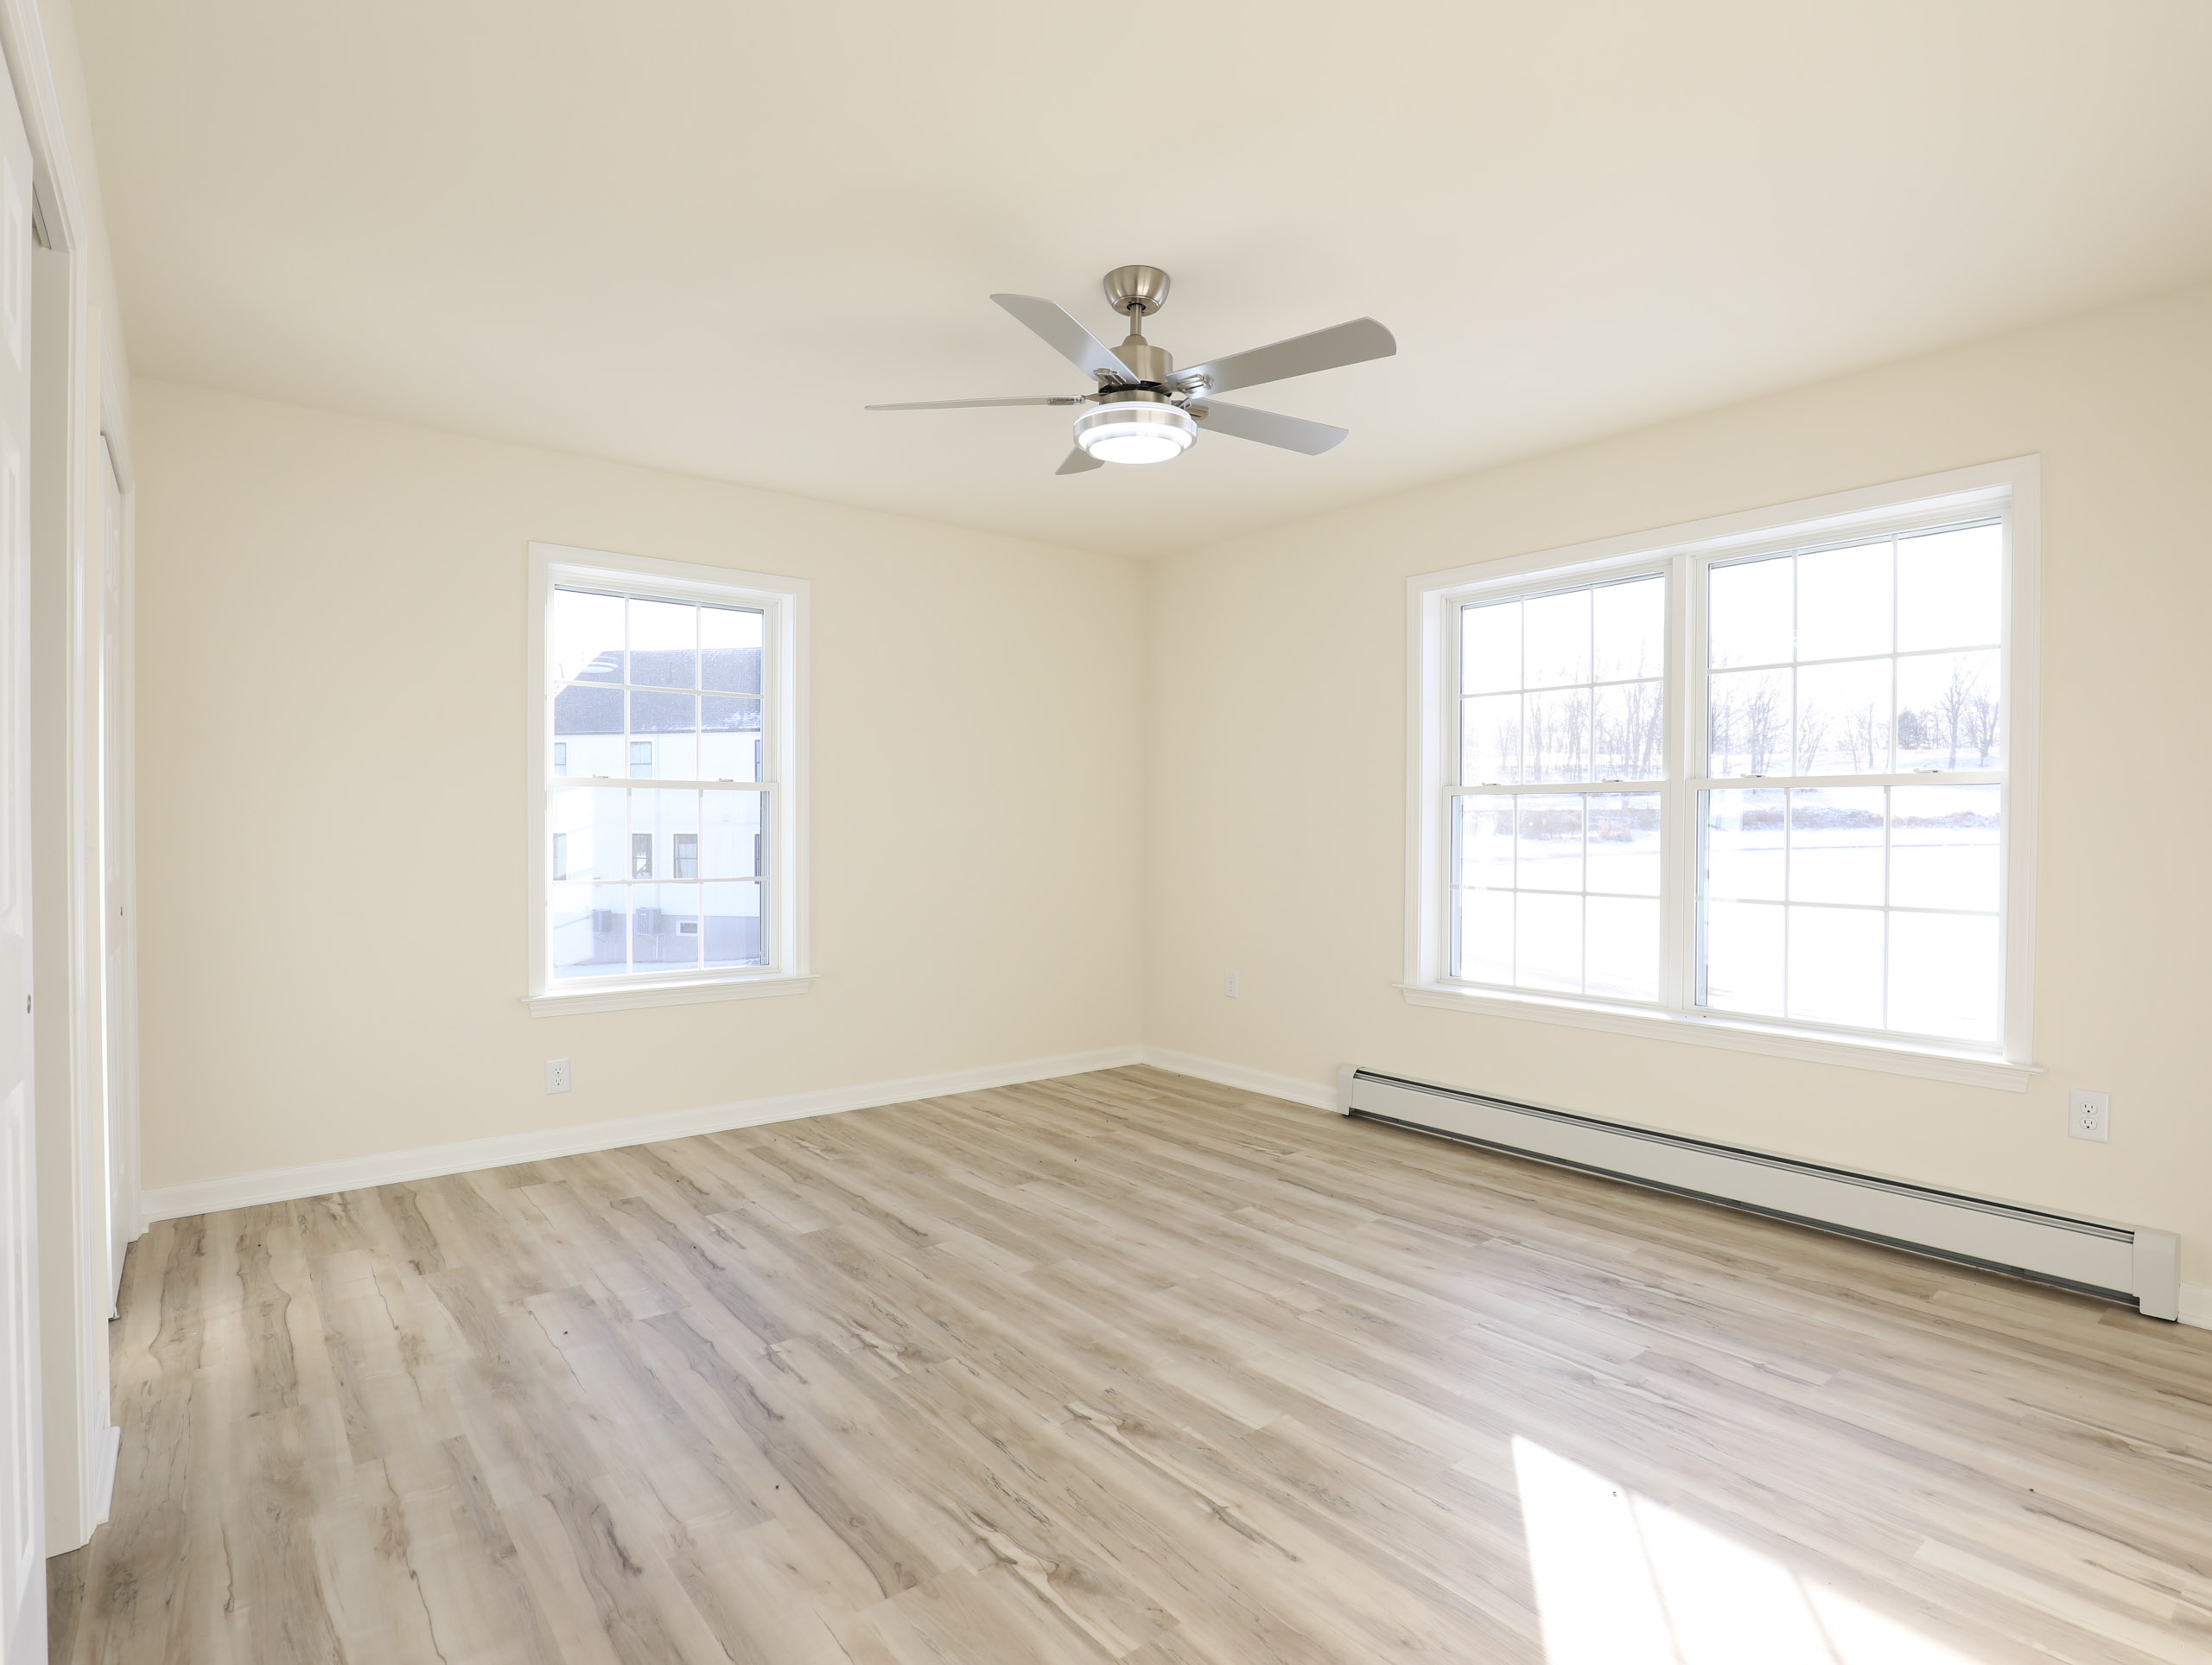
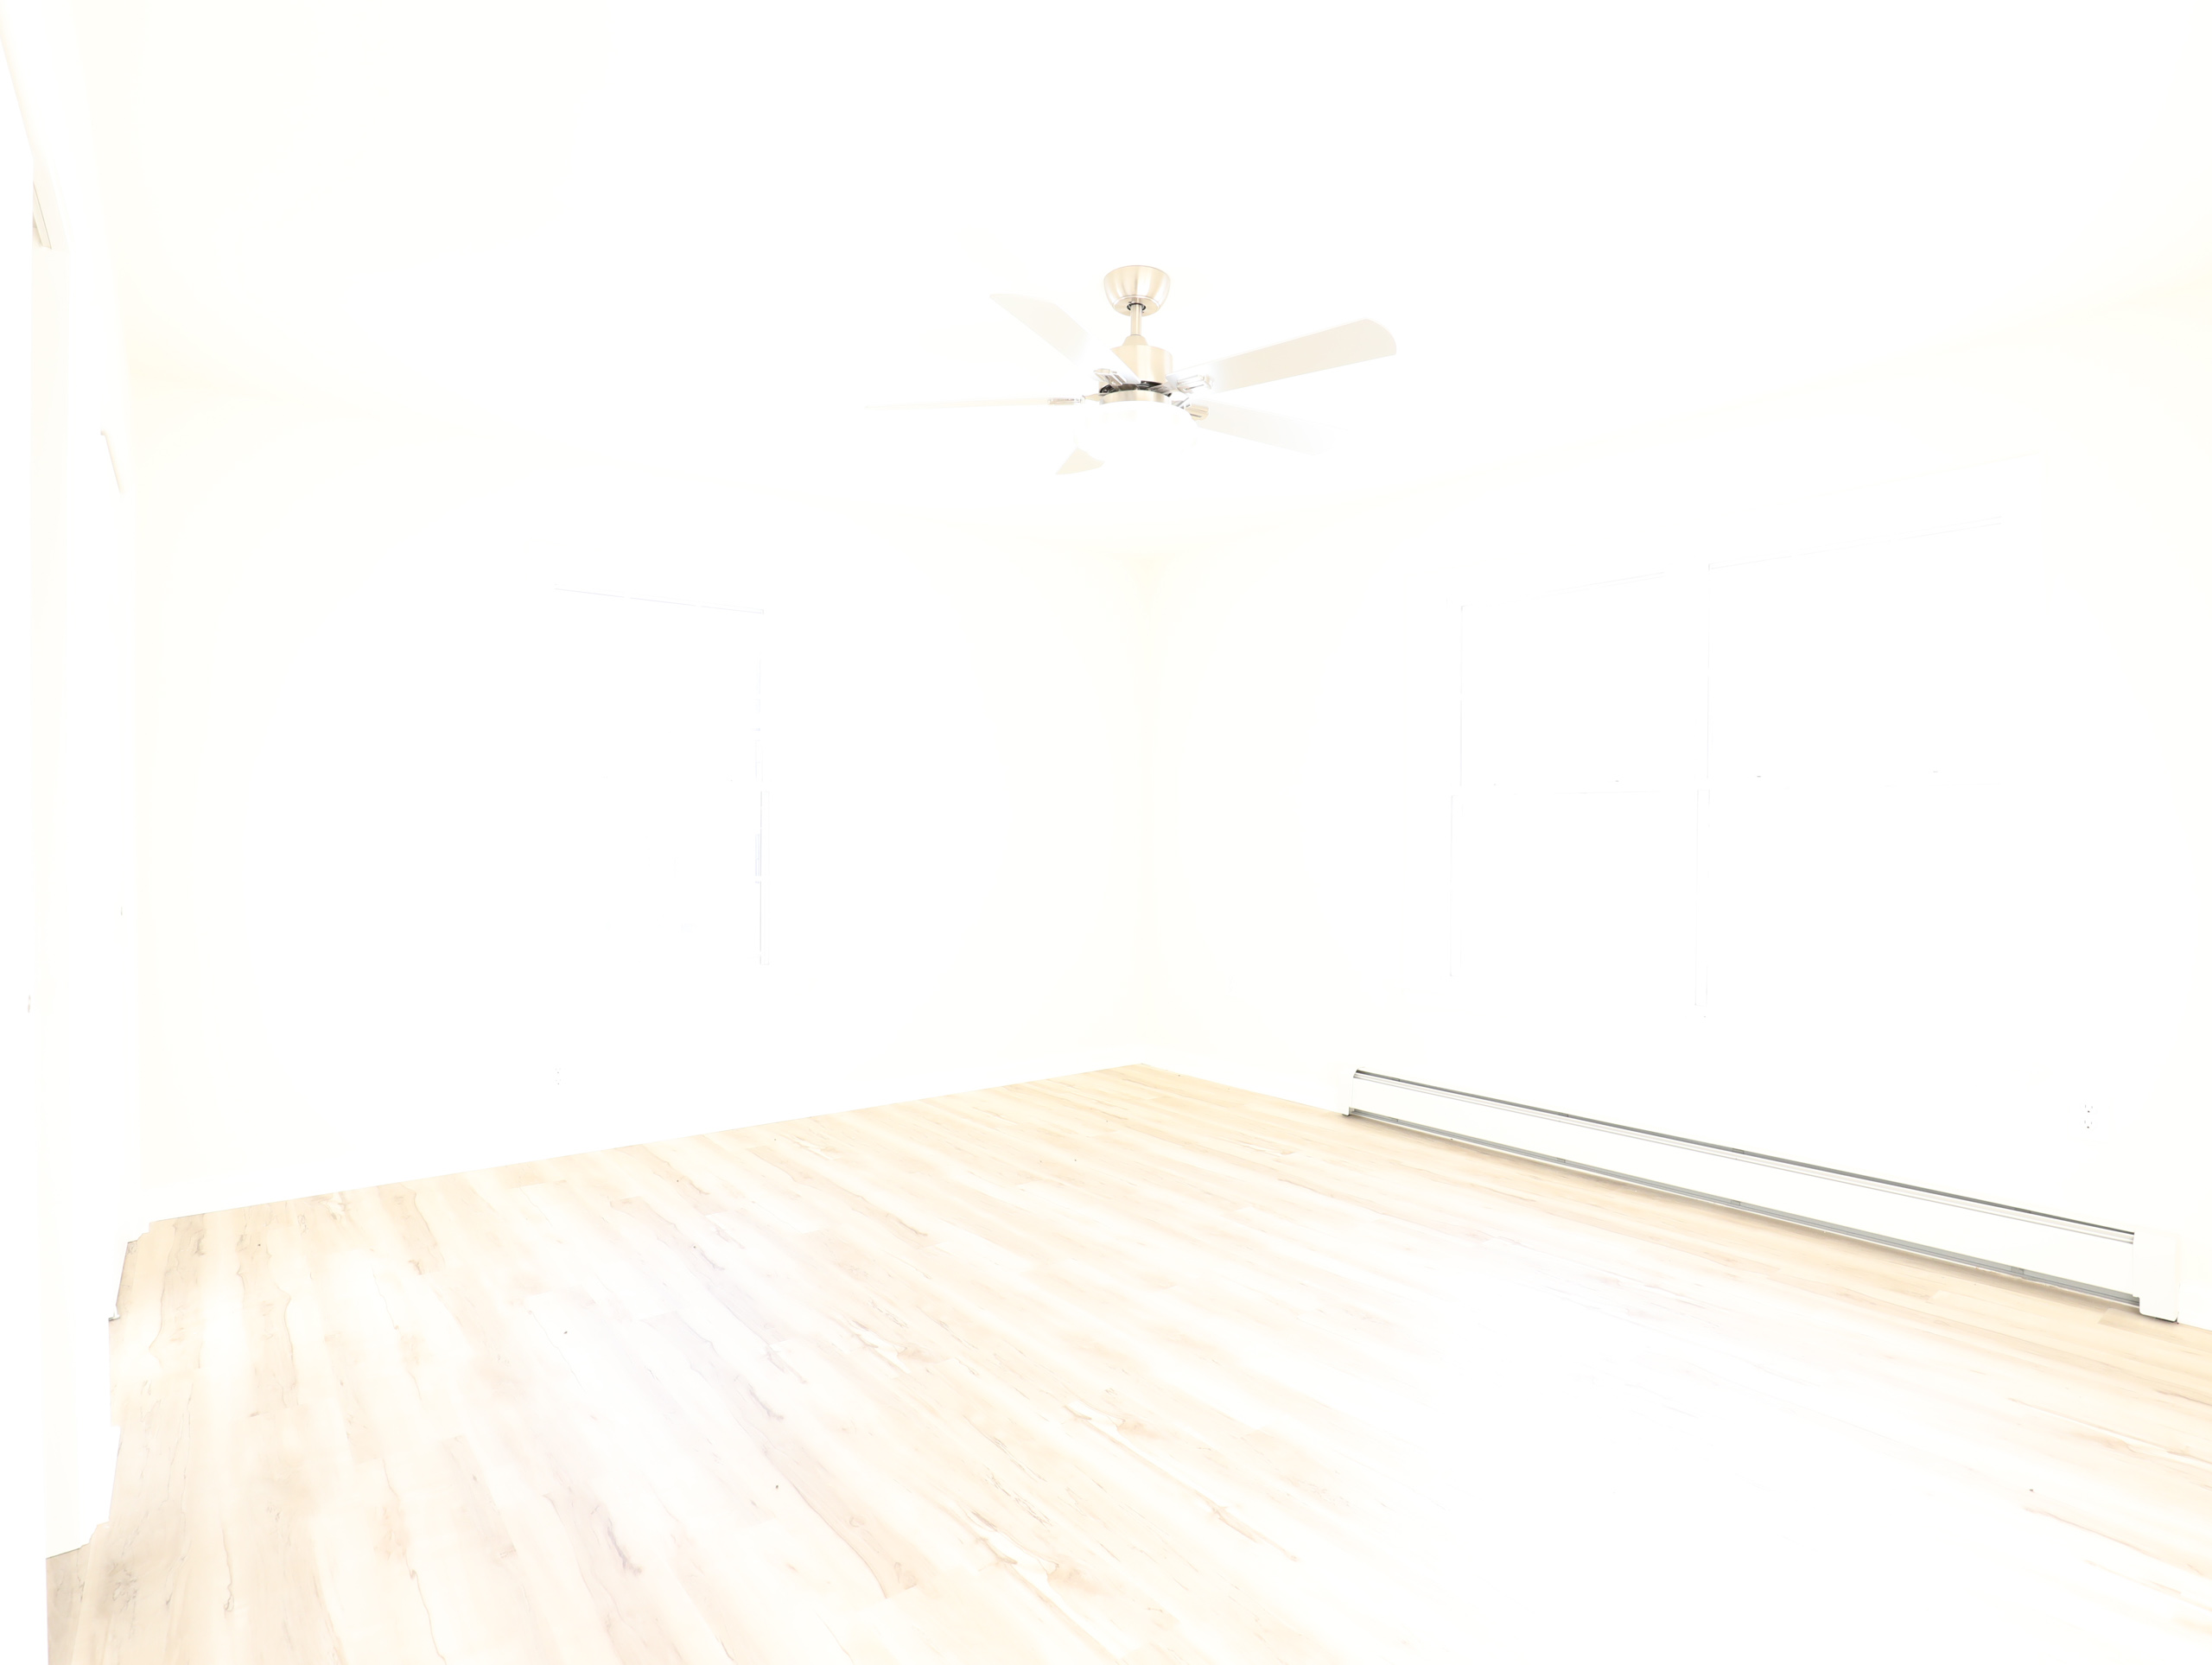
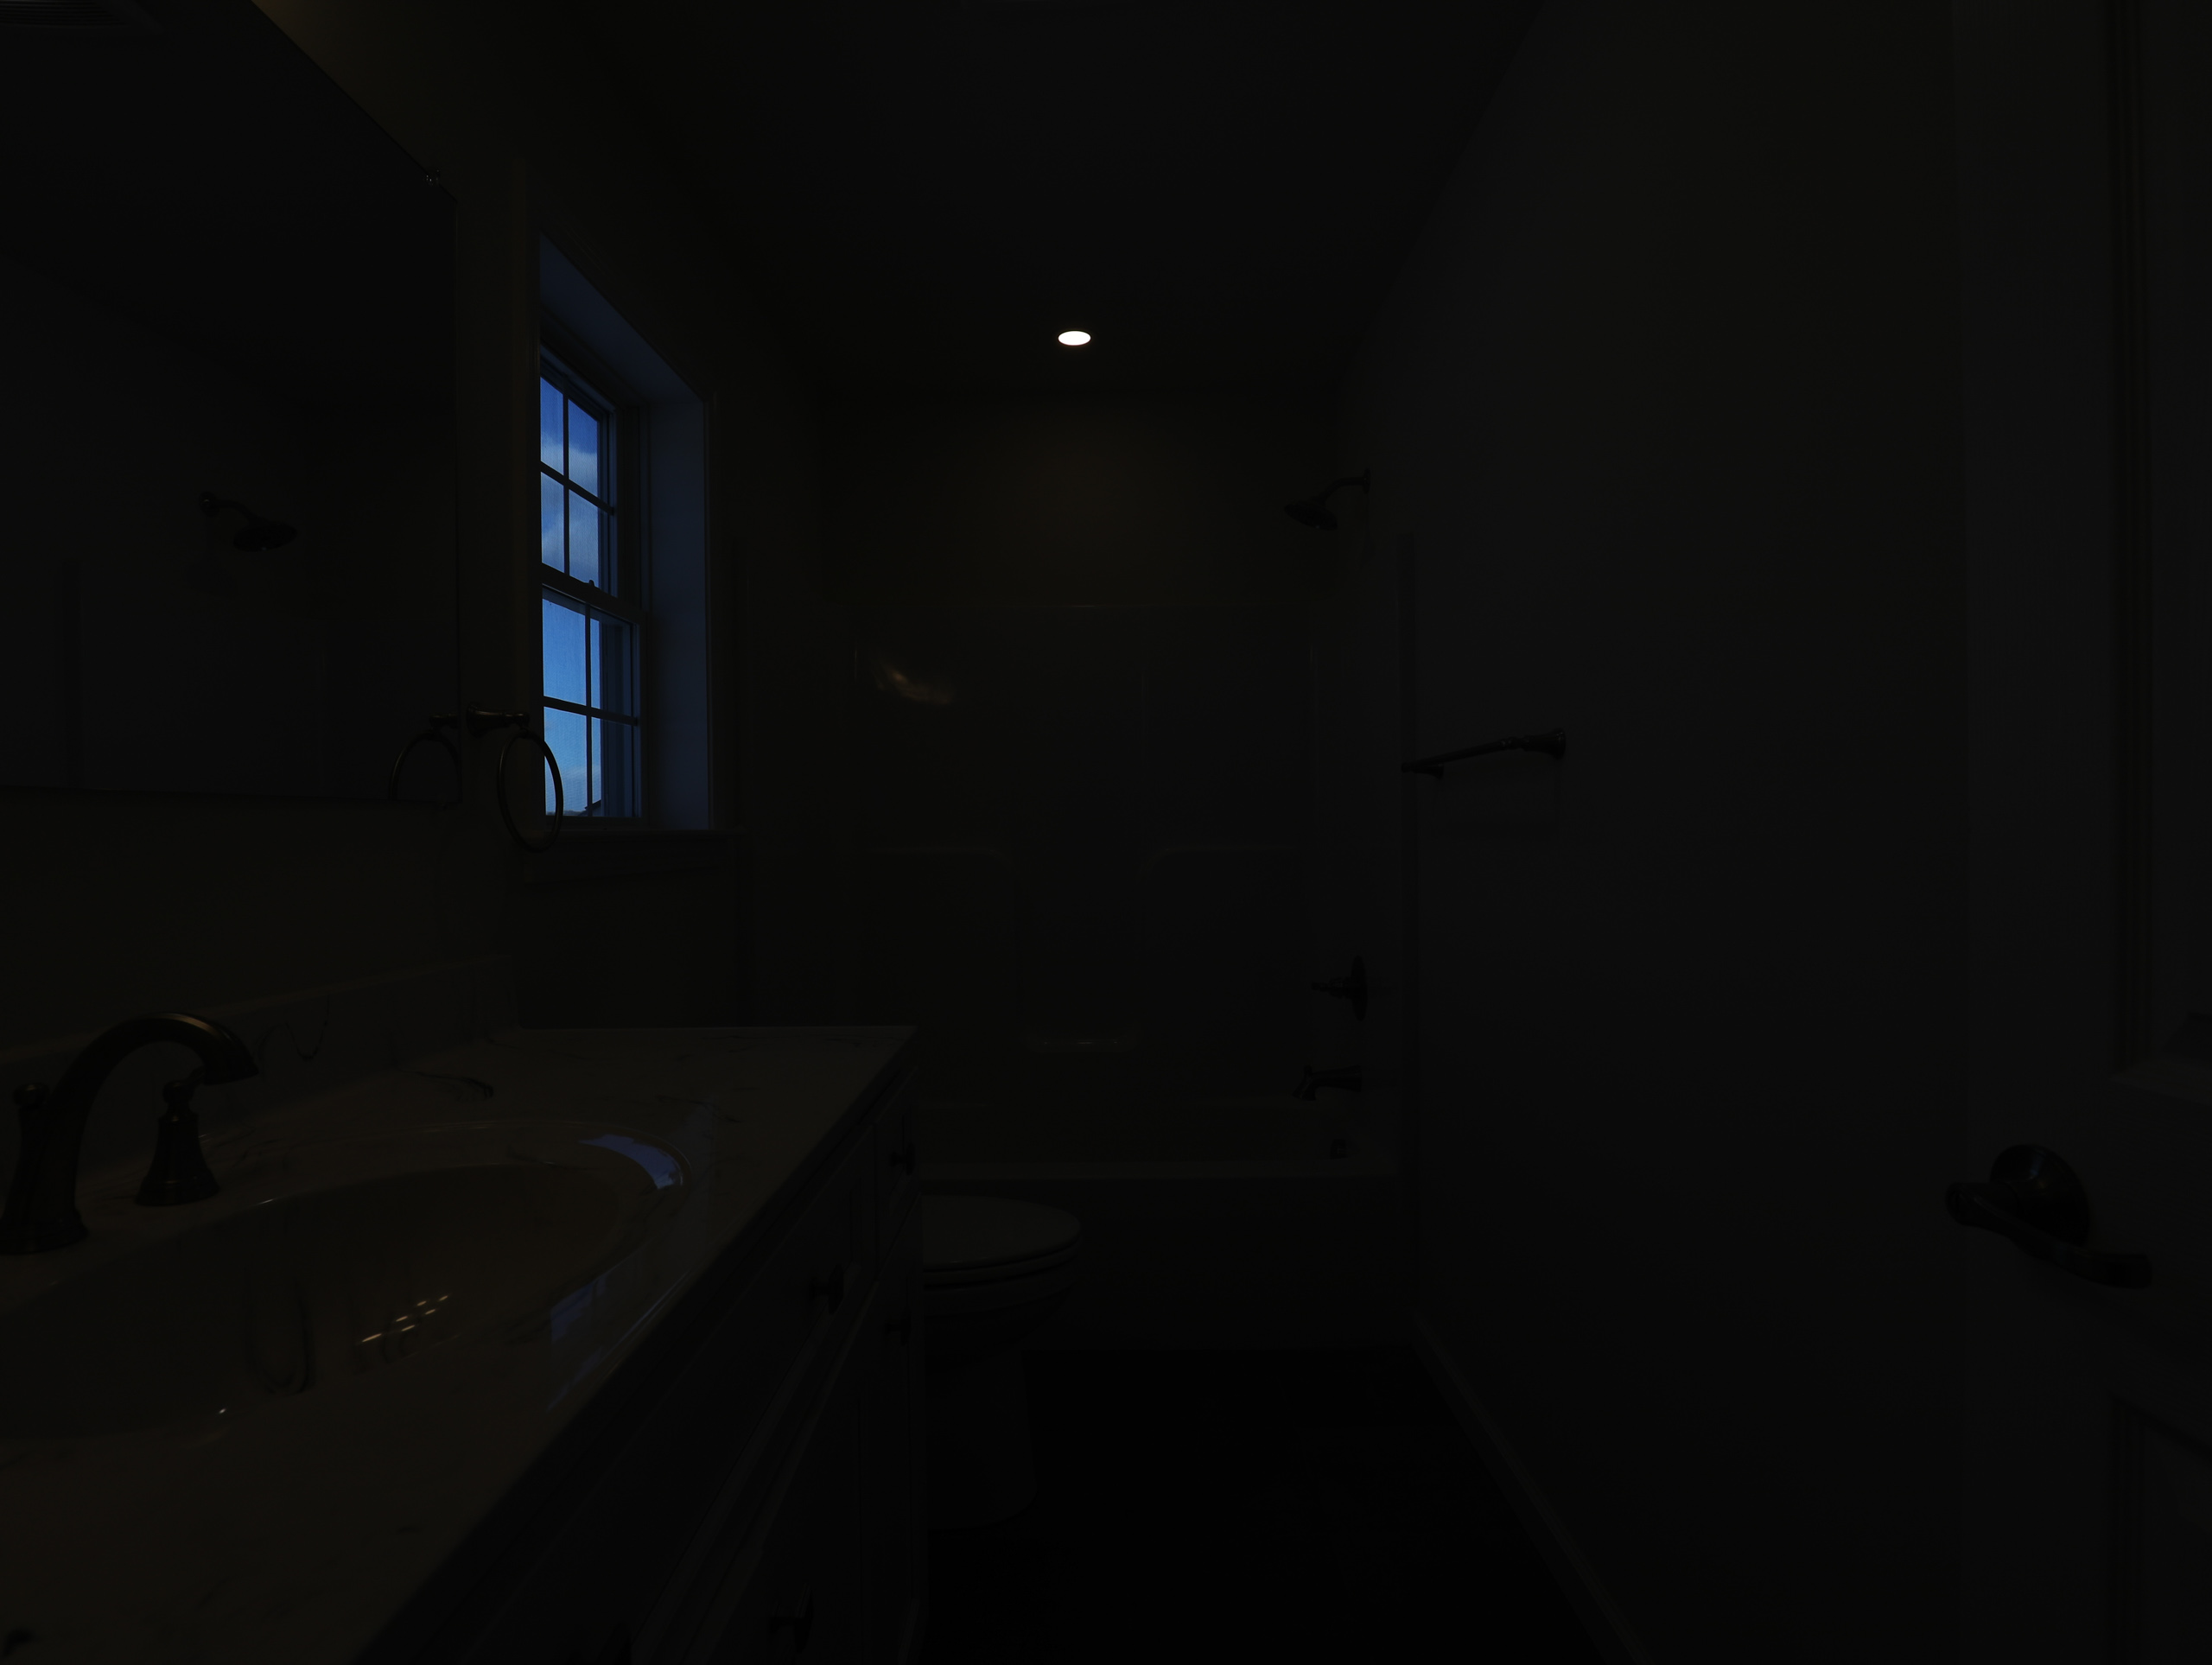
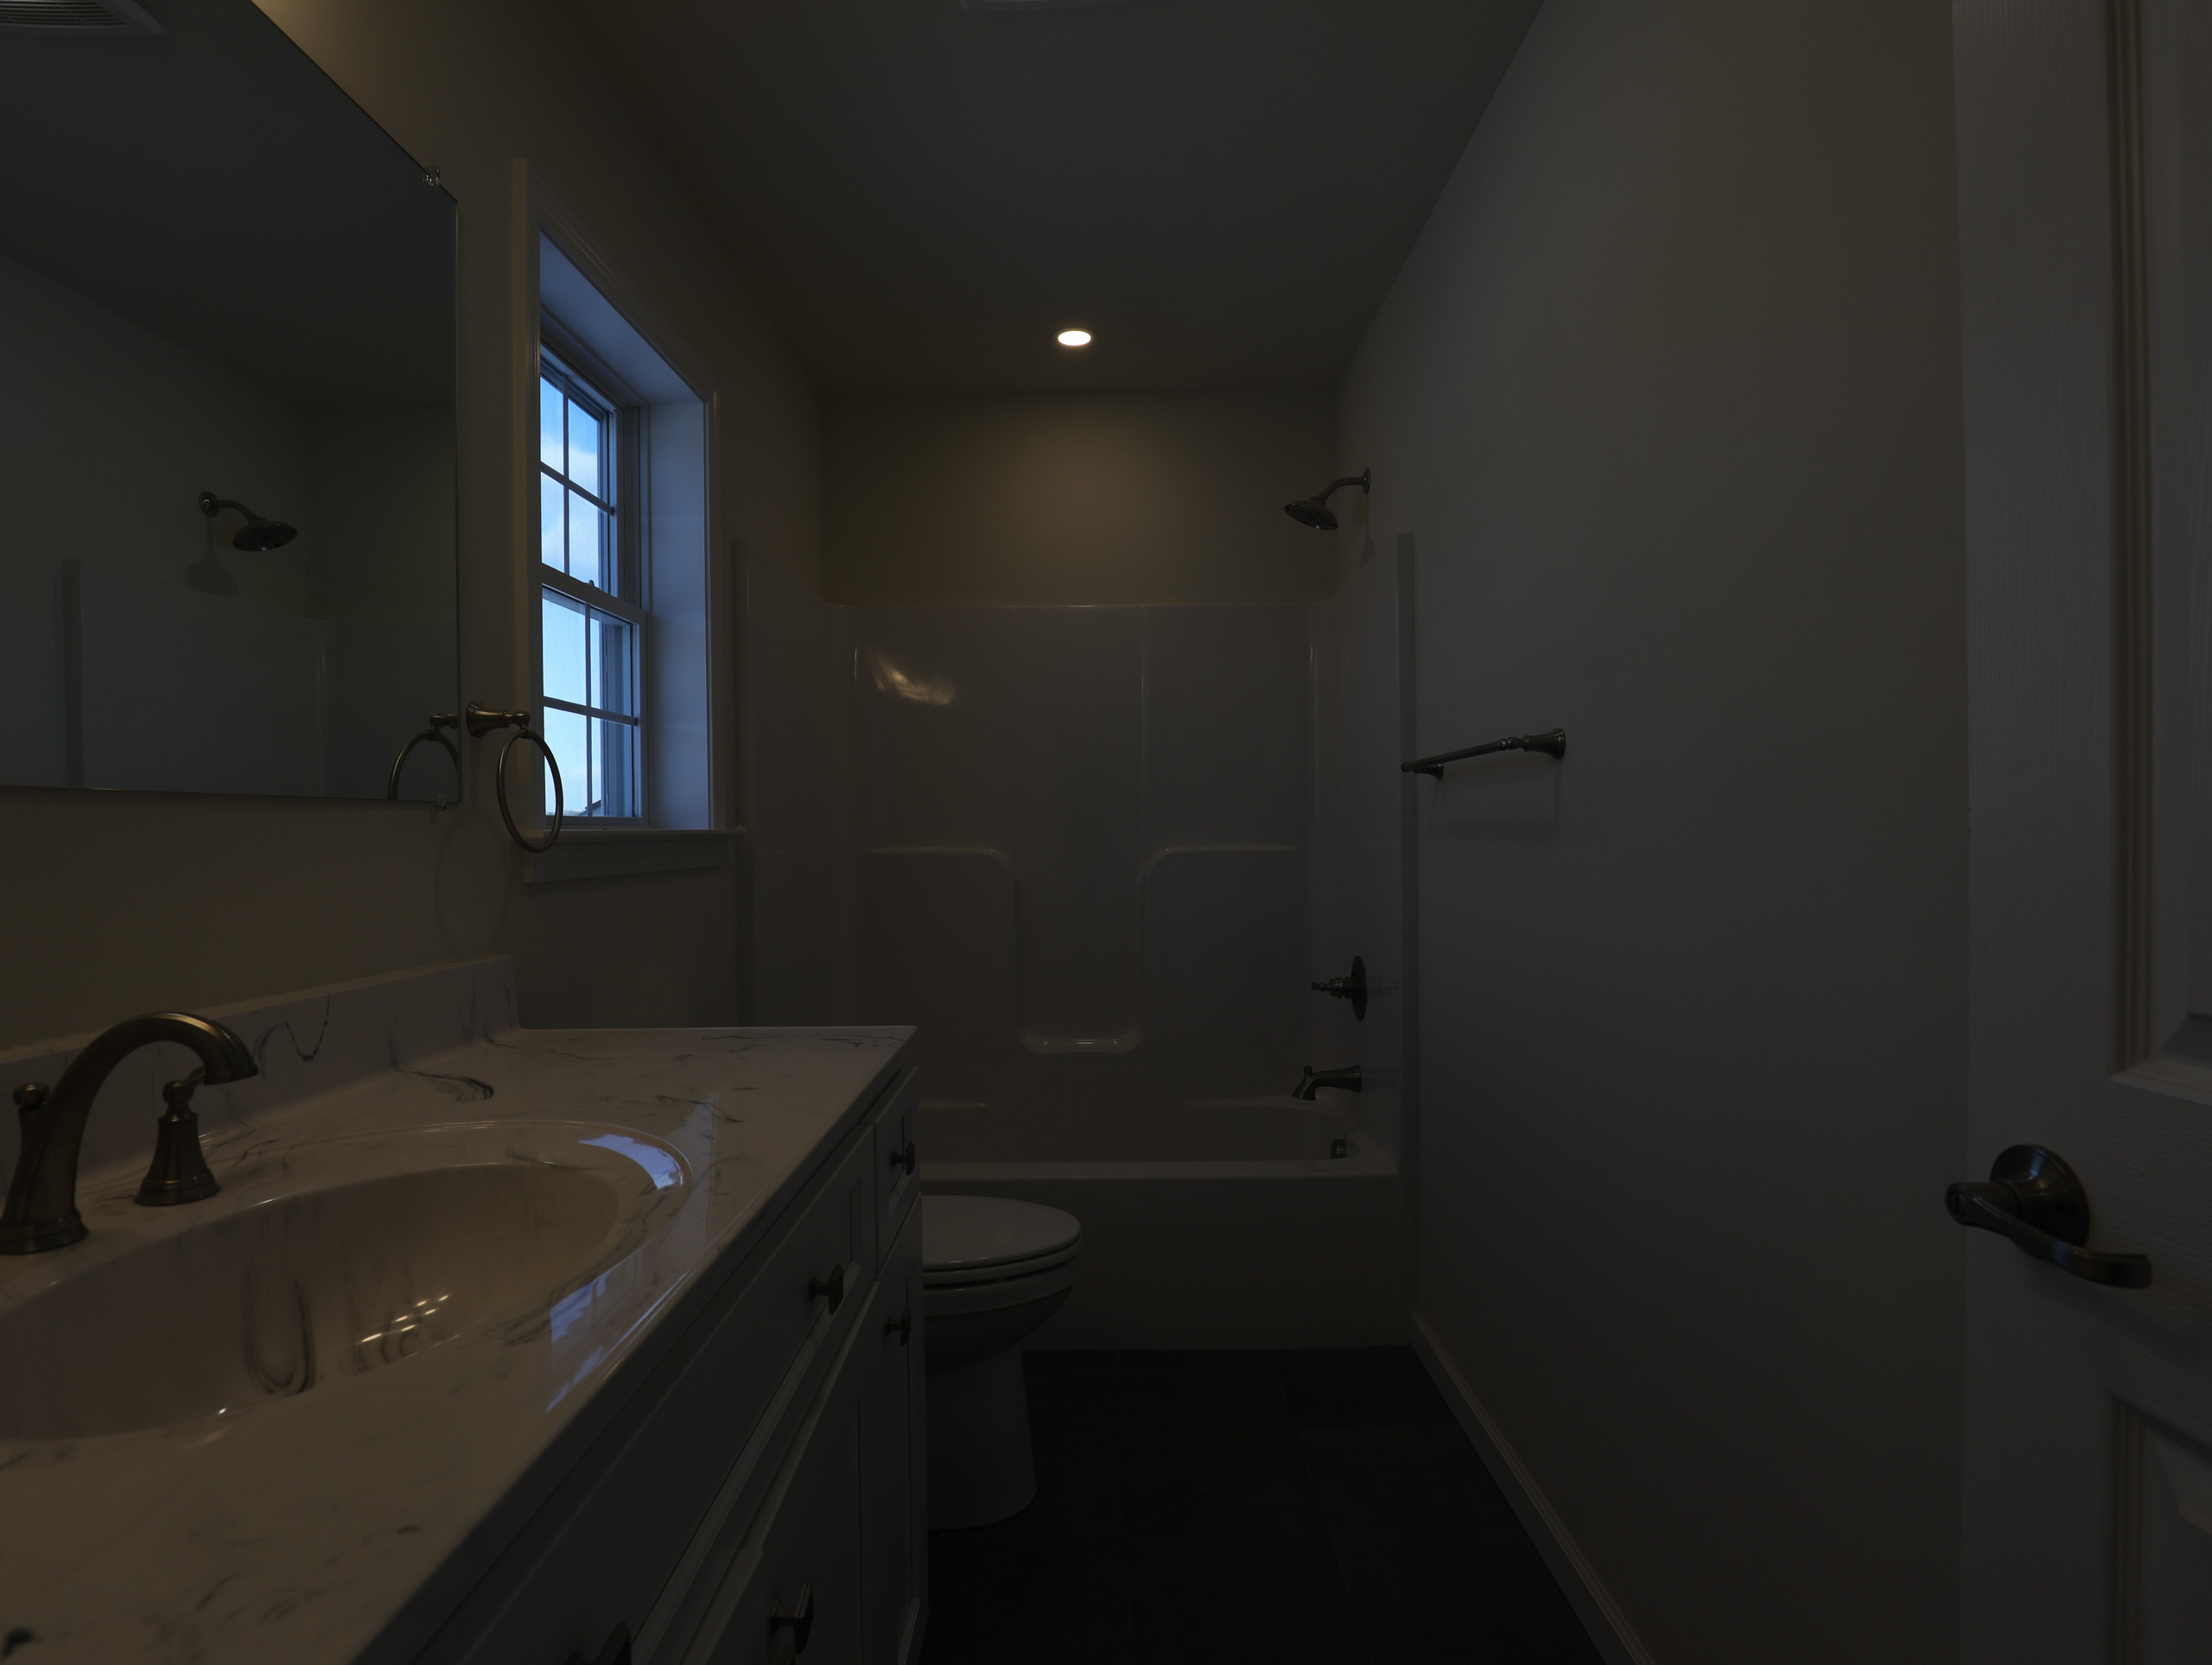
We shoot our brackets in a specific sequence: 0 EV (base exposure) → -2 EV → -4 EV → +2 EV → +4 EV. Starting with the base exposure ensures we have a properly exposed reference frame, then we capture progressively darker exposures to preserve highlight detail, followed by brighter exposures to recover shadow detail.
This setup ensures we capture:
- Window detail
- Natural interior colors
- Clean shadows without noise
Final Edited Images
See All Exposures in Action
Toggle between different image sets to see the exposure brackets we capture for each shot:
Exposure Brackets
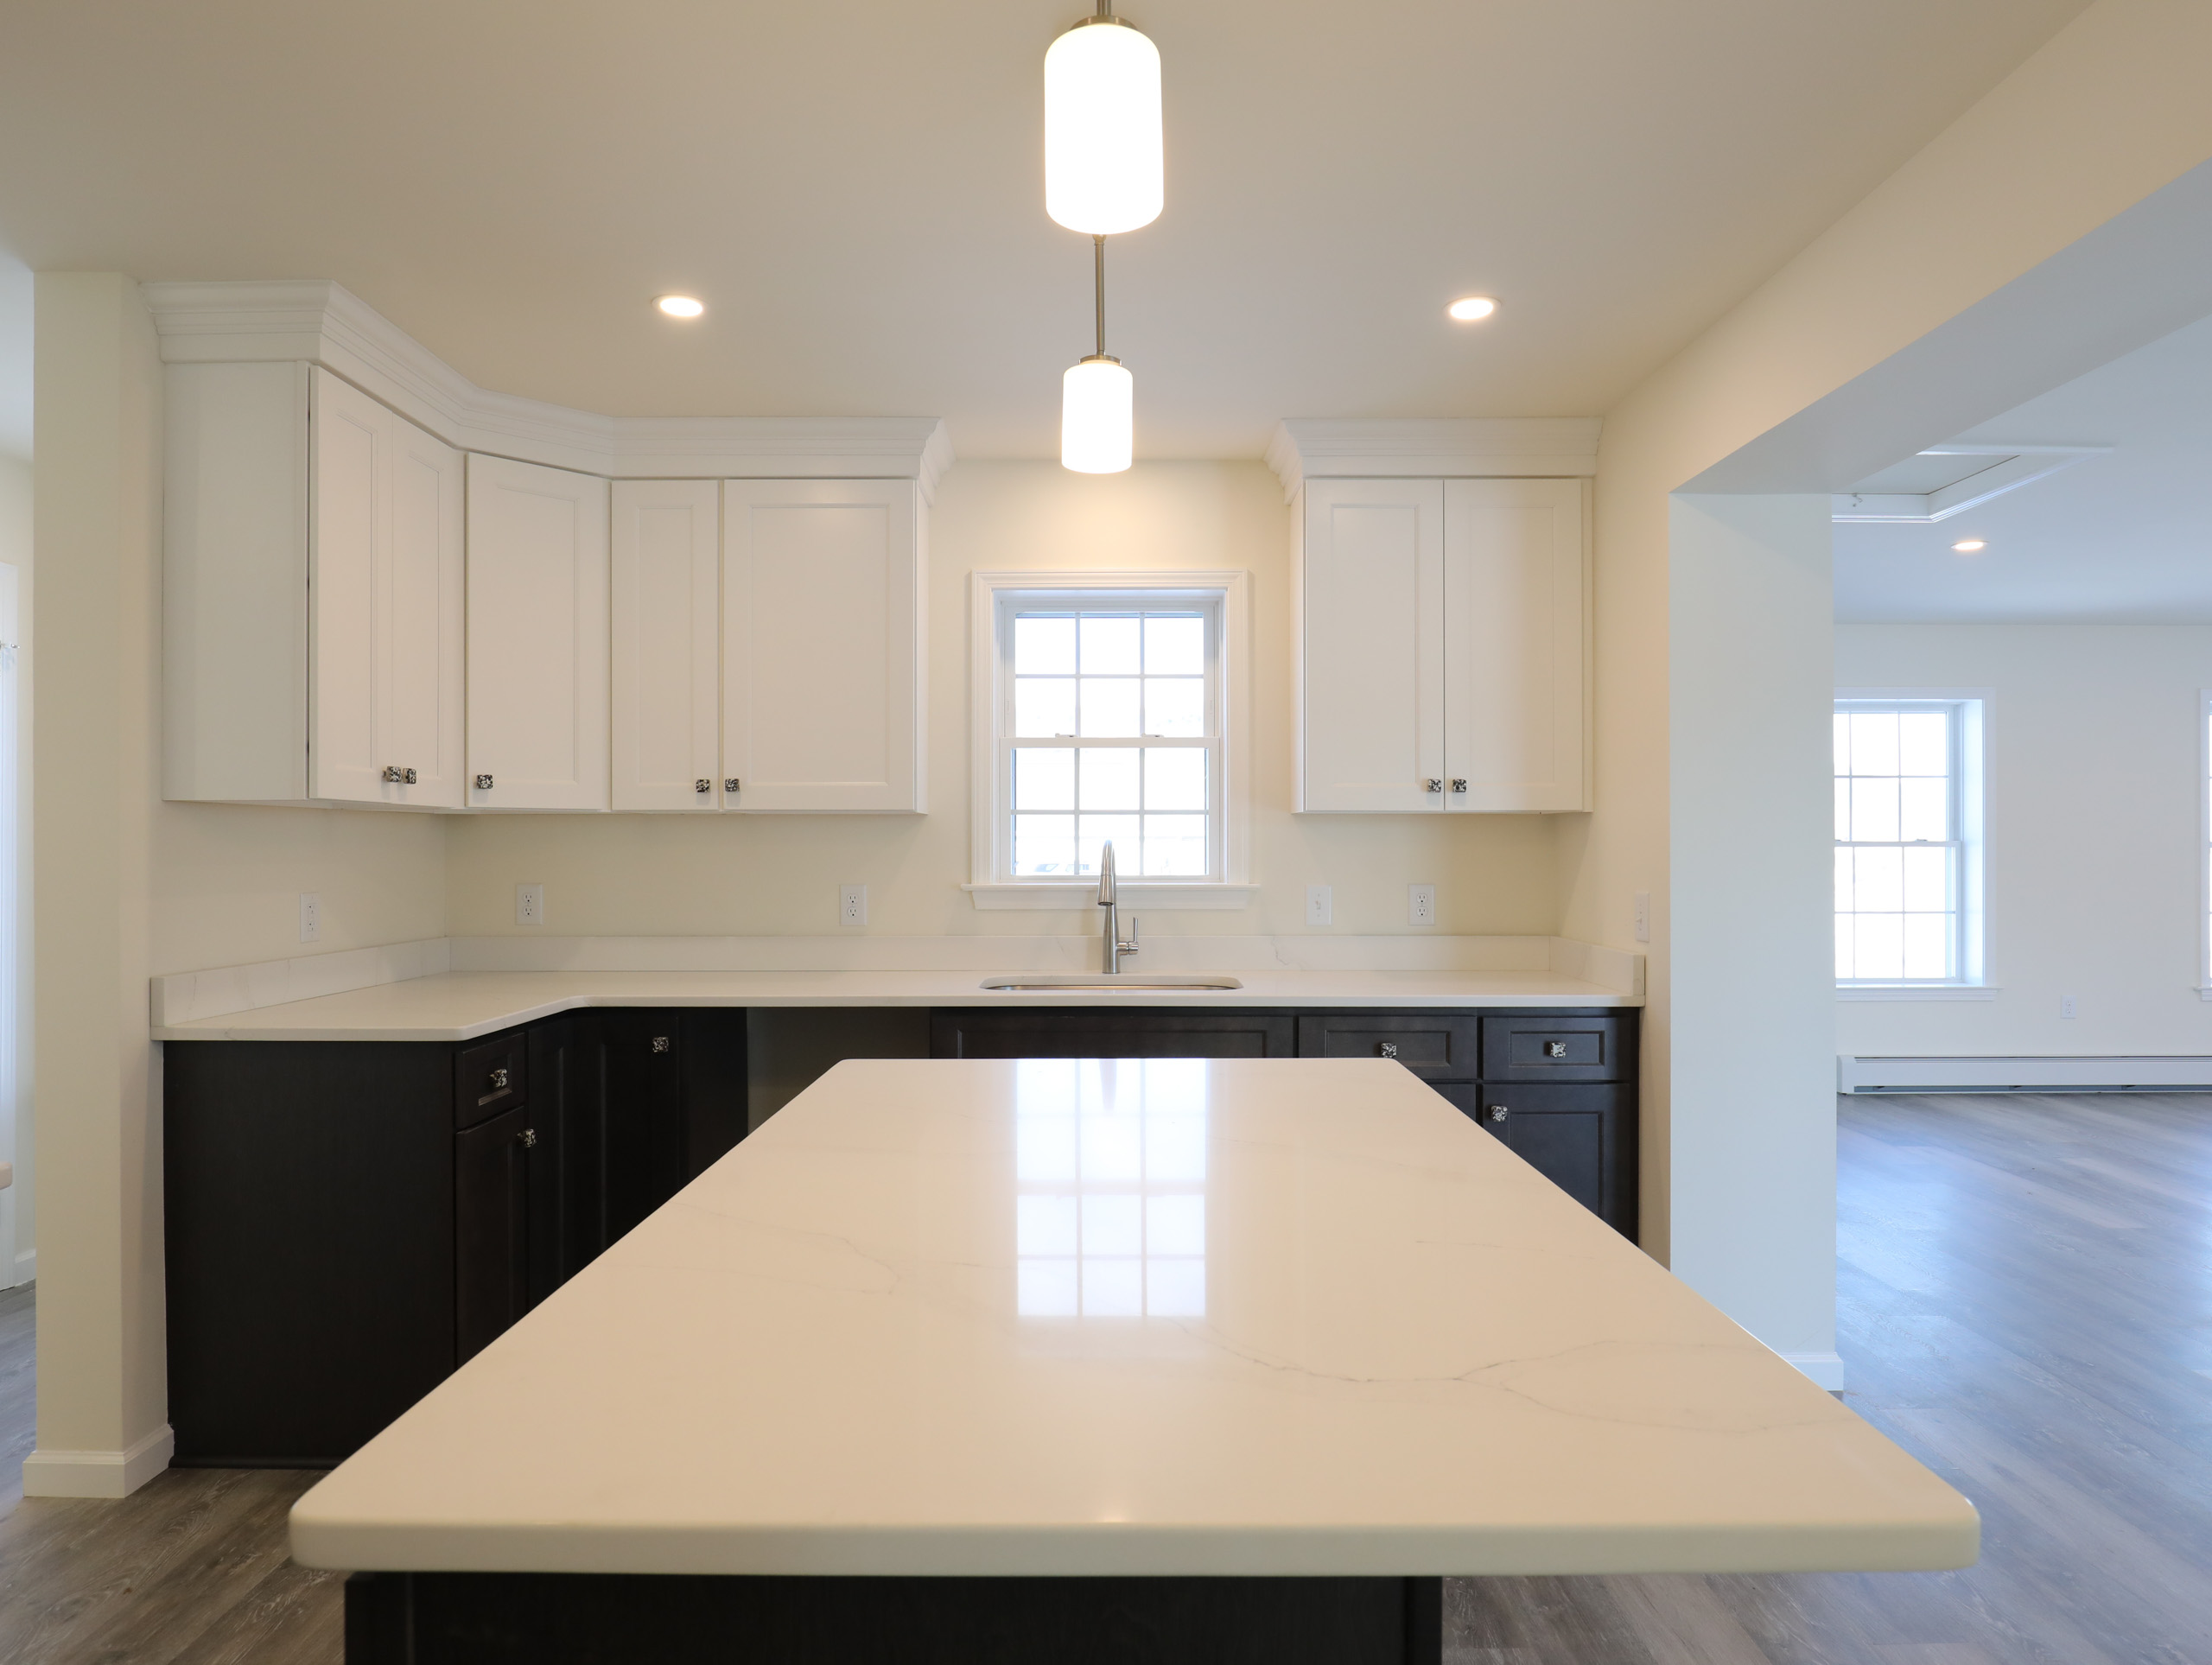

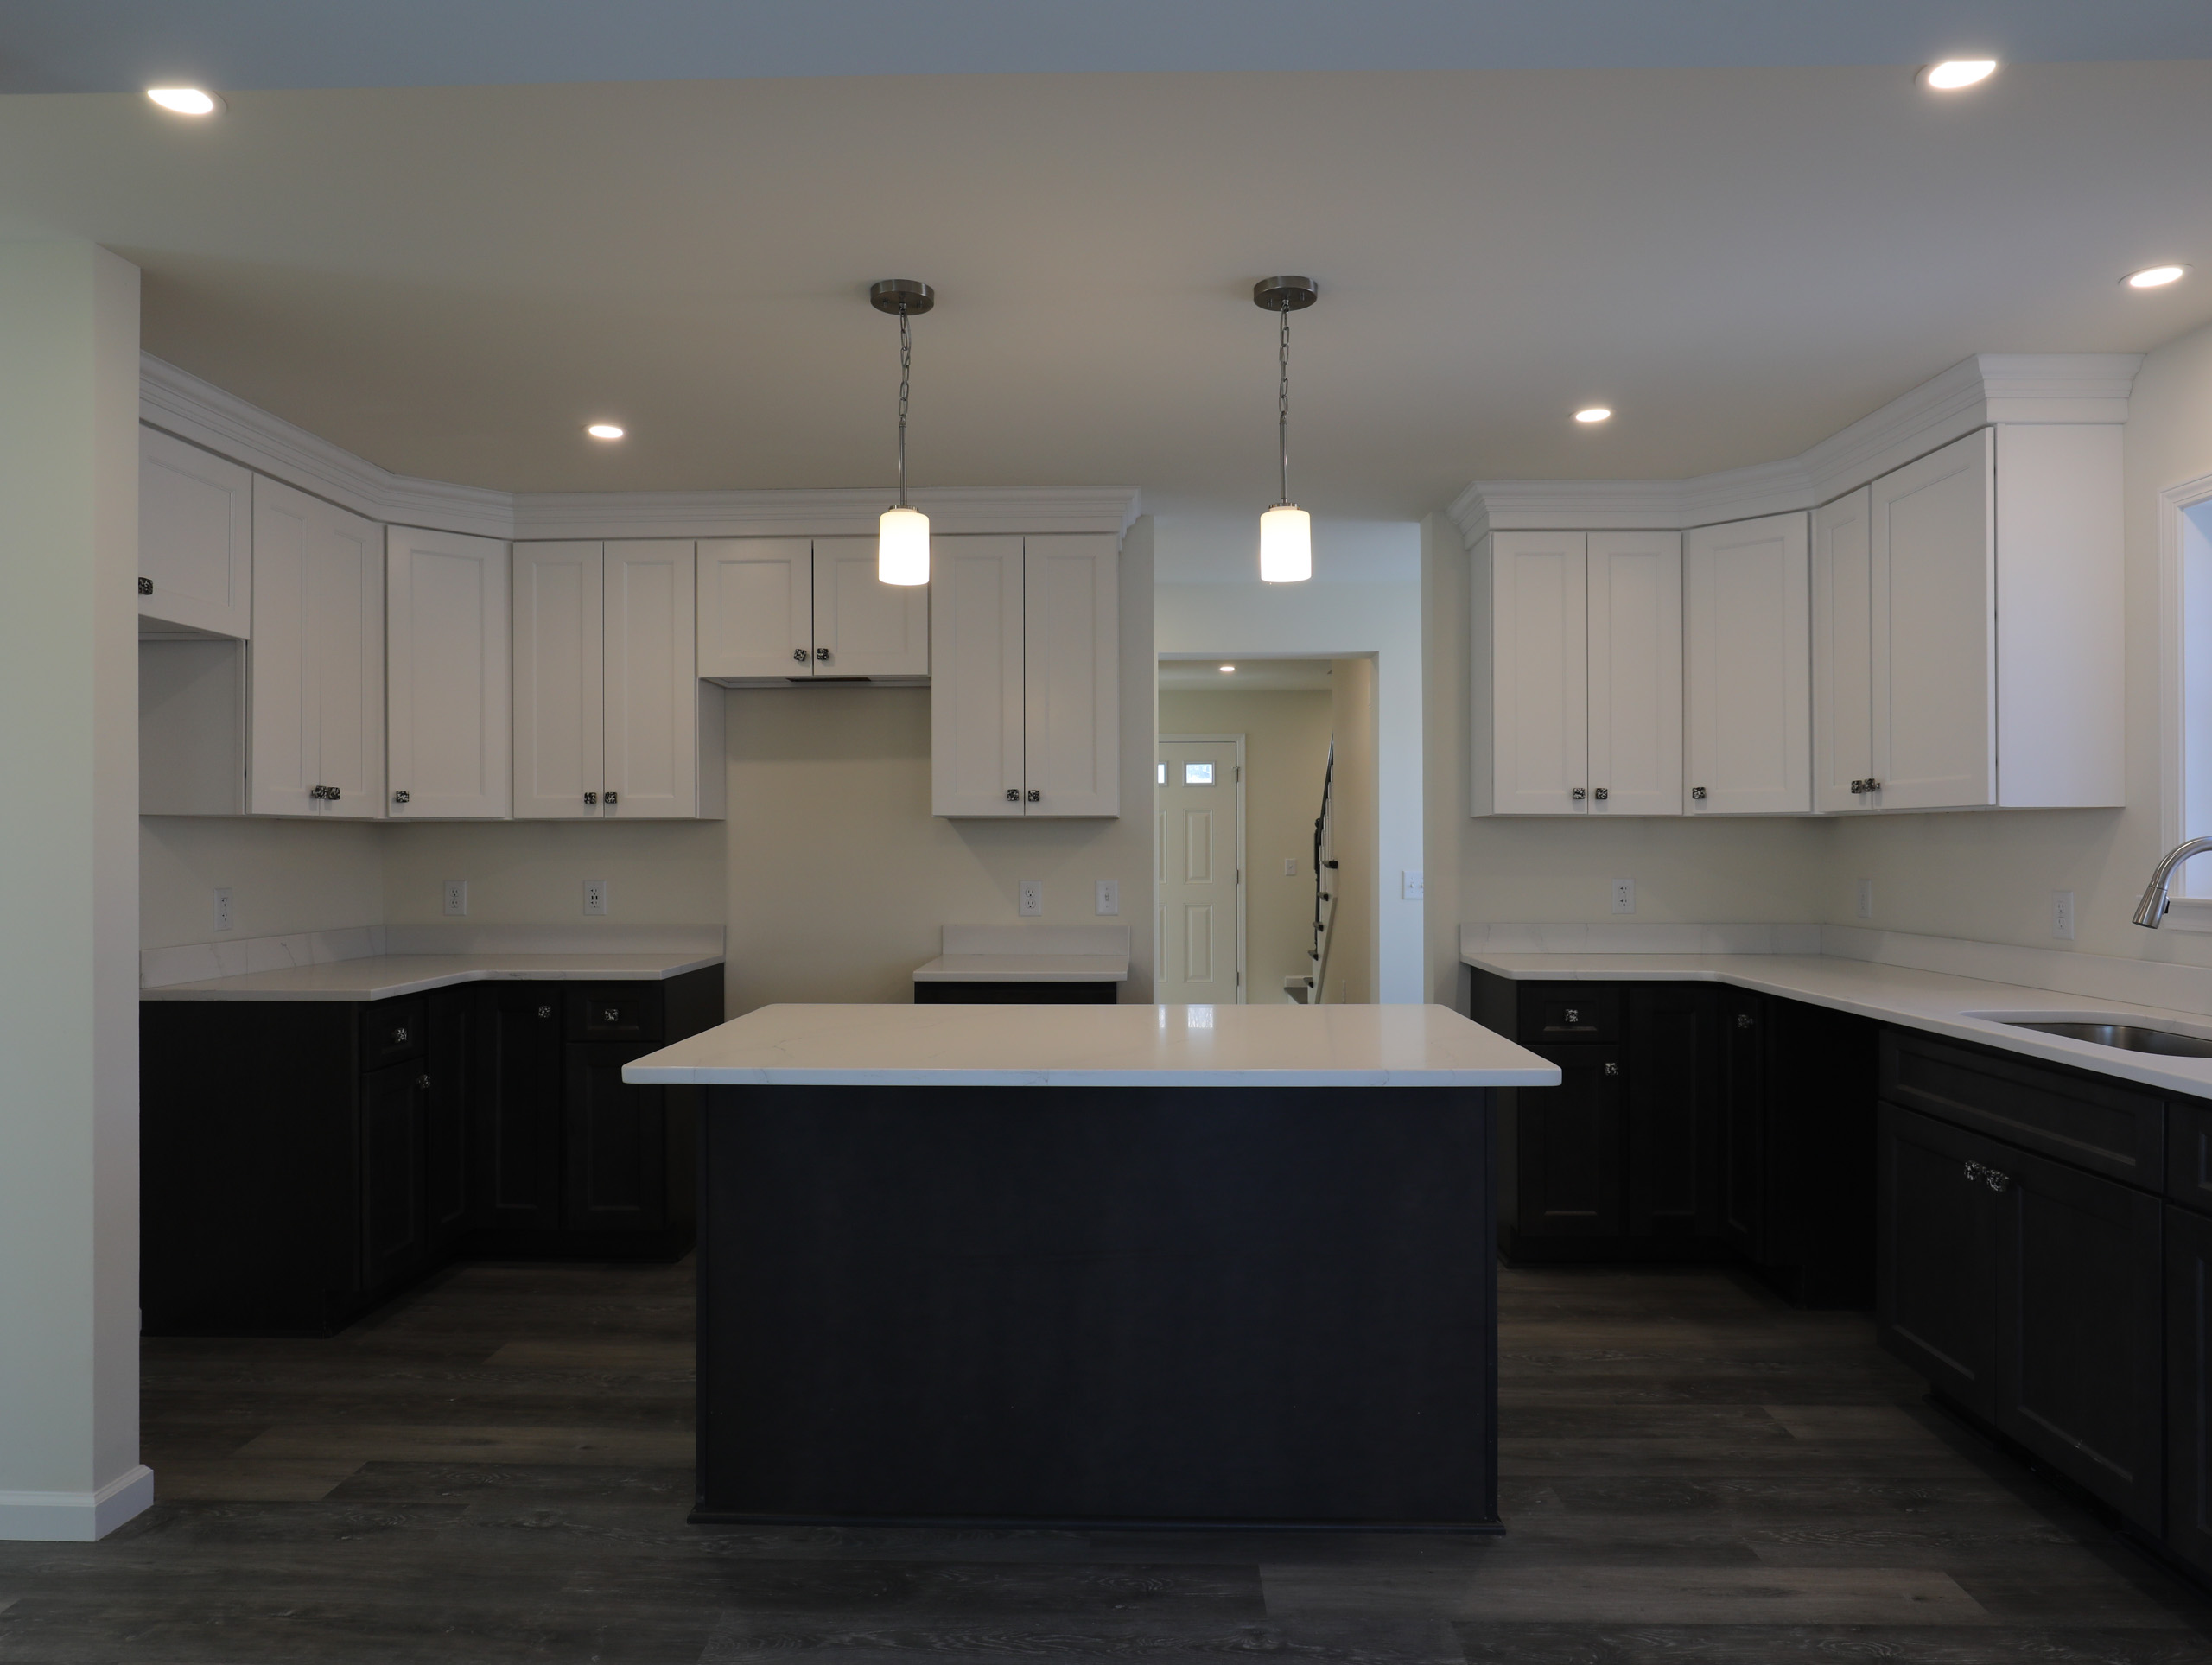


Raw vs. Edited Comparison
Toggle between different images to compare the raw 0 EV exposure with the final edited HDR result:
Raw vs. Edited Comparison
Drag the slider handle or click anywhere on the image to compare
Exterior HDR Photography: Natural & True-to-Life
Exterior images require a different strategy. We also plan around the best time of day for real estate photos. Lighting conditions change quickly, and the goal is to highlight curb appeal without over-processing the sky or landscaping.
Our Exterior Approach
Focal Length: 20–24mm
We shoot between 20–24mm to:
- Avoid fisheye distortion
- Achieve better compression
- Keep homes looking accurate and proportional
Exterior Camera Settings
- 2 exposure brackets, spaced 2 EV apart
- Auto White Balance
- Ambient Priority (to preserve natural outdoor light)
- 2-second timer
- f/9
- Auto ISO, capped at ISO 800
This allows us to retain:
- Natural sky tones
- Clean siding and roof detail
- Balanced highlights and shadows
Consistent Editing with AutoHDR
Once captured, all images are blended using AutoHDR, which allows us to maintain a consistent look across every listing—regardless of property size or lighting challenges.
Our goal with HDR is realism, not over-processing. Homes should look bright, clean, and inviting—never exaggerated or artificial.
Use the interactive slider above to drag and compare the raw 0 EV exposure with the final edited HDR result. This shows the transformation from a single exposure to a fully processed image that captures both highlight and shadow detail.
Delivery Made Simple with Spiro
All finished photos are delivered through Spiro, our delivery platform of choice. This ensures:
- Fast, reliable access to your media
- Easy downloads
- A streamlined experience from shoot to listing live
Why This Process Matters for Agents
This workflow ensures:
- Visual consistency across your listings
- Accurate representation for buyers
- Fewer distractions and cleaner compositions
- Professional results that build trust with sellers
When every listing looks polished and cohesive, your brand benefits—not just the individual property.
Related: Learn why first impressions matter when choosing your listing’s cover photo, or discover what buyers notice during showings that sellers often miss.
Image Source: All images featured in this post are from the listing at 167 Braemar Ter, Factoryville, PA 18419, photographed for Bonnie Rosengrant.
Ready to see this process in action for your next listing? Book your professional photography session today and experience the difference that a structured HDR workflow makes.